4-9. E-Mail (POP) Setup
II Network Setup - Administrators only 64
Chapter 4 Setting from the Control Panel
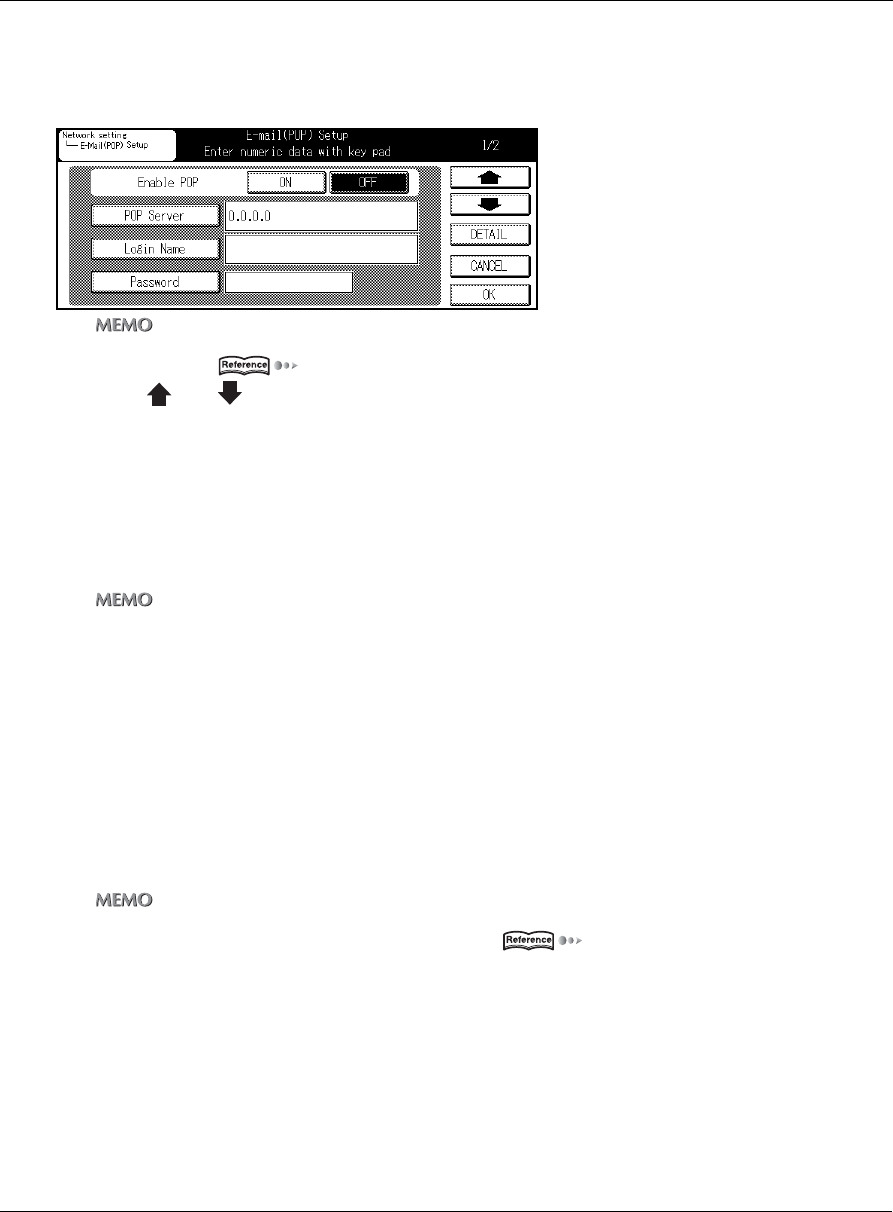
E-Mail (POP) Setup (Part 1 of 2)
1 Access to [E-Mail (POP) Setup] screen from [Network setting] screen.
zFor details on the procedure for displaying the [Network setting] screen, refer to [4-2.Method for Setting Network from
Control Panel] ( Page 23).
zUse [ ] and [ ] to switch the screen.
Enable POP
This setting enables the E-Mail reception.
1 Touch either the [ON] or [OFF] key on the [Enable POP] screen.
[ON] : Enables the E-mail capability
[OFF] : Disables the E-mail capability
zThe [ON] and [OFF] keys might not be displayed in some version.
POP Server
This sets the name of the POP server used for receiving E-mail.
1 Touch the [POP Server] key.
2 Using the [Data Input] screen, input the name or IP address of the POP server used for
receiving E-mail.
3 Touch [OK] key.
zThe SMTP server name is a combination of up to 239 symbols and alphanumerics.
zFor details on character input refer to [3-1.Inputting Text] ( Page 16).
Login Name
This sets the login name used for connecting to the POP server.
1 Touch the [Login Name] key.
2 Using the [Data Input] screen, input the desired login name.
3 Touch [OK] key.


