


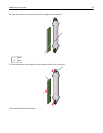

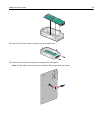
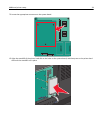
4 Push the card firmly into place.
Notes:
• The entire length of the connector on the card must touch and be flush against the system board.
• Be careful not to damage the connectors.
5 Reattach the system board cover.
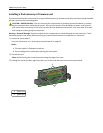
Installing an Internal Solutions Port
The system board supports one optional Lexmark Internal Solutions Port (ISP).
Note: This task requires a flathead screwdriver.
CAUTION—SHOCK HAZARD: If you are accessing the system board or installing optional hardware or memory
devices sometime after setting up the printer, then turn the printer off, and unplug the power cord from the
wall outlet before continuing. If you have any other devices attached to the printer, then turn them off as well,
and unplug any cables going into the printer.
Warning—Potential Damage: System board electronic components are easily damaged by static electricity. Touch
something metal on the printer before touching any system board electronic components or connectors.
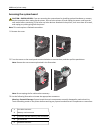
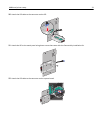
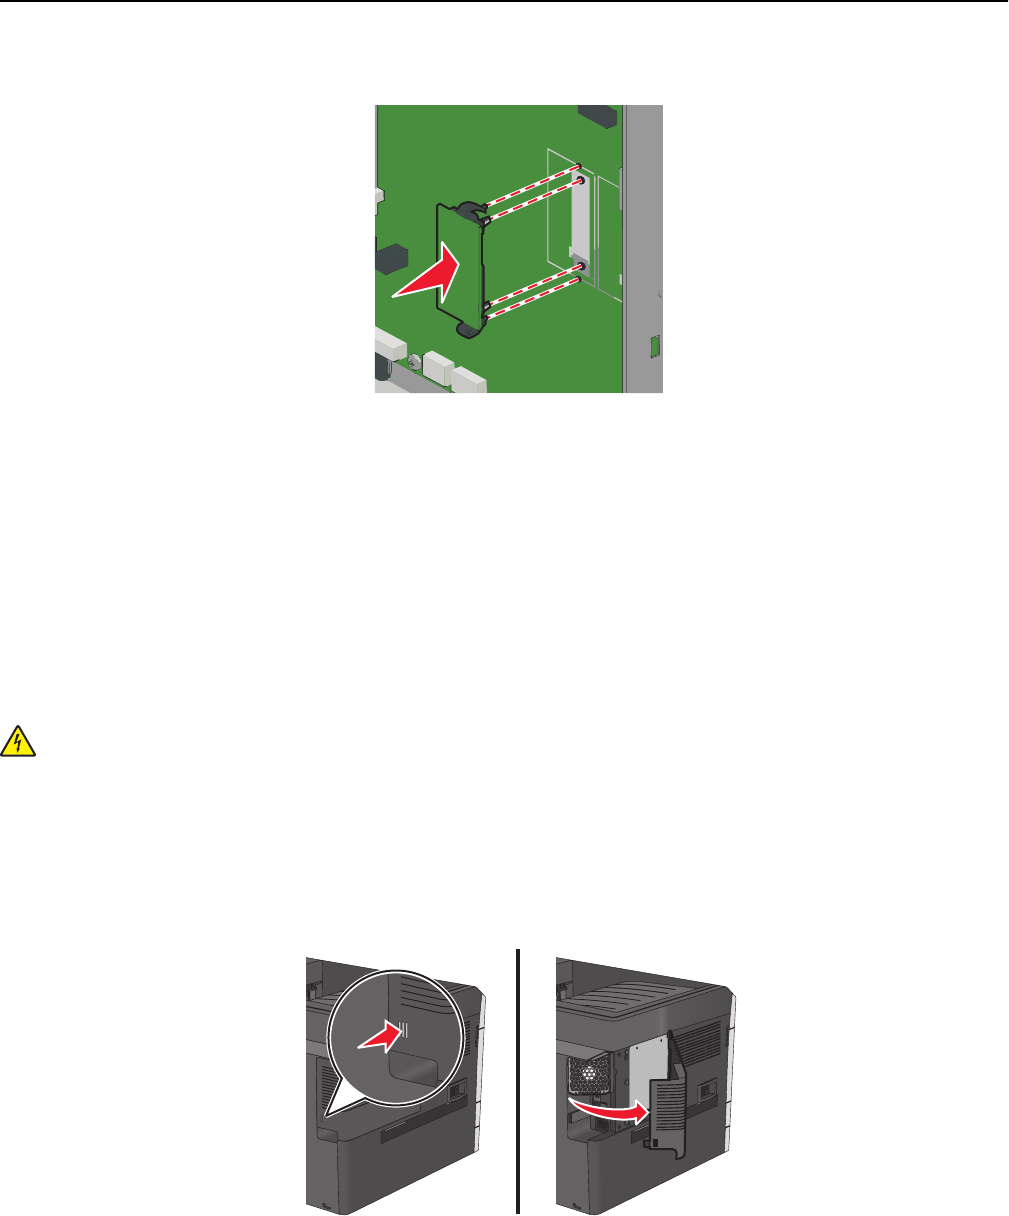
1 Remove the cover.
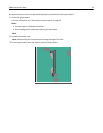
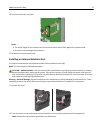
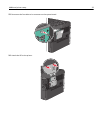
2 Turn the screws on the metal panel counterclockwise to remove them, and then pull the panel down.
Note: Remove the two screws emphasized in the illustration.
Additional printer setup 27