


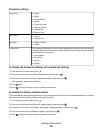
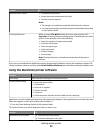
Copy menu Scan menu Fax menu PictBridge menu
Copies
Quality
Lighter/Darker
Resize
Original Size
Photo Reprint
Collate
Pages per Sheet
Copies per Sheet
Content Type
Scan to
• Computer
• Network (appears only
if the printer is
connected to a
network)
• USB Flash Drive
• Memory Card
Quality
Original Size
Fax to
Quality
• Standard
• Fine
• Superfine
• Ultrafine
Lighter/Darker
Original Size
• Letter
• A4
Schedule Fax
• Send Now
• Send Later
• View Pending
Address Book
Note: The PictBridge menu
is enabled only when you
insert a PictBridge-enabled
camera into the printer.
Photo Size
Paper Size
Paper Type
Layout
Quality
Note: The File Print menu is enabled when you insert a flash drive that contains document files into the printer. The
menu is composed of the folders and files stored on the flash drive.
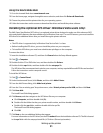
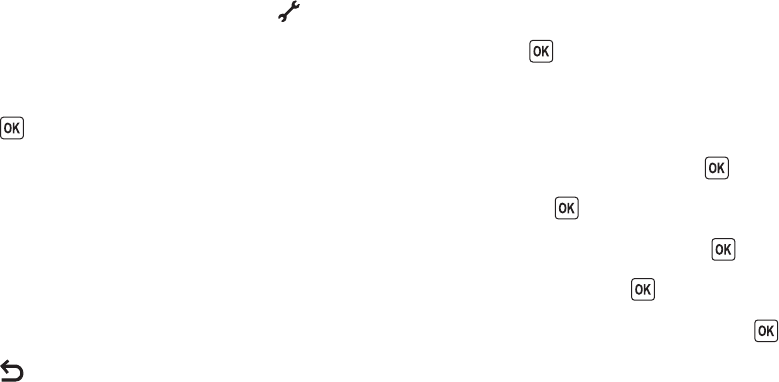
Saving settings
You can set the default paper size, paper type, and photo print size for the documents and photos that you print.
Note: These default settings apply only to print, copy, and scan jobs that you initiate from the printer.
1 From the printer control panel, press .
2 Press the arrow buttons until Defaults appears, and then press .
Paper Size appears on the display.
3 Press again.
4 Press the arrow buttons to select the default paper size for the printer, and then press .
5 Press the arrow buttons until Paper Type appears, and then press .
6 Press the arrow buttons to select the default paper type for the printer, and then press .
7 Press the arrow buttons until Photo Print Size appears, and then press .
8 Press the arrow buttons to select the default photo print size for the printer, and then press .
9 Press until you exit Setup, or press another mode button.
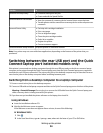
Changing temporary settings into new default settings
The printer has default temporary settings for the menus. The printer reverts to these default temporary settings
after two minutes of inactivity or after the printer is turned off:
Setting up the printer
28