


Printing photos from a PictBridge-enabled digital camera
PictBridge is a technology available in most digital cameras that lets you print directly from your digital camera
without using a computer. You can connect a PictBridge-enabled digital camera to the printer, and use the camera
to control printing photos.
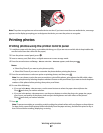
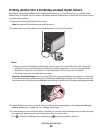
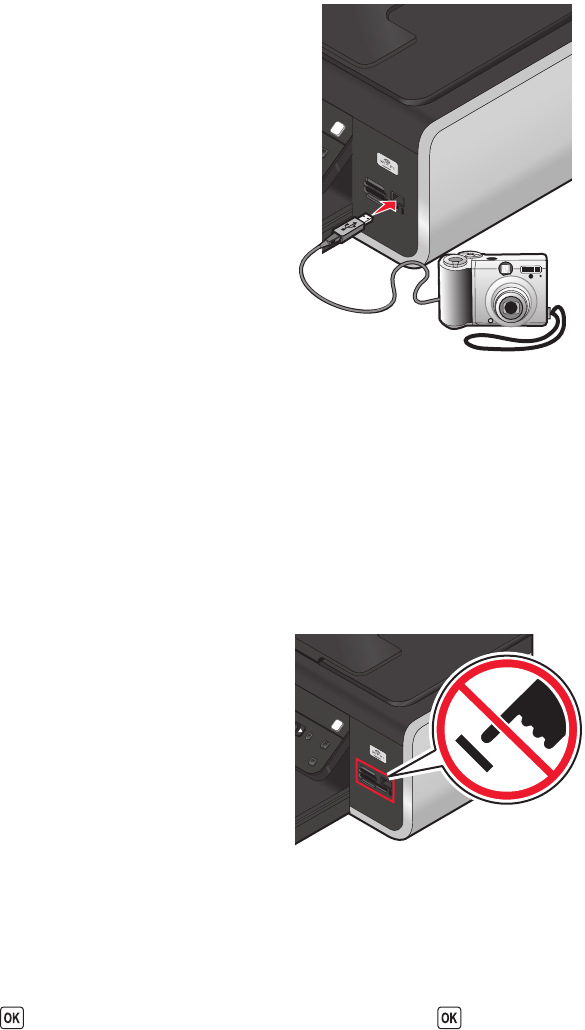
1 Insert one end of the USB cable into the camera.
Note: Use only the USB cable that came with the camera.
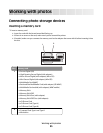
2 Insert the other end of the cable into the PictBridge port on the front of the printer.
Notes:
• Make sure that the PictBridge-enabled digital camera is set to the correct USB mode. If the camera USB
selection is incorrect, then the camera is detected as a USB storage device, or an error message will be
displayed on the printer control panel. For more information, see the camera documentation.
• The printer reads only one media device at a time.
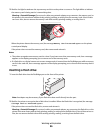
Warning—Potential Damage: Do not touch the USB cable, any network adapter, any connector, or the printer
in the area shown while actively printing from a PictBridge-enabled digital camera. A loss of data can occur. Also,
do not remove the USB cable or network adapter while actively printing from a PictBridge-enabled digital camera.
3 If the PictBridge connection is successful, then the following message appears on the display: PictBridge
Camera detected. Press OK to change settings.
4 Use the camera to choose and print photos. If desired, you can also use the Pictbridge menu to select the paper
size, paper type, photo size, and layout of the photos that you want to print.
Press
to access the PictBridge menu, and then press each time you make a selection.
Working with photos
90