


58
Linksys QuickVPN for Windows 2000, XP, or Vista
10/100 4-Port VPN Router
Appendix B
Appendix B:
Linksys QuickVPN for
Windows 2000, XP, or Vista
Introduction
The 10/100 4-Port VPN Router (model number: RV042)
supports IPSec VPN client software, including the Linksys
QuickVPN software (also known as the Linksys VPN
client).
The Router supports up to 50 Linksys QuickVPN clients
free of charge. If the Router you have only supports
up to ten clients, then upgrade its firmware. Refer to
“Appendix F: Firmware Upgrade” for instructions.
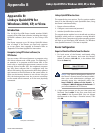
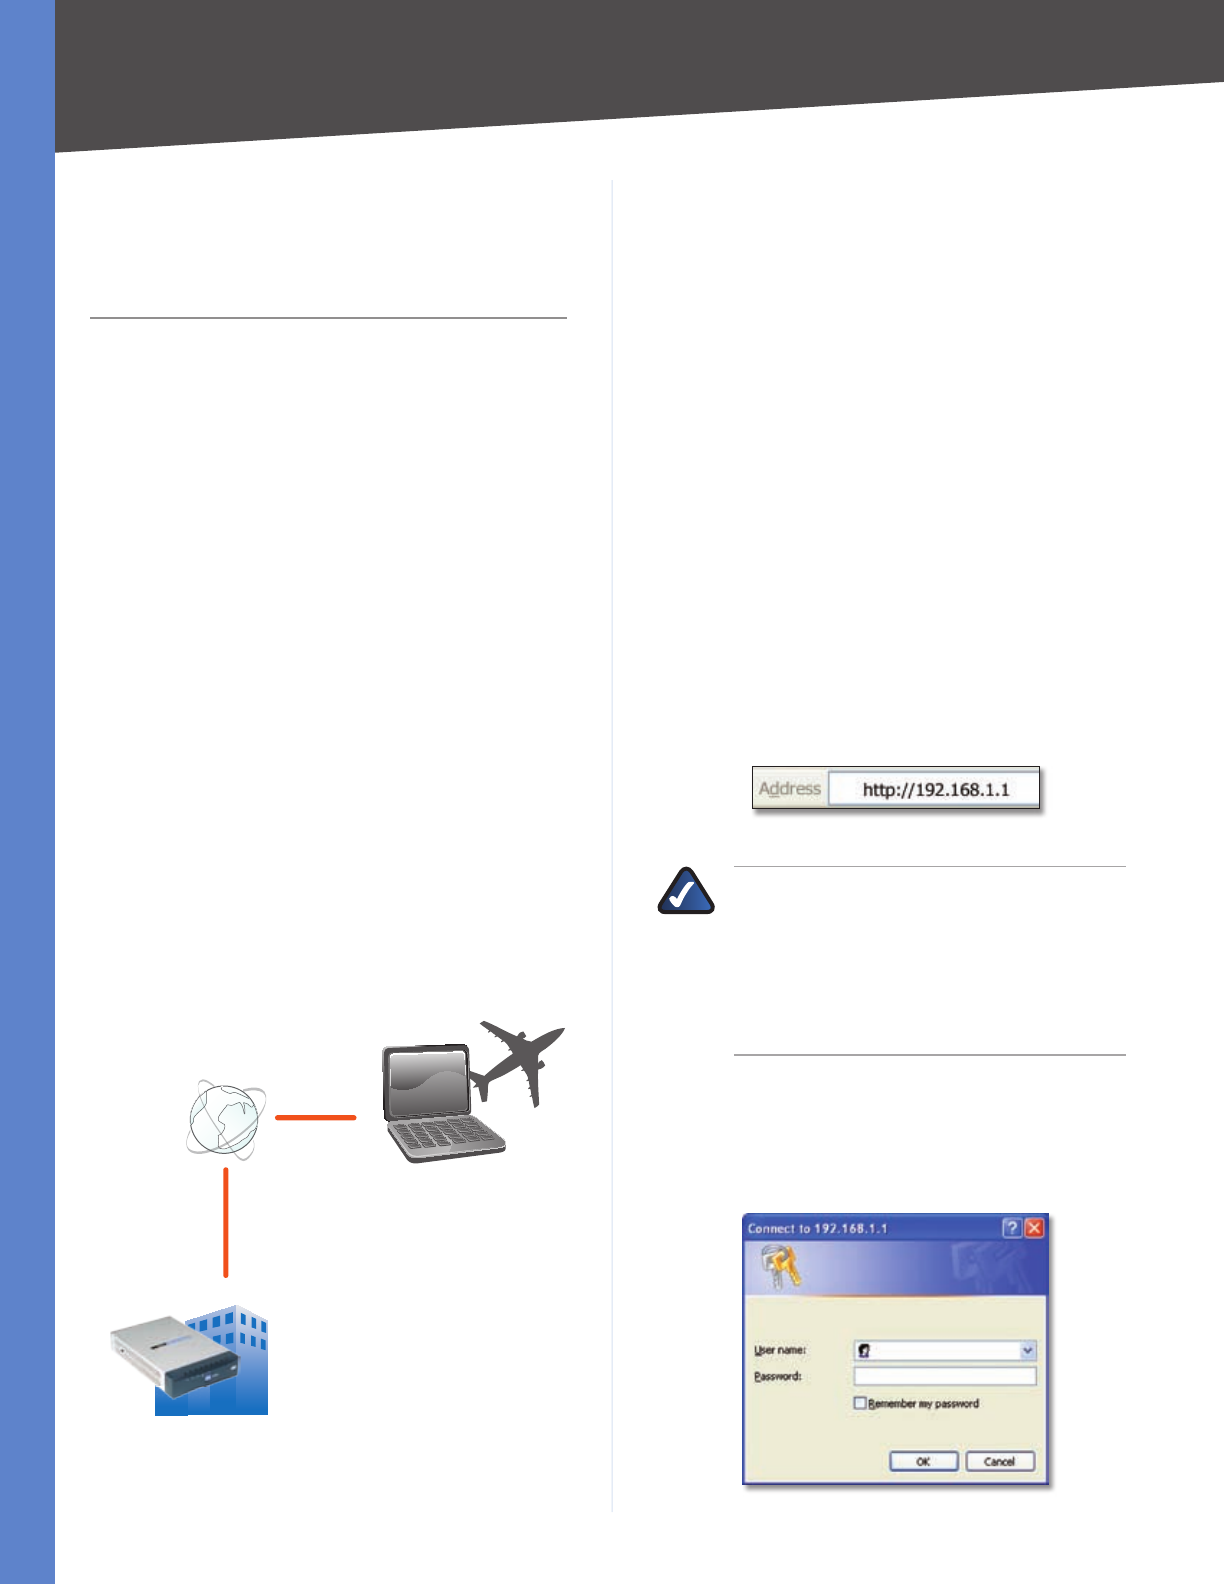
Computer (using VPN client software) to
VPN Router
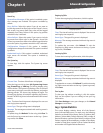
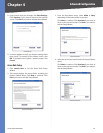
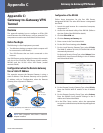
You can create a VPN tunnel between a computer using
VPN client software and a VPN router. The following is
an example of a computer-to-VPN Router VPN. In her
hotel room, a traveling businesswoman connects to her
Internet Service Provider (ISP). Her notebook computer
has VPN client software that is configured with her
office’s VPN settings. She accesses the VPN client software
and connects to the VPN Router at the central office. As
VPNs use the Internet, distance is not a factor. Using the
VPN, the businesswoman now has a secure connection
to the central office’s network, as if she were physically
connected.
Internet
Central Office
Off-Site
Notebook with VPN
Client Software
VPN
Router
Computer to VPN Router
Linksys QuickVPN Instructions
This appendix has two sections. The first section explains
how to do the following for
each QuickVPN client, using
the Router’s web-based utility:
Export a client certificate. 1.
Configure a user name and password.2.
Add the QuickVPN client to the list.3.
The second section explains how to install and use Linksys
QuickVPN, which works on computers running Windows
2000, XP, or Vista. (Computers using other operating systems
will have to use third-party VPN software.) For Windows
Vista, QuickVPN version 1.2.5 or later is required.
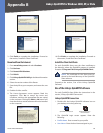
Router Configuration
Export a Client Certificate from the Router
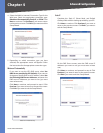
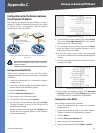
For local access of the Router’s web-based utility, 1.
launch your web browser, and enter the Router’s
default IP address, 192.168.1.1, in the Address field.
Press the Enter key.
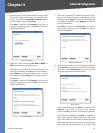
Address Bar
NOTE: If the Remote Management feature on
the Firewall > General screen has been enabled,
then users with administrative privileges can
remotely access the web-based utility. Use
http://<WAN IP address of the Router>, or
use https://<WAN IP address of the Router> if
you have enabled the HTTPS feature.
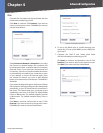
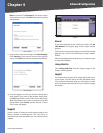
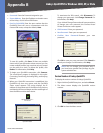
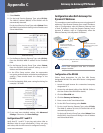
A login screen prompts you for your User name and 2.
Password. Enter admin in the User name field, and
enter admin in the Password field. (You can change
the Password on the Setup > Password screen.) Then
click OK.
Login Screen