


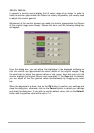
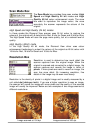
Settings Sub-menu
You can adjust several general scan settings in this
submenu.
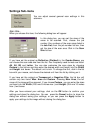
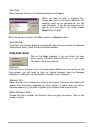
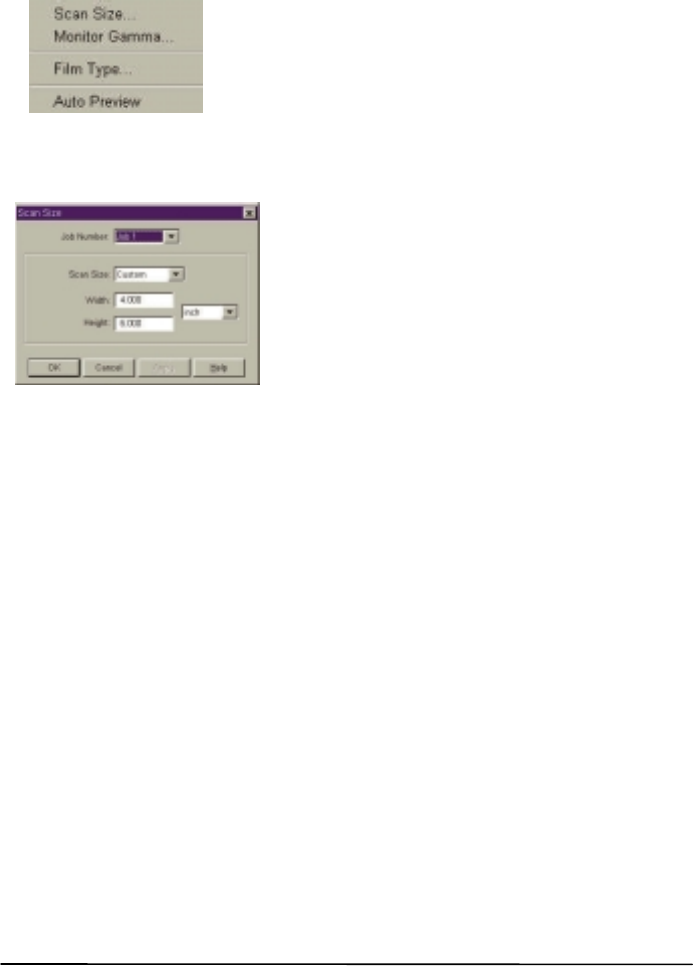
Scan Size…
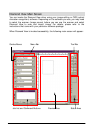
When you choose this item, the following dialog box will appear:
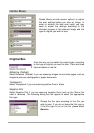
In this dialog box, you can set the sizes of the
areas to be scanned. First, choose the job
number (the numbers of the scan areas listed in
the Job List) from the job number list box, then
set the size of the scan area. Click in the Scan
Size list box:
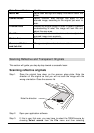
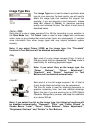
If you have set the original as Reflective (Flatbed) in the Combo Boxes, you
can choose the scan area size from the list. Four frequently used formats are listed:
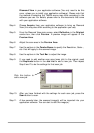
A4, A5, B5 and Letter. You can also customise the scan sizes by choosing
Custom in the list box and then enter the desired width and height into the Width
and Height text boxes. The default unit is inch. To change the unit, click in the list
box with your mouse, and choose the desired unit from the list by clicking on it.
If you have set the original as Transparent or Negative Film, the list box will
contain only two items: Max. Area and Custom. Choosing Max. Area, the full
range of the image will be scanned. If you choose Custom, you can enter the sizes
you want into the Width (200 mm/8 inches max.) and Height (254 mm/10 inches
max.) text boxes.
After you have entered your settings, click on the OK button to confirm your
settings and close the dialog box. You can press the Cancel button to close the
dialog box without saving your settings; or you can press the Apply button to
apply your settings to the image without closing the dialog box.