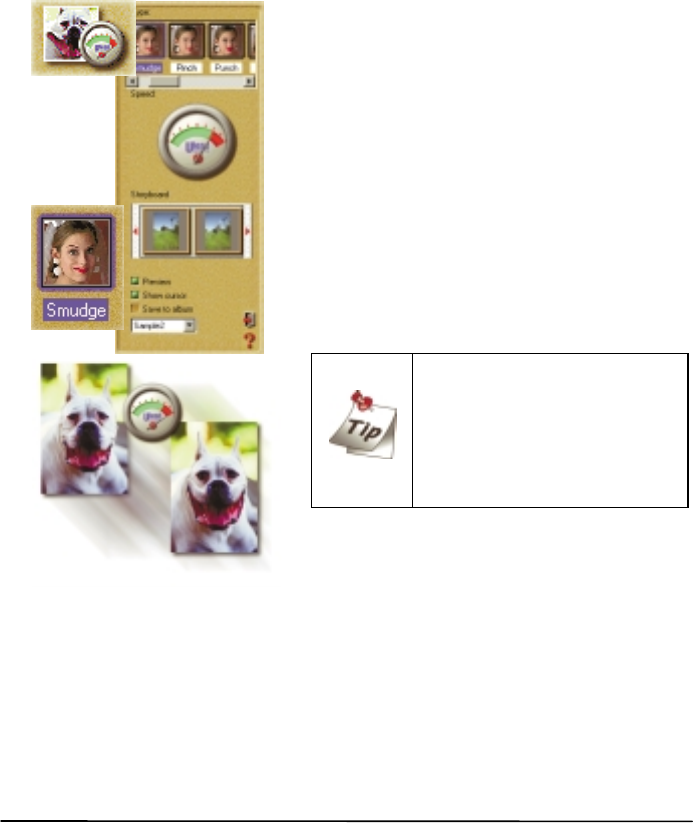
Morphing Photos
One of Photo Express’ more novel effects extras is that of image morphing.
Morphing transforms an image over time to create interesting and unique “warps”
of the original photo. Image morphs are output as either image sequences or
animated GIF files.
To morph an image:
1.
Get the photo you want to morph from an
album or from your hard disk.
2.
Click the Express button on the Command
panel. The Express extras appear on the
Toolbar.
3.
Select the Morph icon from the Toolbar.
4.
Choose a transformation from Type. To use
the transformation, move your mouse cursor into
the workspace and start “painting”.
5.
On the Shortcut bar, click the Add Item to
Storyboard button. This adds the current image
to the Storyboard.
You can remove the effects of
a transformation and return the
image to its original state by
clicking the Restore button on
the Shortcut bar. Also, click the
Play button to view an on-the-
fly rendering of the animation.
6.
When your Storyboard is complete, save
the file to disk by clicking the Save icon on the
Shortcut bar.
Note: You can output image morphs as either an image sequence or GIF
animations. GIF animations are useful for putting your images on the
Web while image sequences are best for searching through the individual
frames to find the one that really stands out.


