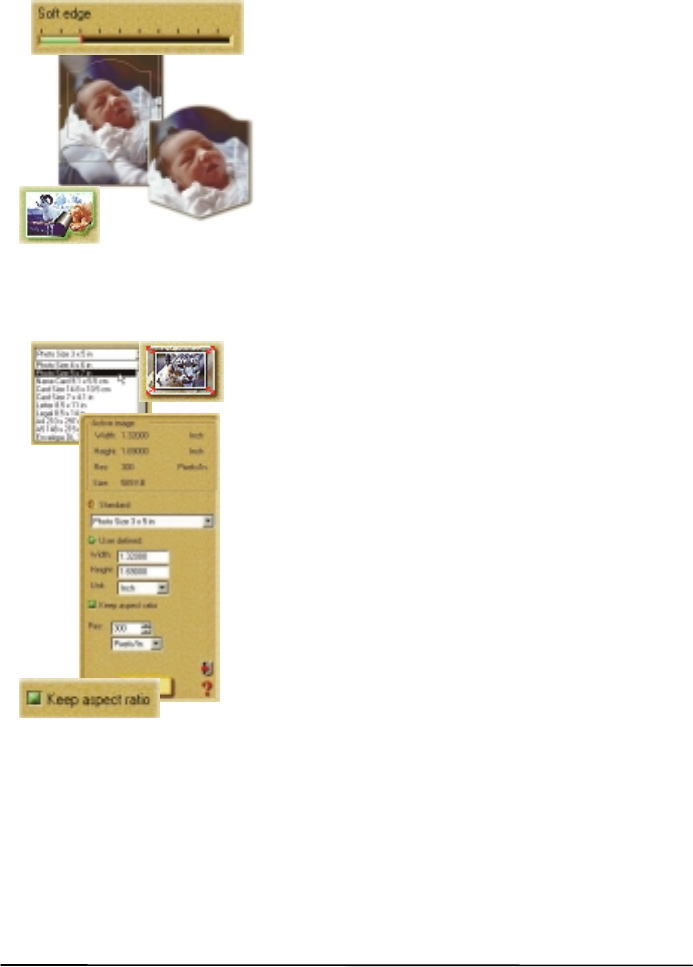
To trim your photo:
1.
Click the Trim button in the Edit: Adjust
category. The Trim options will open in the
Options panel.
2.
Select a Trim shape and then set the
amount of Soft edge you want to soften the
edges of the trimmed photo with.
3.
Click Apply to trim the photo.
Note: You can open the trimmed region
in a new editing work space by selecting
the Create New Image option.
To re-size your photo:
1.
Click the Size button in the Edit: Adjust
category. This opens the Size options in the
Options panel.
2.
Select either a predefined size from the
Standard drop-down menu, or enter custom
dimensions for the image in the User defined
option.
3.
Select the Keep aspect ratio button to
maintain continuity between height and width
as you resize. This keeps the image from
getting stretched unnaturally.
4.
Finally, you can define the image’s
Resolution. This determines how the image
prints on paper - the lower the resolution, the
less pixels used to generate the image, while a
higher resolution uses more pixels to create an
image resulting in a larger file.
5.
Click Apply to resize the photo.


