


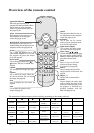
15
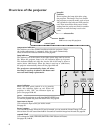
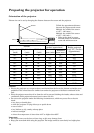
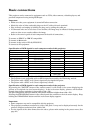
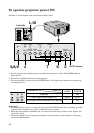
Adjusting the angle of projection
• Screen on a flat wall with a 90˚ angle to the floor.
• Align projector to produce a full screen display as illustrated on page 14.
• Distance from projector to screen must be compatible with screen size chart on page 14. Note
distance from screen chart.
• If image is not square on screen, try adjusting the front feet of the projector for proper angle.
foot adjustment
screen
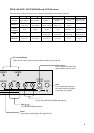
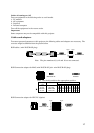
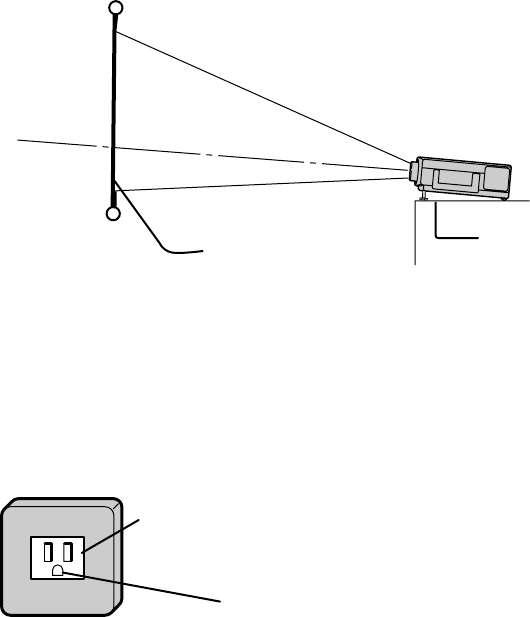
Getting ready for projection
1. Connect the power cord provided to this projector with the power jack of the projector.
2. Connect the power cord to the wall outlet.
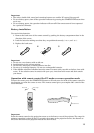
3. Take off the lens cap.
4. Do not look directly into the lens when projector is “ON”.
Warning:
• A three-pin grounding type power plug is used with the projector. Do not remove the grounding
pin on the power plug. If you are unable to insert the plug into the outlet, contact your electrician
to replace your obsolete outlet.
• The supplied power cord is used for 120V only. Never connect to any outlet or power supply
having a different voltage or frequency. If you connect to the power supply having a different
voltage, please use the appropriate power cord.
• Do not place an object on the power cord and keep the projector away from heat source to avoid
breaking the power cord. A broken of power cord can cause fire or electric shock.
• Do not revise or alter the power cord otherwise it may cause fire or electric shock.
Contact your dealer if the cord is broken.
Caution:
• Plug in firmly and unplug by holding the plug, not by pulling the cable out.
• Do not plug in or out with wet hands. It may cause an electric shock.
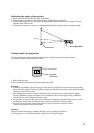
Plug in the provided
power cord directly.
ground
terminal