


PH50, XL50, XL21 series Set-up and Installation Manual
14
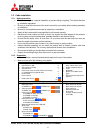
1.2.6.2. Screen detaching
For
5
5
0
0
”
” which is supplied with the screen fitted, the screen unit should be detached before
installation. (For
6
6
7
7
”
”, the screens are provided separately.)
6
6
7
7
”
”: Screen attaching/detaching work should be done by two or more people.
Be careful not to trap your fingers when you slide its arms during detaching/attaching work.
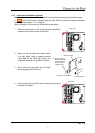
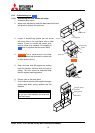
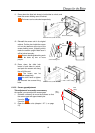
1.
5
5
0
0
”
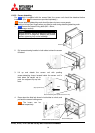
”: Remove two screen-fixing bolts (M6 – 45mm,
gold hexagon socket).
Caution
Before shipment, be sure to tighten the bolts (see
chapter
2.5.4, on page 86). Shipping the product
without tightening may cause breakage.
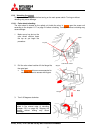
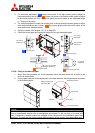
2. Pull screen-drawing handles in both sides to draw the screen
till locked.
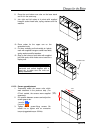
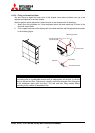
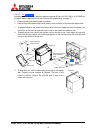
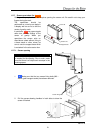
3. Lift up and detach the screen unit with pushing
screen-detaching levers located inside the screen unit in
both sides. Be careful not to
push the adjacent flip-up lock
lever.
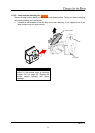
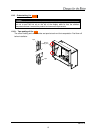
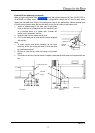
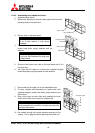
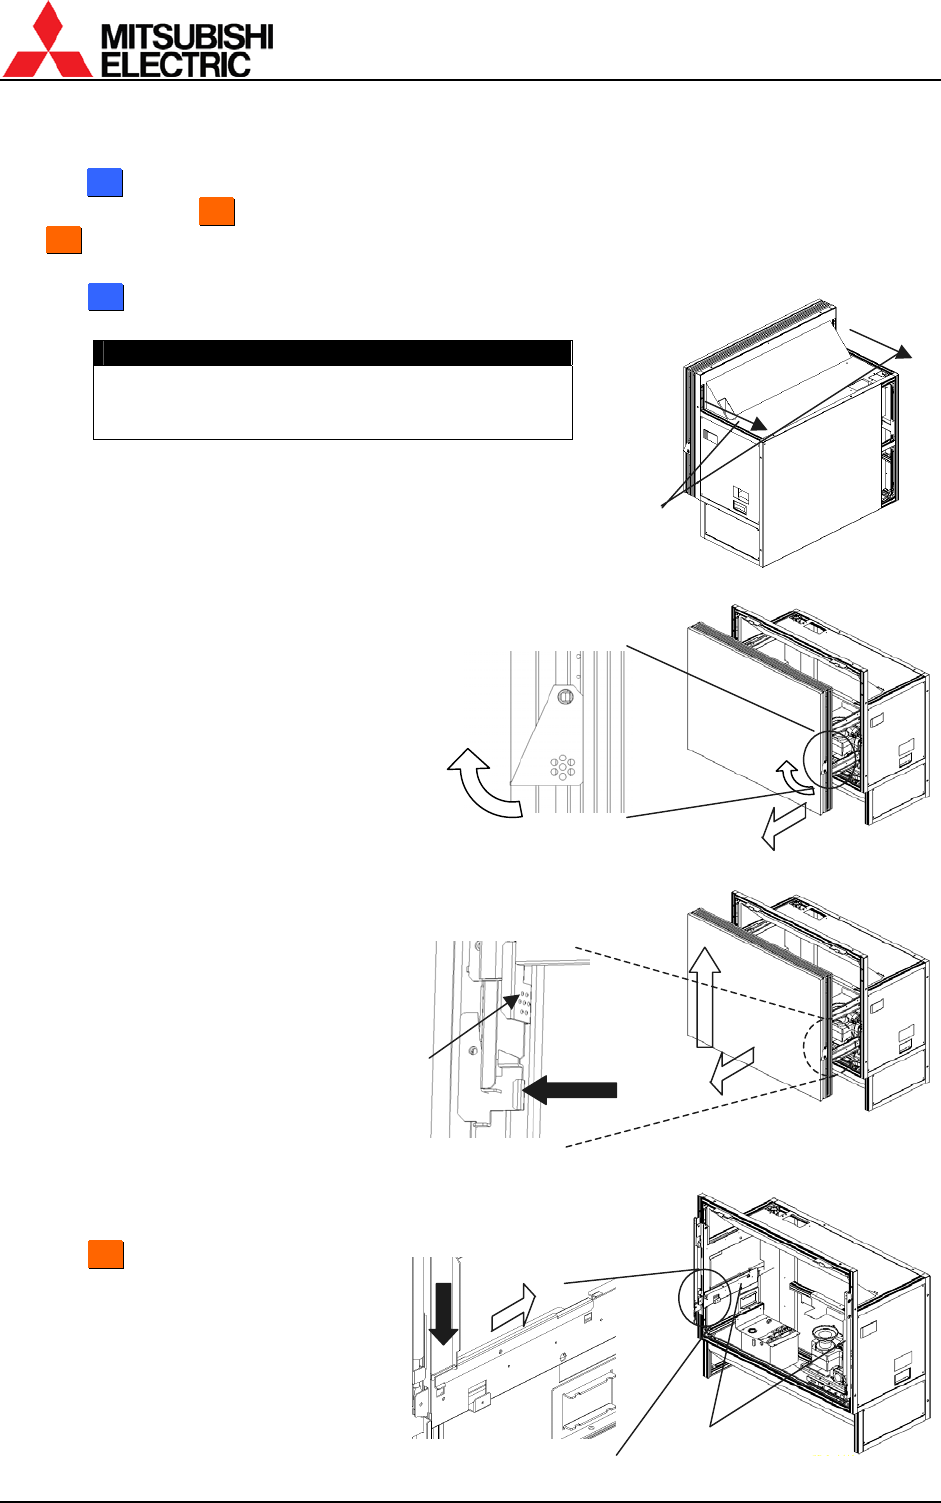
4. Press down the slide lock levers in both sides to unlock, and
put back the screen-holding arms.
6
6
7
7
”
”: The levers can be
unlocked respectively.
Screen-fixing
bolts
Screen-drawing handle
Screen-detaching lever (inside the screen unit)
Screen-holding arm
(Flip-up lock lever)
Slide lock lever (Inside the arm)
Push