


REV 2.4
7
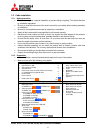
1.2.3. Input board installation (optional)
When using the optional input board, install it into the product according to the following steps.
In
F
F
r
r
o
o
n
n
t
t, a slot for the board is located inside the cube. Open the screen unit before installation
according to the chapter 1.2.7 on page 21.
When you attach it, be sure to turn off the main power switch.
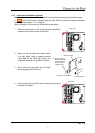
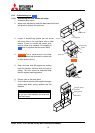
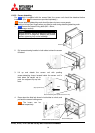
1. Remove a panel cover on the control panel by removing 6
screws at the positions shown in the figure.
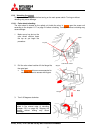
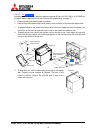
2. When you use the video input board, attach
it as right figure. Stick a supplied terminal
name label on the RGB input board, and
combine the boards with supplied 2 screws.
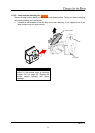
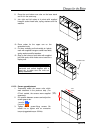
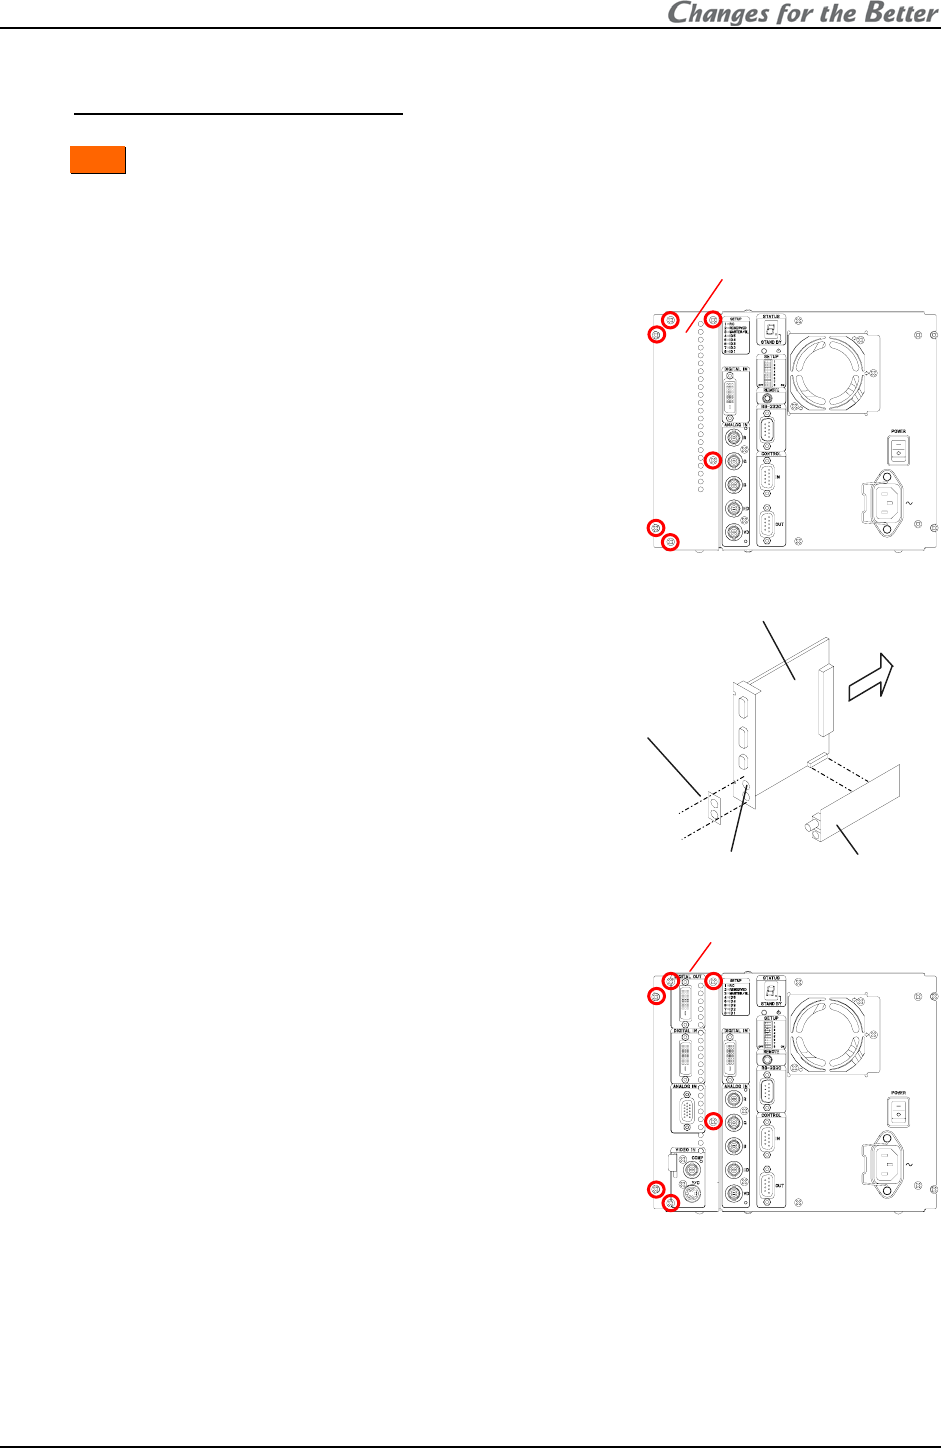
3. Firmly insert the input board into the board
slot along guide rails till the end.
4. Firmly fix the input board with the 6 screws that have been
removed in the step 1.
In
p
ut boa
r
d
Panel cover
2. Stick the supplied
terminal name label,
and then combine
the boards with 2
supplied screws.
Video input board
RGB input board
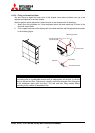
1. Remove 2 hole-stoppers.
Insert