WAN and System Configuration 8-33
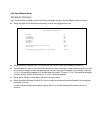
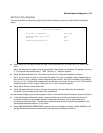
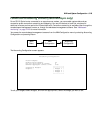
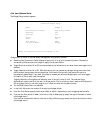
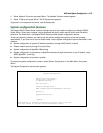
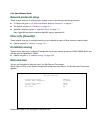
2. Select Network Protocols and press Return. The Network Protocols screen appears.
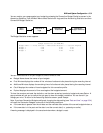
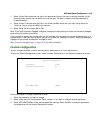
3. Select IP Setup and press Return. The IP Setup screen appears.
To go back in this sequence of screens, use the Escape key.
SS
SS
yy
yy
ss
ss
tt
tt
ee
ee
mm
mm
cc
cc
oo
oo
nn
nn
ff
ff
ii
ii
gg
gg
uu
uu
rr
rr
aa
aa
tt
tt
ii
ii
oo
oo
nn
nn
ff
ff
ee
ee
aa
aa
tt
tt
uu
uu
rr
rr
ee
ee
ss
ss
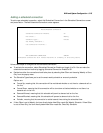
The Netopia R5000 Series Router’s default settings may be all you need to configure your Netopia R5000
Series Router. Some users, however, require advanced settings or prefer manual control over the default
selections. For these users, the Netopia R5000 Series provides system configuration options.
To help you determine whether you need to use the system configuration options, review the following
requirements. If you have one or more of these needs, use the system configuration options described in later
chapters.
■ System configuration of dynamic IP address distribution through DHCP, MacIP, or BootP
■ Greater network security through the use of filters
■ System configuration of AppleTalk LAN settings
■ System configuration of connections to AppleTalk networks through the Internet or any IP network, using
AURP (AppleTalk “tunneling”)
■ System configuration of connection profiles
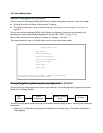
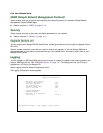
To access the system configuration screens, select System Configuration in the Main Menu, then press
Return.
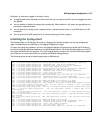
The System Configuration menu screen appears:
System Configuration
Network Protocols Setup...
Filter Sets (Firewalls)...
IP Address Serving...
Date and Time...
Console Configuration...
SNMP (Simple Network Management Protocol)...
Security...
Upgrade Feature Set...
Logging...
Return/Enter to configure Networking Protocols (such as TCP/IP).
Use this screen if you want options beyond Easy Setup.


