


ACCULINK 317x E1 DSU/CSU
3-14 December 1996 3170-A2-GB20-20
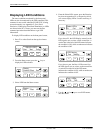
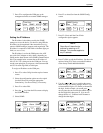
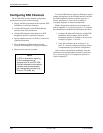
7. Select the port from which you want to copy the
configuration options using the corresponding
Function key.
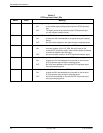
F1
Copy From:
Prt1 Prt2 Prt3
F2
F3
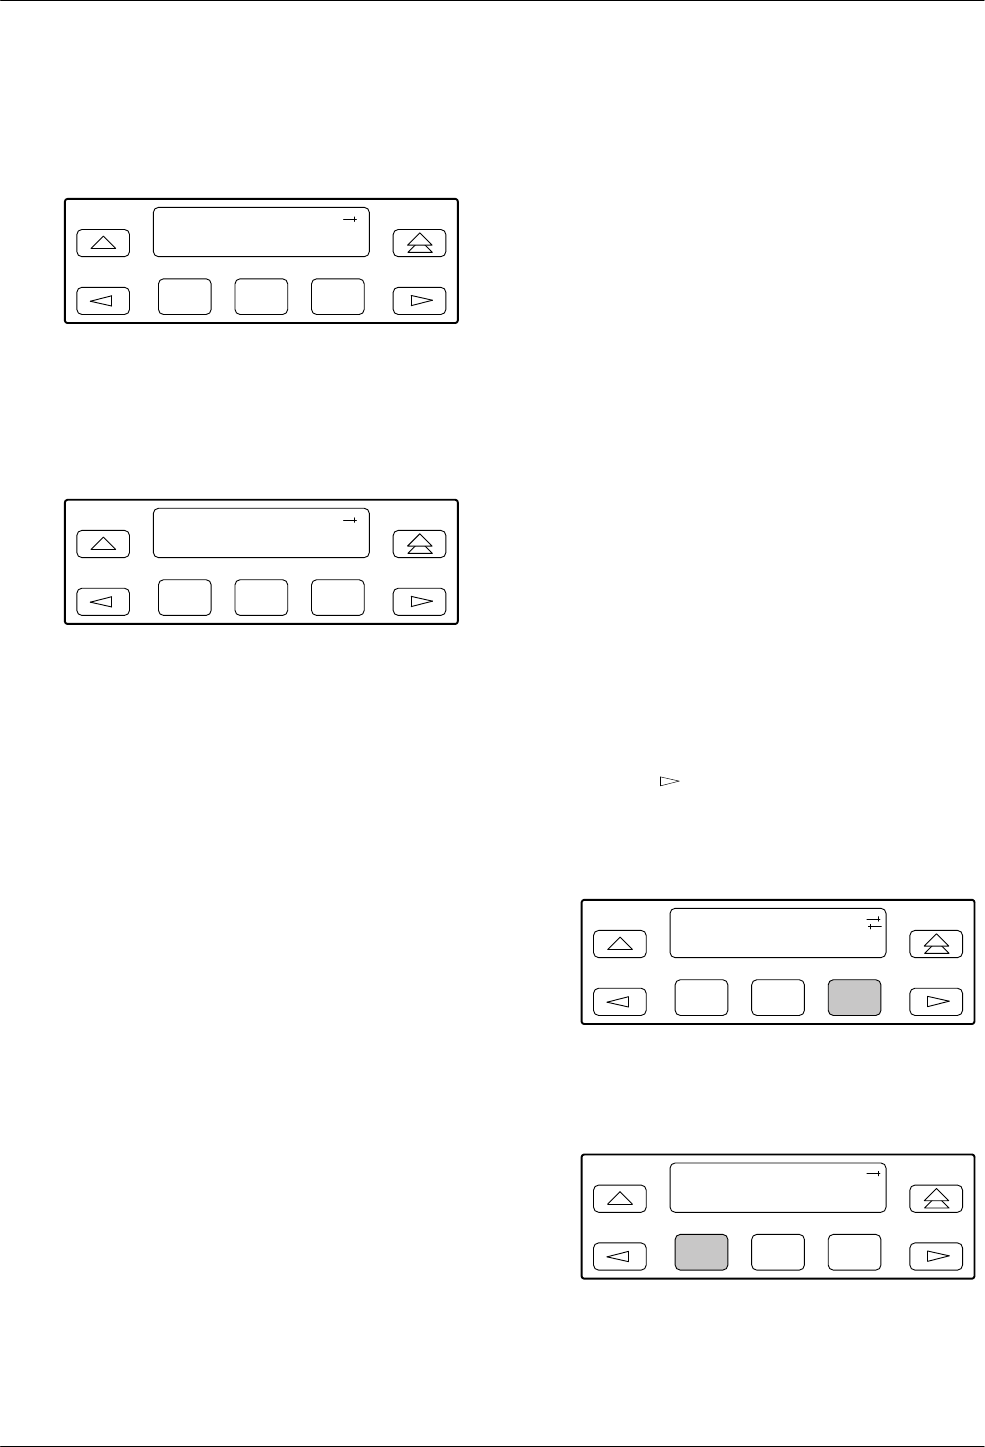
8. Select the port to which you want to copy the
configuration options using the corresponding
Function key. Or, press F1 (All) to choose to copy
to all ports.
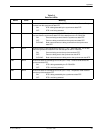
F1
Copy To:
All Prt1 Prt2
F2
F3
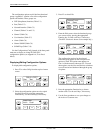
Configuring the E1 DSU/CSU
for SNMP Management
To configure the E1 DSU/CSU for management by an
SNMP management system you must,
• Select and configure the port that provides the link
to the SNMP management system.
• Set the Internet Protocol (IP) address and subnet
mask needed to access the device (see Appendix F
,
IP Network Addr
essing Scenario)
.
• Select the link layer protocol (PPP or SLIP) for the
port.
• Specify the two community names that are allowed
to access the device’
s Management Information
Base (MIB).
•
Configure the device to send traps to the SNMP
manager, if desired.
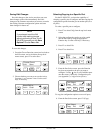
Selecting the Port
The SNMP manager or network device (e.g., a router)
can be directly connected to the communications (COM)
port. An external LAN Adapter can be connected to either
the COM port or the auxiliary (AUX) port to provide
Ethernet or T
oken Ring connectivity
. Also, the E1
DSU/CSU can be daisy chained together by connecting
the COM port of one device to the AUX port of the other,
providing SNMP connectivity.
The COM port can support either synchronous or
asynchronous PPP
, or asynchronous SLIP at data rates of
up to 38,400 bps. The AUX port can support data rates up
to 38,400 bps.
The example shown below assumes that the COM port
is being used as the link to the SNMP manager
.
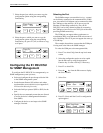
T
o select the COM port as the management link,
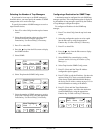
1. Press F3 to select Cnfig from the top-level menu
screen.
2. Select the configuration option set to be copied
into the Edit area by using the appropriate
Function key
. Use the scroll keys, if necessary
.
3. Press F1 to select Edit.
4.
Press the
key from the Edit screen to display
the User selection.
5.
Select User
.
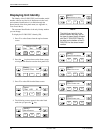
F1
Edit:
Chan Gen User
F2
F3
6. Press F1 (Next) until the Com Use configuration
option appears.
F1
Self-Test:Enab
Next Enab Disab
F2
F3