Sending Scan Files by E-mail
28
2
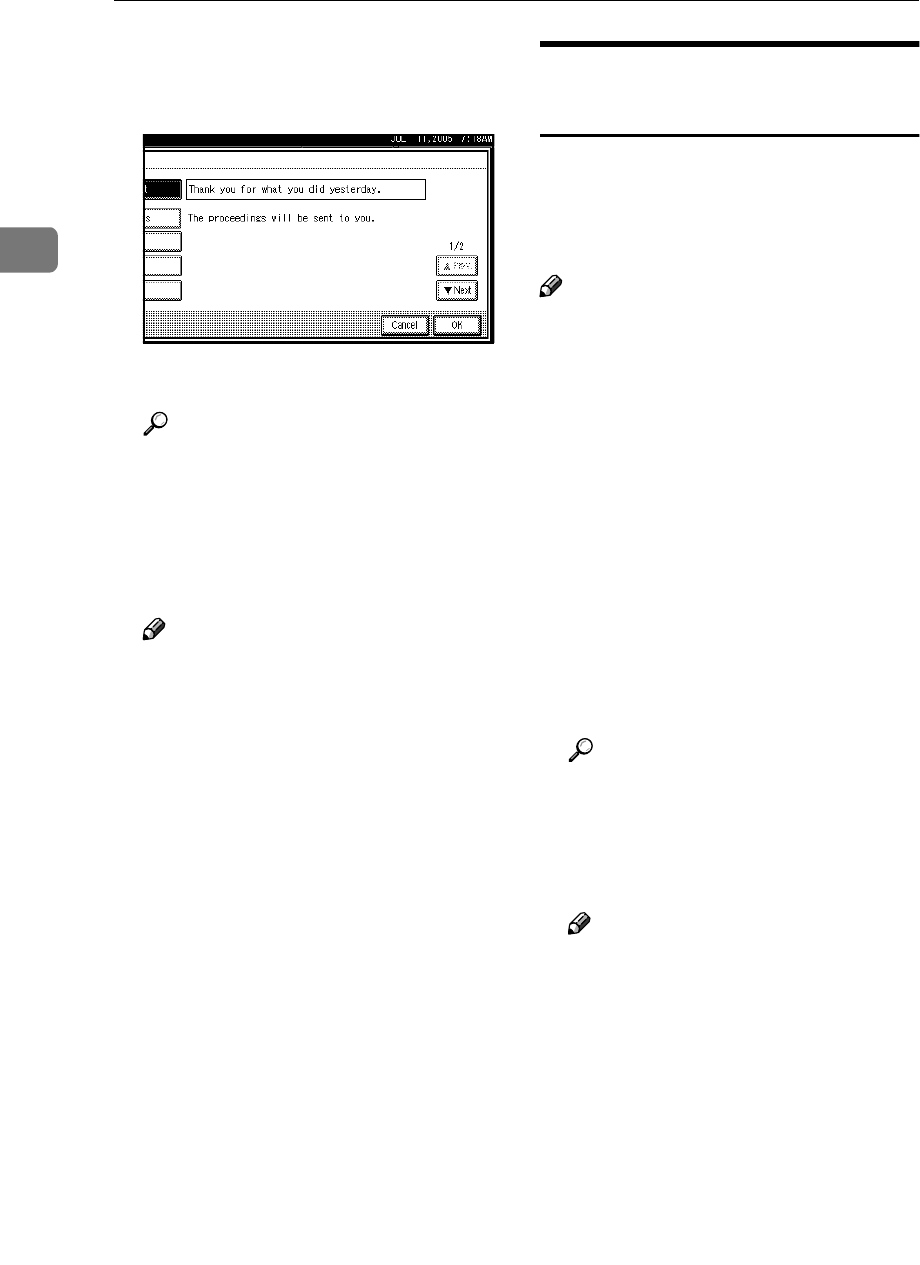
D Enter the message “Thank you
for what you did yesterday”.
E Press [OK] three times.
M
MM
M
Place originals.
Reference
The procedure for placing origi-
nals is the same as that for plac-
ing originals for copying. For
details about placing originals,
see “Placing Originals”, Copy
Reference.
Note
❒ For details about the maximum
size of the scan file and maxi-
mum number of pages that can
be sent, see p.112 “E-mail”.
❒ To interrupt scanning, press the
{
{{
{Clear/Stop}
}}
} key or press [Stop]
on the display panel.
❒ When scanning multiple pages
into a single file, place the next
original. For details, see p.77
“Scanning Multiple Pages into a
Single File”.
Simultaneous Storage and
Sending by E-mail
You can use the e-mail function and
the storage function together.
The scan file is sent by e-mail and at
the same time is stored.
Note
❒ This section explains mainly the
procedure for simultaneous stor-
age and sending of e-mail. For de-
tails, see p.19 “Procedure for
Sending E-mail”.
❒ The file stored when simultane-
ously storing a file and sending it
by e-mail cannot be resent in the e-
mail screen. To resend the file, se-
lect the file in the [Select Stored File]
screen and send it. See p.50 “Send-
ing Stored Files by E-mail or Scan
to Folder, or Delivering”.
A
AA
A
Make settings for the original, such
as orientation and output tray.
Reference
p.75 “Specifying the Orienta-
tion and Output Tray of the
Original”
B
BB
B
Make the scan settings.
Note
❒ There are two ways to specify
scan settings, as described be-
low:
• Configure each setting for
scanning. For details, see
p.73 “Specifying Scan Set-
tings”.
• Recall registered settings. For
details, see p.80 “Programs”.
C
CC
C
Specify the destination.
D
DD
D
Specify the sender and a subject.


