Sending Scan Files by Scan to Folder
42
3
Checking the Scan to Folder Results
The sending results can be checked.
Note
❒ For details about the maximum
number of sending operations that
can be checked, see p.102 “Print &
Delete Scanner Journal”.
❖
❖❖
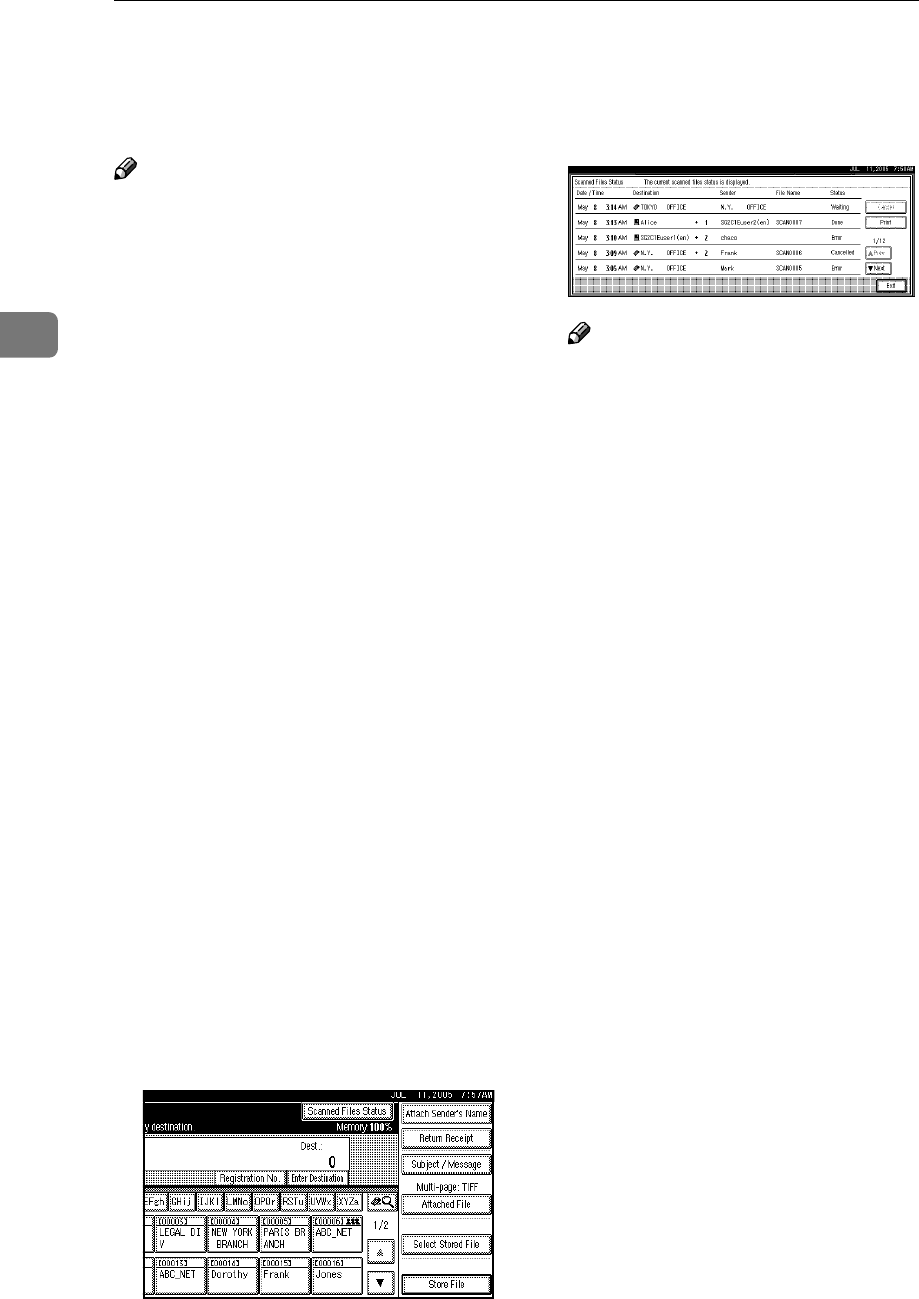
❖ Items that can be checked
• Date / Time
The date and time sending was
requested or the date and time
“Error” or “Cancelled” is con-
firmed is displayed.
• Destination
The sending function (e-mail,
Scan to Folder, or delivery func-
tion) used is displayed with an
icon.
When multiple destinations
were selected, the destinations
are displayed individually.
• Sender
• File Name
The file name is displayed only
when a file is stored at the same
time and when a stored file is
sent.
• Status
One of the following status is
displayed: “Done”, “Send-
ing...”, “Waiting...”, “Error”, or
“Cancelled”.
A
AA
A
Press [Scanned Files Status] on the
Scan to Folder screen.
B
BB
B
Check the displayed records.
Note
❒ Depending on the security set-
tings, certain records may not
be displayed.
❒ One screen shows the records
for five sending operations.
Press [U
UU
UPrev.] or [T
TT
TNext] to
scroll through the screen.
❒ When the status of a file is
“Waiting...”, the sending can be
canceled by selecting that file,
and then pressing [Cancel].
❒ Press [Print] to print the whole
journal.
C
CC
C
Press [Exit].
The Scan to Folder screen appears.


