Sending Scan Files by Scan to Folder
40
3
❒ It is also possible to perform
a combined search using
[Search by Dest. Name] and
[Search by Folder Name].
D Press [OK].
E Select a destination folder.
F Press [Exit].
Checking selected destinations
A Use the destination field at the
top of the screen to check
which destinations are select-
ed.
Note
❒ Press [U
UU
UPrev.] or [T
TT
TNext] to
scroll through the list. Desti-
nations are displayed in the
order they were selected.
❒ To check the selected desti-
nations, press the {
{{
{Check
Modes}
}}
} key.
G
GG
G
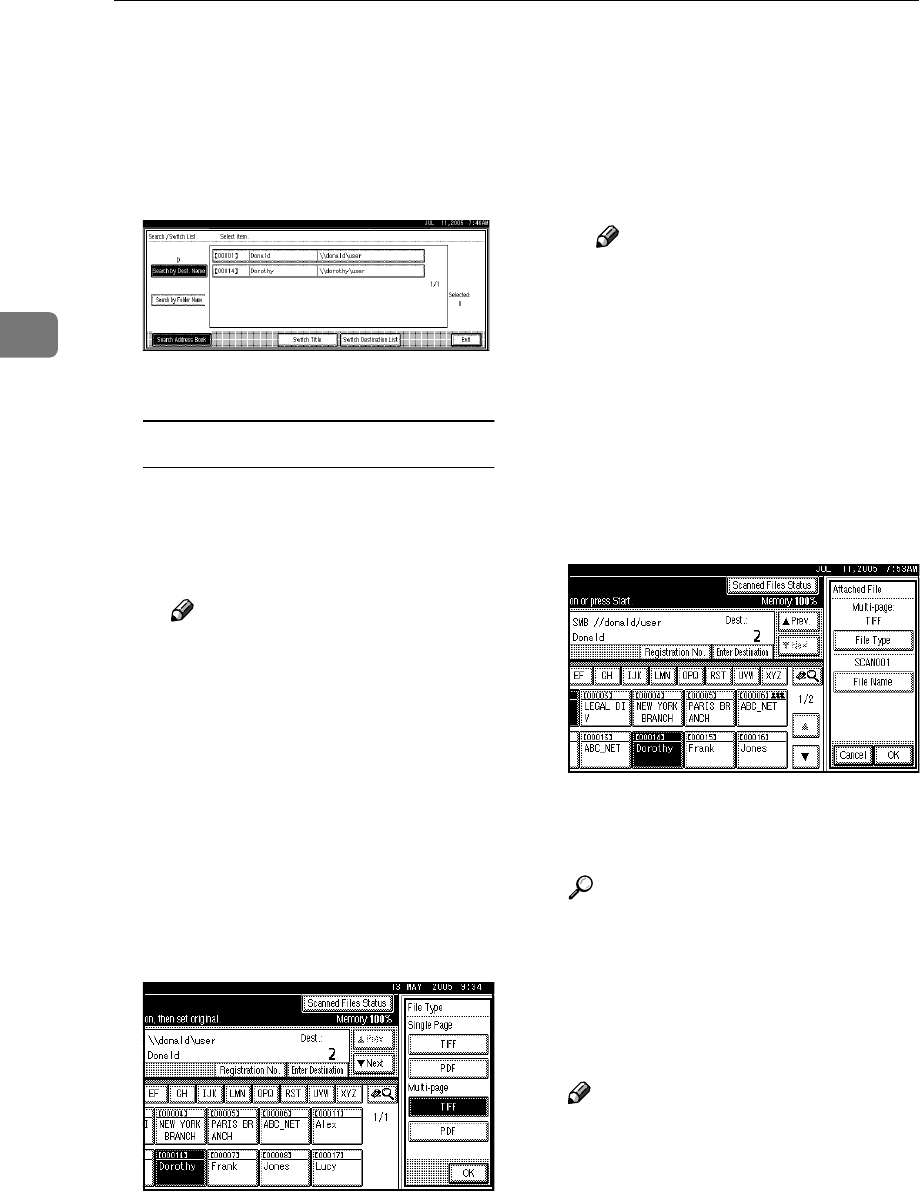
Select the file type if necessary.
A Press [Attached File].
B Press [File Type].
C Select the file type.
D Press [OK] twice.
H
HH
H
Specify the file name if necessary.
A Press [Attached File].
B Press [File Name].
The soft keyboard appears.
C Enter a file name.
Note
❒
A scan file is given a 21-digit
(excluding the extension) file
name which combines the
time and date the original was
scanned with a 4-digit page
number. (Example : When one
page is scanned in TIFF at
15.10 seconds, 3.30 p.m., 31
December, 2020, the file name
is 202012311530150100001.tif)
D Press [OK].
E Press [OK].
I
II
I
Place originals.
Reference
The procedure for placing origi-
nals is the same as that for plac-
ing originals for copying. For
details about placing originals,
see “Placing Originals”, Copy
Reference.
Note
❒ For details about the maximum
size of the scan file that can be
sent, see p.113 “Scan to Folder”.
❒ To interrupt scanning, press the
{
{{
{Clear/Stop}
}}
} key or press [Stop]
on the display panel.
