


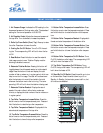
SET-UP AND OPERATION
20
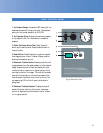
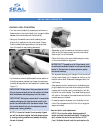
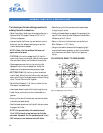
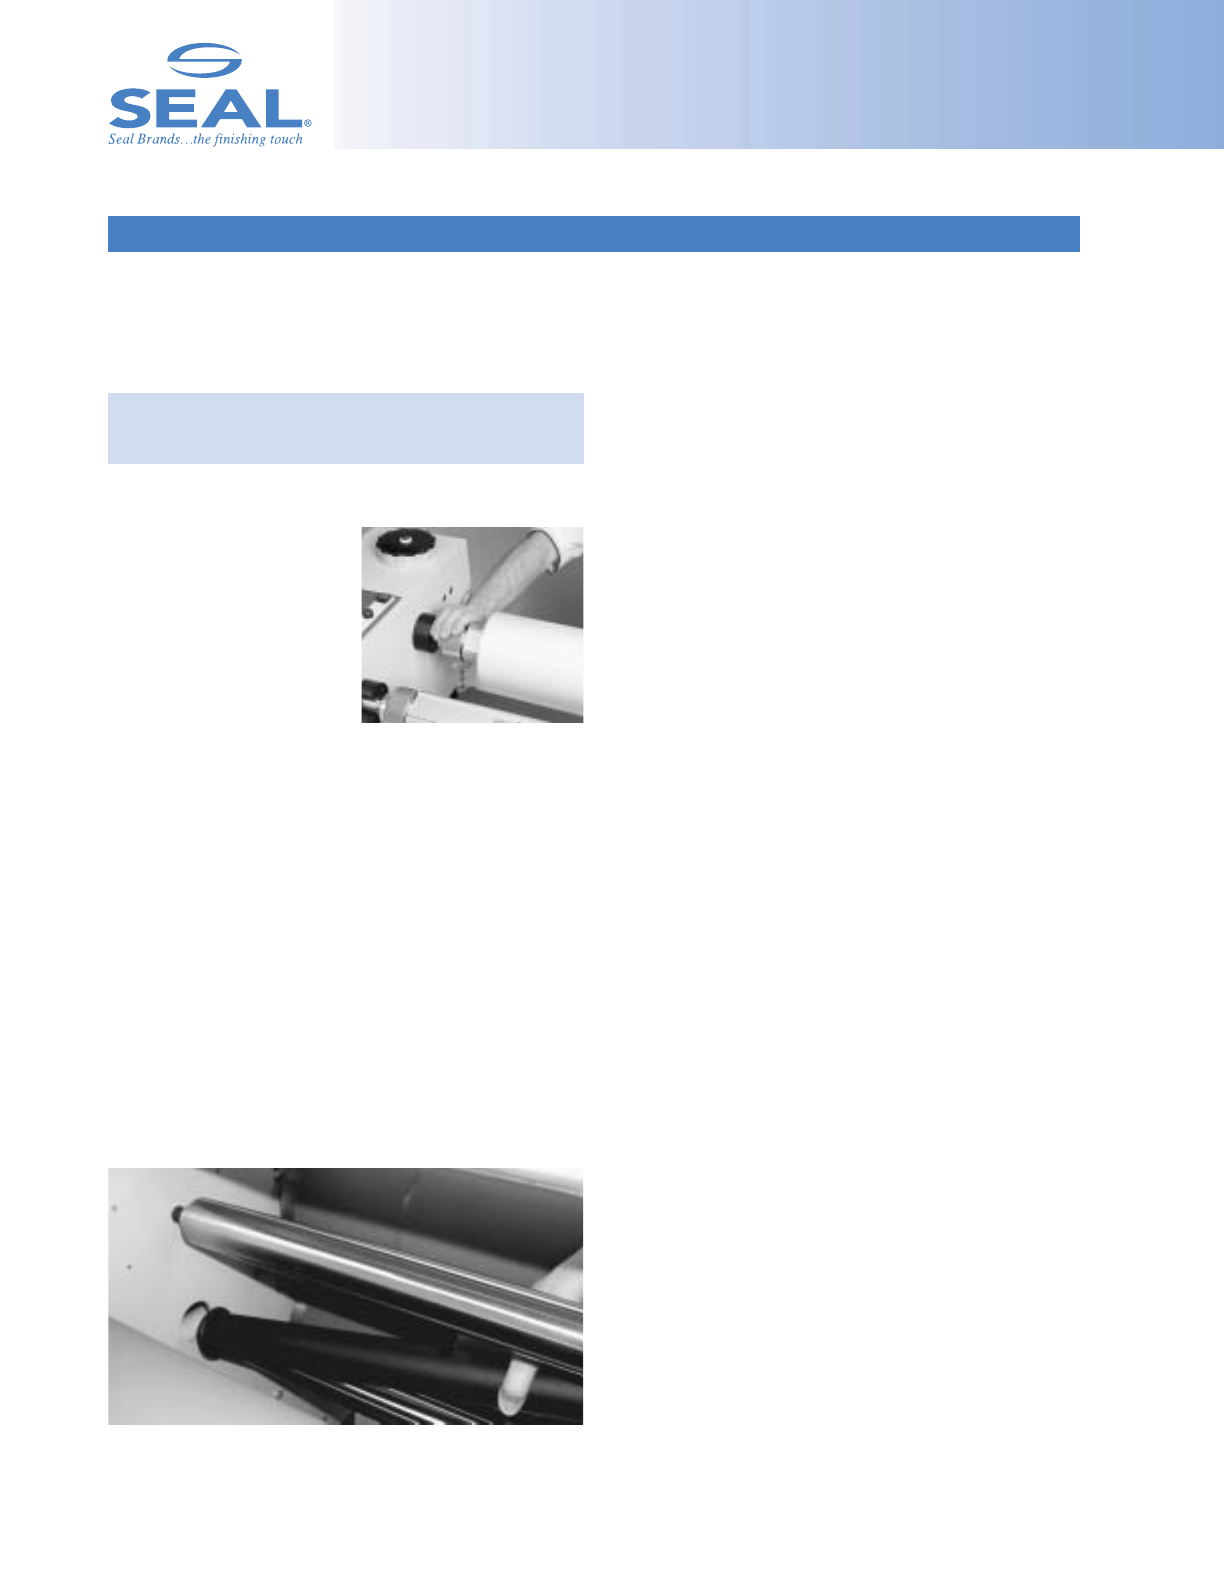
SETTING THE UNWIND BRAKE TENSION
Refer to the Features Page for identification.
IMPORTANT! The brake tension greatly affects the
smooth flow of the laminating film.
• Adjust the unwind brake so that it applies sufficient
tension to the laminate.
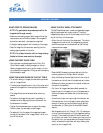
• Turning the unwind brake in
a counter-clockwise direction
increases the braking tension
applied on the laminate.
• Turning the unwind brake in
a clockwise direction decreas-
es the braking tension.
• The best setting for the unwind brake tension is deter-
mined by the materials you are using and is learned
through experience.
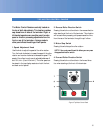
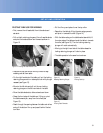
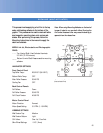
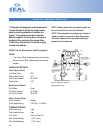
COOLING SYSTEM
• The SEAL Image6500 has a dual-position cooling tube,
which can be placed above or below the center chill
idlers to cool heat-activated materials.
• While the majority of the time the cooling fan tube will
be used in the position below the chill idlers, it can be
used in the position above the chill idlers to assist with
cooling down the top main roller. Pivot the airflow holes
towards the top main roller.
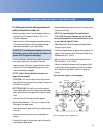
To remove the cooling tube from the bottom
location:
• Grasp the cooling tube with fingers or you can use your
fingers in the airflow holes to lift the closed end of the
cooling tube out of the bracket.
• Lift upwards at an angle, pulling the opposite open tube
end out of the cabinet opening.
• Lower the open end at an angle until you can clear the
upper bracket with the opposite end.
• Pull the tube up through the center of the chill idlers.
To insert the cooling tube in the top location:
• Insert the open tube end at an angle into the cabinet
opening.
• Lower the closed tube end to place it in the bracket.
• Reverse the above procedures to change from the top
location to the bottom location.
• The cooling tube can also be rotated to direct the airflow
as needed.
• The majority of processes do not require the use of the
cooling tube, but for extensive running time, it is recom-
mended to use the cooling tube to cool off the chill
idlers quicker.
• Pivot the cooling tube airflow holes towards the front
idler, which receives the most heat from the heated main
roller.
• Always web the film over the first idler to cool the back-
side of the print first, thus preventing marks on the hot
front side of the print, which could affect the finished
appearance.
• When using mounting adhesive on the back of images it
is best to run the film over both idlers. Running the film
under the second idler may cause the backing to separate
from the release liner.
Figure 16. Unwind Brake
Figure 17. Inserting Cooling Tube