


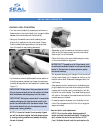
FEEDING IMAGES
22
BASIC STEPS TO FEEDING IMAGES
NOTE: For good results, the process requires that the
images be fed through correctly.
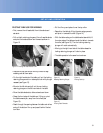
• Make sure the leading edge of each image is flat all the
way across or any wrinkles or creases in the image will
show when laminated – perhaps even magnified.
• A straight leading edge will aid in feeding in the image.
• Feed the image into the laminator ensuring that the
leading edge is parallel to the roller.
NOTE: Do not stop the motor while an image is being
finished as this can cause marks in the output.
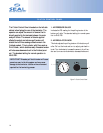
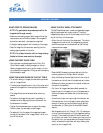
USING THE PRINT GUIDE TABLE
• Your laminator may be equipped with a Front Print
Guide Table to assist in feeding images into the nip.
Feeding images under the print guide, directly into the
nip, prevents the images from lifting up and interrupting
the photoelectric eyes.
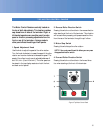
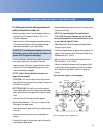
USING THE IMAGE GUIDE ON THE FLAT TABLE
• To aid with feeding in images, the rear table is provided
with an “Image Guide”.
• This device can be positioned in front of the roller and it
prevents the images from interrupting the photoelectric
eyes.
• The Image Guide can be removed when mounting
boards.
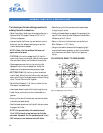
• To position the Image Guide, push it completely in
towards the roller aligning the outer notches with the
thumbscrews in the table.
• Tighten the thumbscrews down to secure the Image
Guide in place. You are ready to feed images.
• To assist with this, the edge of the image can be seen
through the windows in the “Image Guide”, which is in
front of the rollers.
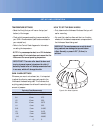
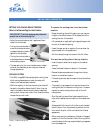
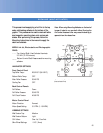
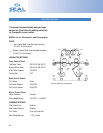
USING THE ROLL EASEL ATTACHMENT
The Roll Easel Attachment is used to encapsulate images
digitally reproduced with a color plotter. The rolls of
images simply slip on and off the roll easel, which lifts on
and off the front of the laminator.
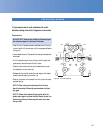
• Mount the roll of prints on the attachment. The rolls of
images should unwind with the images facing up and
should be centered on the attachment so that the lami-
nate covers the images.
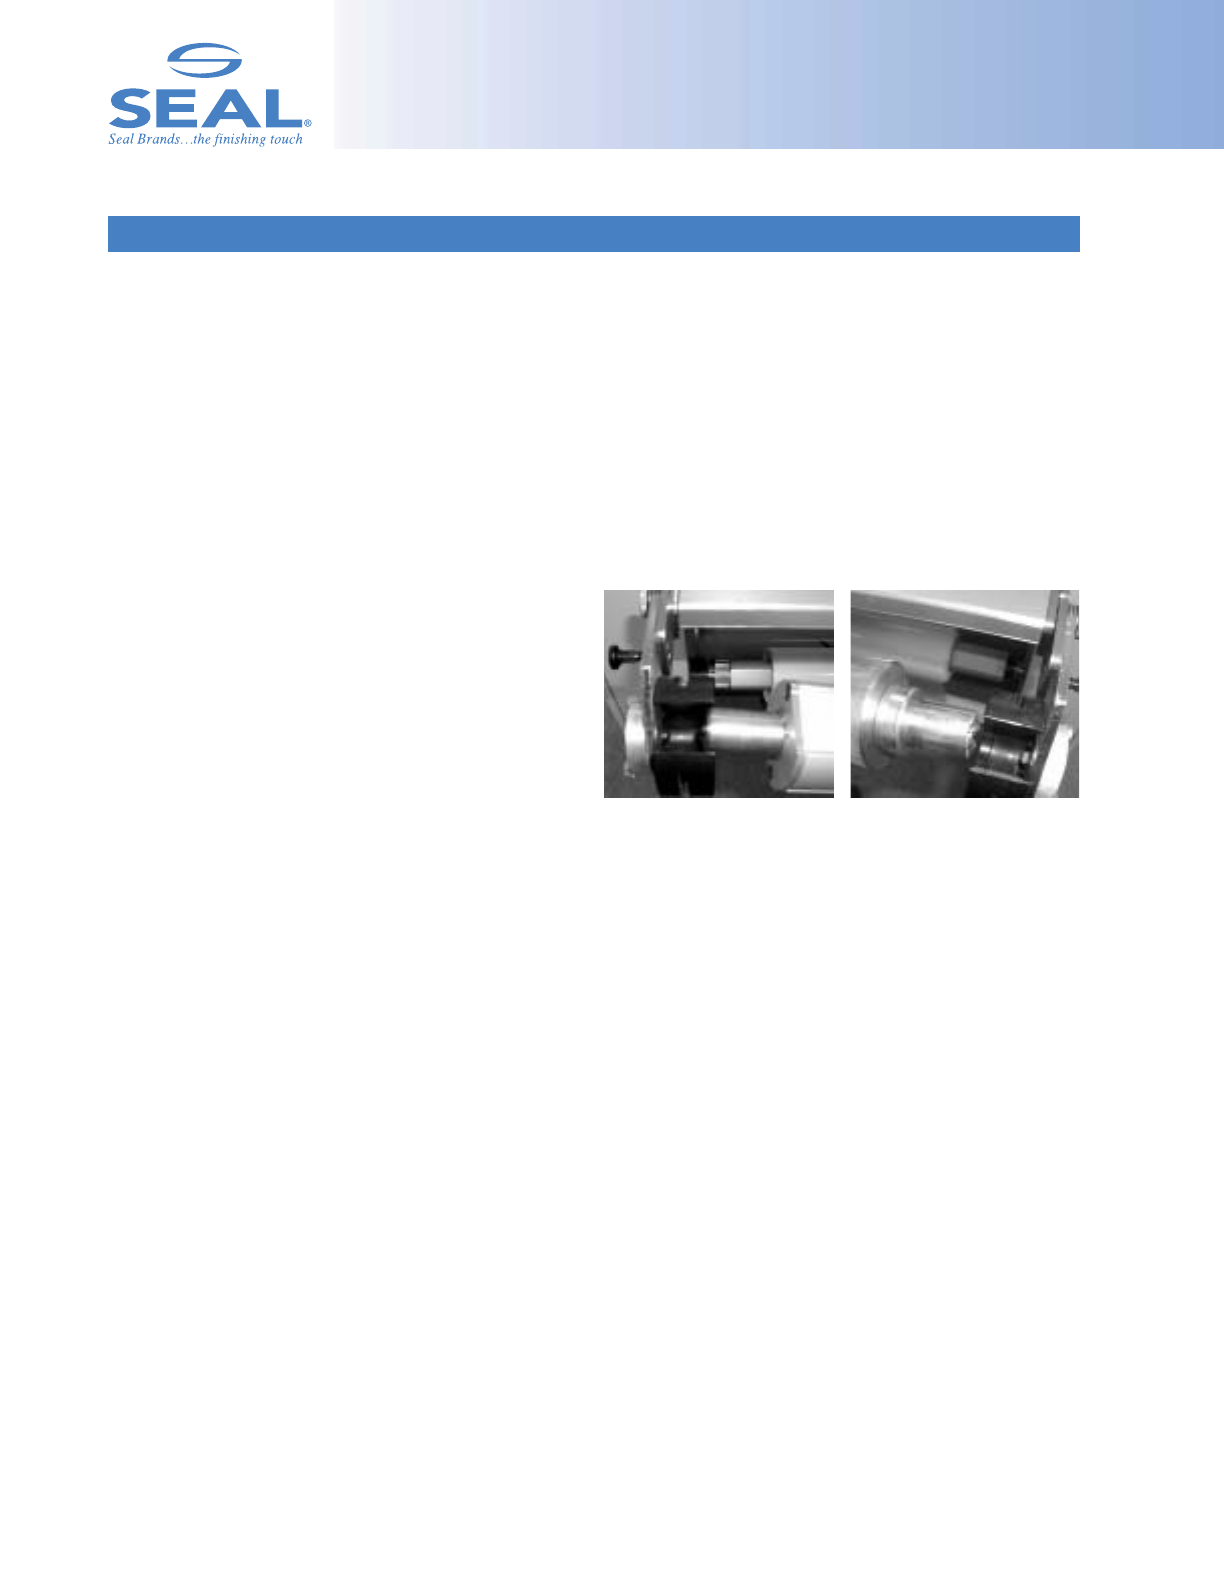
• Press the Ball Nose spring plunger shaft end into the
matching receiver on the right side of the table.
• Align the Braking Notched shaft end with the notch of
the receiver on the left side of the table and set in place.
• Make sure the auto-grip section of the shaft rotates, not
the ends in the receivers.
• For the roll of images, leave some blank space at the
beginning and in this space, cut out a V-shaped area to
allow for an easier and cleaner start to the laminating
process.
• Once the prints are running through the laminator, set
the brake tension for the roll easel to exert a significant
amount of tension so the prints feed through without
wrinkles (refer to “Setting the Unwind Brake Tension”
section).
• Set the speed control to 2-3 feet or (0.6–1.0) meters per
minute. Use the footswitch until the images are tracking
correctly. Then press the Forward Direction switch and
go into auto-run mode. Don’t remove your foot from the
foot switch until you have pushed the Forward Direction
switch, otherwise, the laminator will stop, affecting the
quality of your image’s finish.
Ball Nose Spring Plunger End Braking Notched Locking End