


UNPACKING, SET-UP AND INSTALLATION
7
Only skilled personnel should perform installation.
Read and comply with all warnings and follow the
proper installation procedures and safety guidelines.
• Refer to outside of crate for Uncrating/Recrating
instructions.
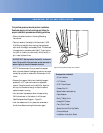
• Take into account the weight of the laminator (1,800-
lb./818 kg net weight) when moving. Use equipment
with which the weight can be safely lifted. The laminator
is transported on a wooden pallet (skid). If your lamina-
tor is still on its skid, you can move it with a forklift to
put it near its place of use.
IMPORTANT! Set the forks of the forklift to the maxi-
mum lifting width of the laminator so the laminator’s
center of gravity is central between the forks.
• NOTE: We recommend that you save the transport
bolts, nuts and plates of the shipping crate for any major
moves that you plan to make with the laminator in the
future.
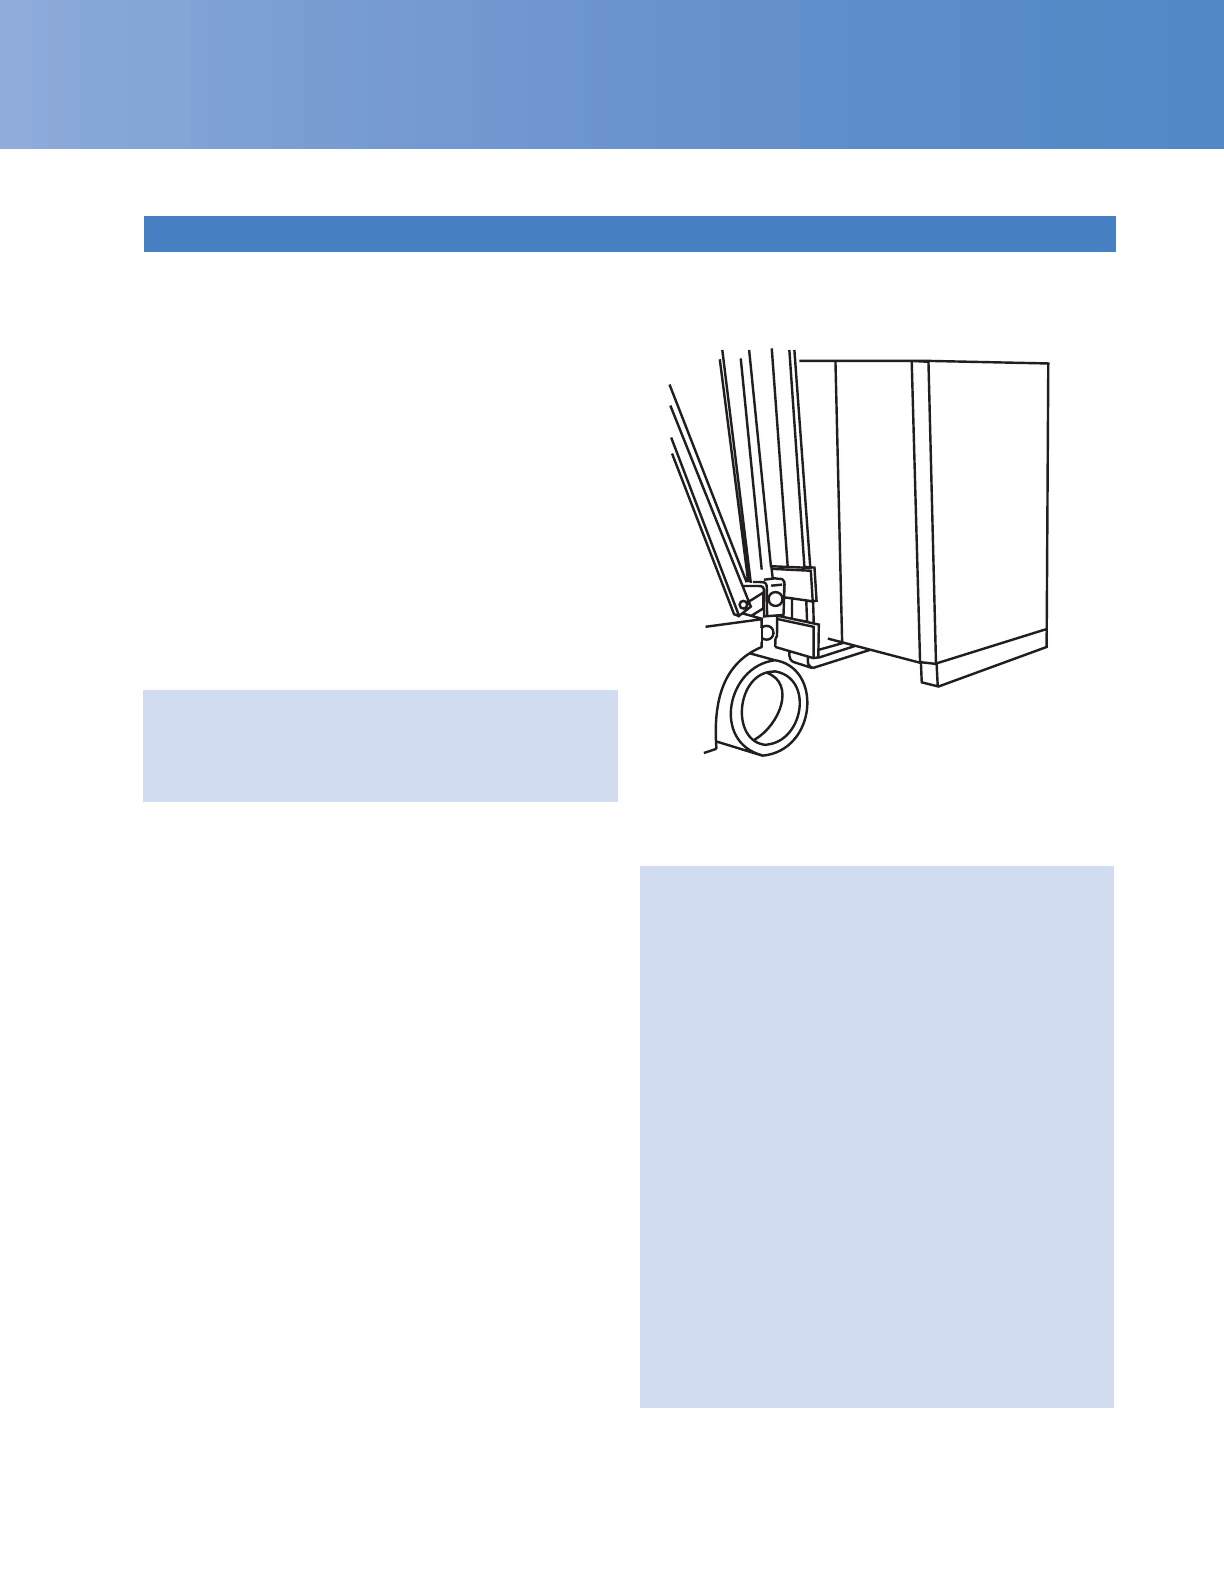
• Remove the transport bolts from the skid’s transport
plates with a 1/2" open-end wrench or adjustable
wrench. Using the wrench on the bolt’s flat, back the
bolt up into the cabinet enough to clear the cabinet
casters for ease in moving.
• Your laminator has casters to allow for easy moving.
Roll the laminator to the location it will be used.
(See Workspace Area Diagram – Figure 2).
• Lock the casters once it is in place and remember to
unlock them before moving the laminator again.
Accessories Included:
• 4 Foot Levelers
• 1/2" Wrench
• 3/16" Allen Wrench
• Grease Gun Kit
• Spare Fuses (inside cabinet)
• Tape Measure
• Snitty
®
Safety Knife
• Image Roll Cleaner
• Terry Cloth Towel
• Spare Core for Wind-Up Shafts
• Owner’s Manual
• Installation Instruction Sheet
Figure 3. Moving the laminator with a forklift.