Section 2: Installation and Setup
2-12 Christie DS+60/DW30/Matrix 3000 User’s Manual 013-100149-02 Rev. 1 (01/07)
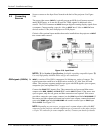
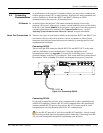
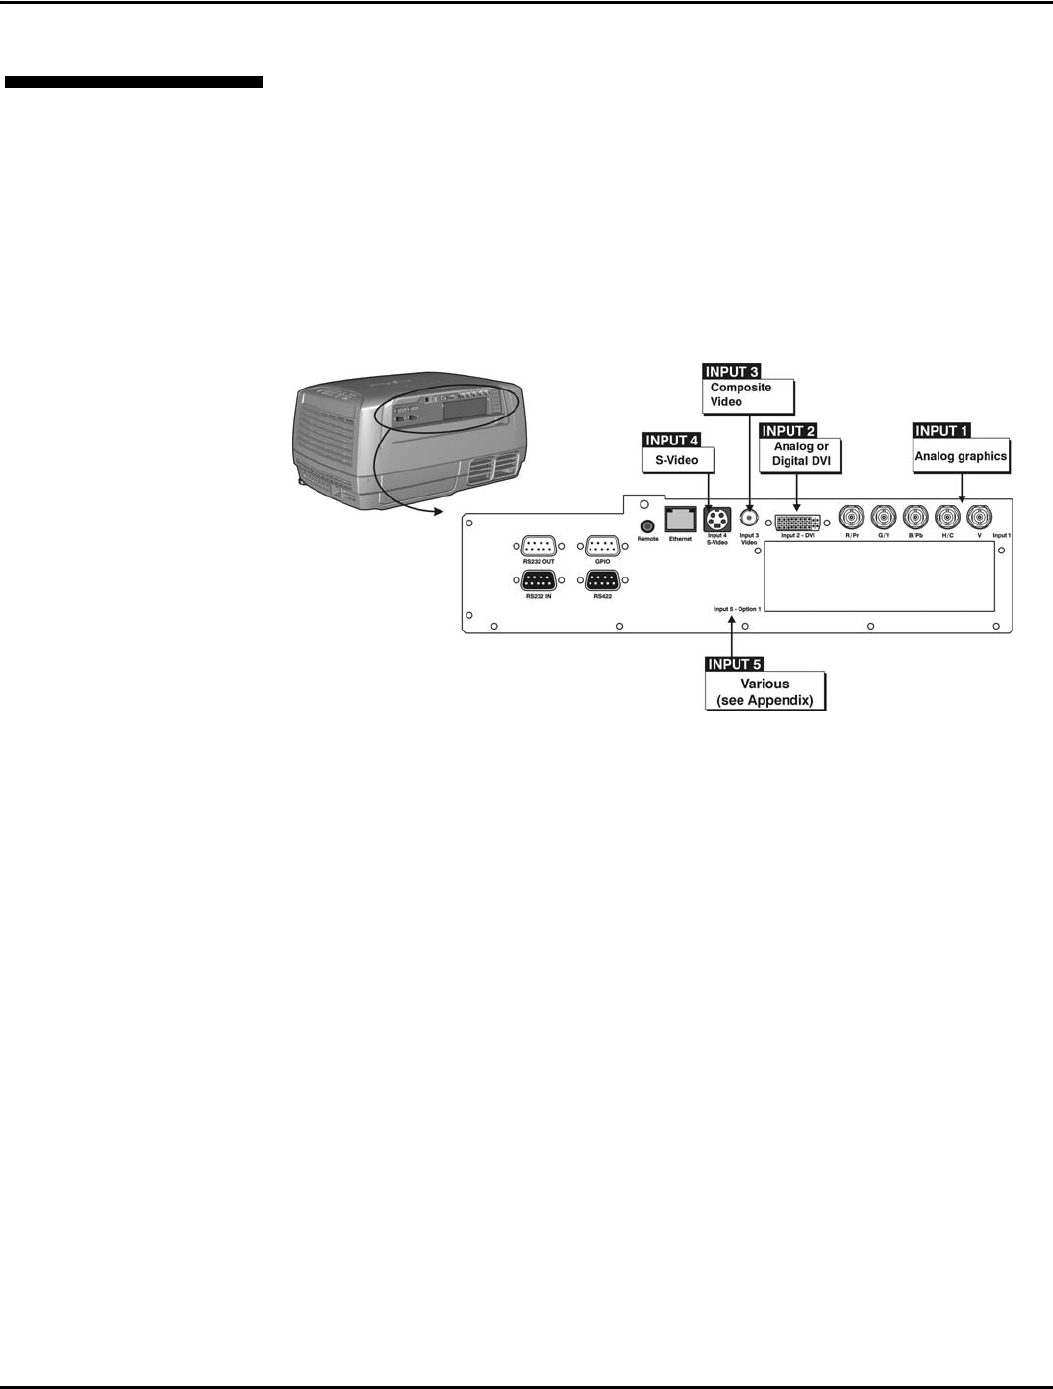
Sources connect to the Input Panel located at the back of the projector. See Figure
2.10.
The upper right corner (
INPUT 1) typically accepts an RGB signal from an external
analog RGB source, or it can also be used for YPbPr signals or additional video
sources. The DVI-I connector at
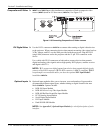
INPUT 2 accepts digital or analog display signals from
a computer. Connect analog composite video at
INPUT 3 or S-video at INPUT 4 from
devices such as VCRs, laser disk players or DVD players.
Christie offers optional input modules that can be installed into the projector at
INPUT
5
to connect other sources.
Figure 2.10. Input Panel
NOTES: 1) See Section 6, Specifications for details regarding compatible inputs. 2)
Use only high quality shielded cables only for all connections.
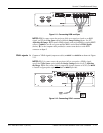
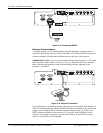
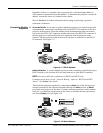
INPUT 1 consists of five BNCs (connectors) for linking to a variety of sources. The
typical connection would be to an RGB source such as a PC, Mac, Sun, SGI and
others. This projector supports multiple sync types with RGB signals: sync-on-green,
composite sync, and separate H & V syncs.
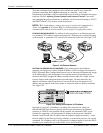
Connect the
SYNC BNC input(s) first. Then connect the red, green and blue source
outputs to the
RED, GREEN, and BLUE BNCs on the INPUT 1 panel. If the source uses
sync-on-green, only the red, green, and blue connections are required. If the source
provides a composite sync output, connect it to the
SYNC input labeled HOR/COMP. If
the source provides separate horizontal and vertical sync outputs, connect horizontal
sync to the
SYNC input labeled HOR/COMP and connect vertical sync to SYNC input
labeled
VERT. See Figure 2.11.
NOTE: Depending on your source, you may need a custom adapter cable with BNC
connectors at the projector end and a different type of connector at the other (such as
a 15-pin "D" connector for some computer sources). Contact your dealer for details.
2.3 Connecting
Sources
RGB si
g
nals (5 BNCs) f


