TW100-BRV204 User Guide
74
Move
The order in which policies are listed is only important if you have
multiple polices for the same remote site. In that case, the first matching
policy is used. There are 2 ways to change the order of policies:
• Use the up and down indicators on the right to move the selected
row. You must confirm your changes by clicking "OK". If you
change your mind before clicking "OK", click "Cancel" to reverse
your changes.
• Click "Move" to directly specify a new location for the selected
policy.
Enable/Disable
Use this to toggle the On/Off state of the selected policy.
Copy
If you wish to create a policy which is similar to an existing policy,
select the policy and click the "Copy" button.
Remember that the new policy must have a different name, and there can
only be one active (enabled) policy for each remote VPN endpoint.
Delete
To delete an exiting policy, select it and click the "Delete" button.
View Log
Clicking the "View Log" button will open a new window and display the
VPN log.
Adding a New Policy
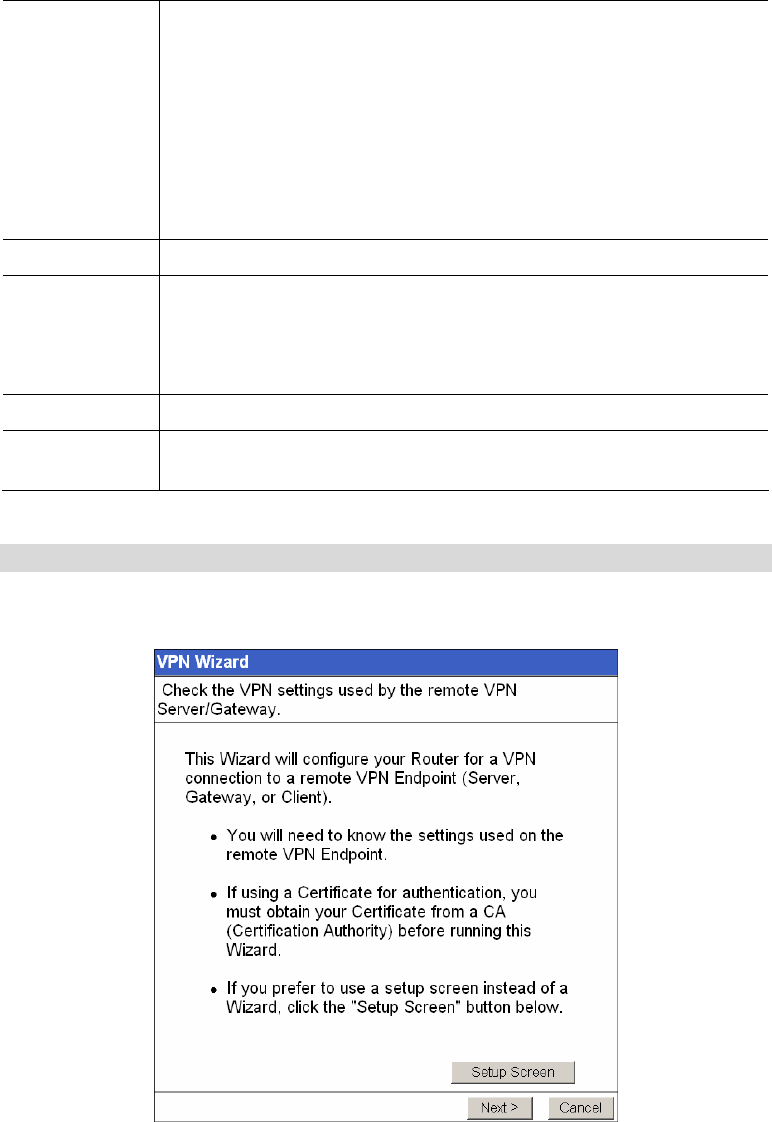
1. To create a new VPN Policy, click the Add New Policy button on the VPN Policies screen.
This will start the VPN Wizard, as shown below.
Figure 49: VPN Wizard – Start Screen
• If you prefer to use a single setup screen instead of a Wizard, click the Setup Screen
button. This is recommended for experienced users only.
• Otherwise, click Next to continue. You will see a screen like the following.


