40 Chapter 3
Use the following guidelines:
• Default Printer - Select the printer you want to be the default printer from the list.
• Enable .print Client and Port - If you want to enable .print Client, select Enable .print
Client and then enter the port.
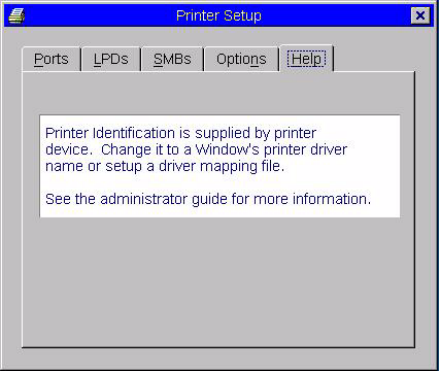
Figure 24 Printer Setup - Help tab
The Help tab contains printer help information.
Configuring LPD Services
A thin client can be configured to provide LPD (Line Printer Daemon) services, making the
thin client a printer server on the network.
Set-up the thin client that is to provide LPD print services as follows:
1. Open the Network Setup dialog box (Desktop Menu | System Setup | Network) and
enter a static IP address for the thin client (ask your network administrator for an IP
address).
2. Open the Printer Setup dialog box (Desktop Menu | System Setup | Printer) and
select any of the listed ports.
3. Name the printer in the Printer Name box.
4. Select Enable LPD service for the printer.
5. Select Enable the Printer Device.
6. Set up the application server as described in either “Setting Up Windows NT4 Servers”
or “Setting Up Windows 2000/2003 Servers” .
Setting Up Windows NT4 Servers
1. Navigate to Control Panel | Network | Services and ensure that the Microsoft TCP/IP
Printing service is installed. If it is not, install it using the Microsoft installation
instructions.
2. Add the thin client as the LPD printer by completing the following:
a. Navigate to Control Panel | Printers | Add Printers | My Computer | Add Port
and double-click LPR PORT (if you do not see LPR Port, ensure that the Microsoft
TCP/IP Printing service is installed correctly).
