Xerox
®
DocuMate
®
3115
User’s Guide
85
Burn to CD-ROM
If you have a CD burner attached to your computer, you can scan directly from your scanner onto a CD.
This feature is available only on computers running Windows version XP or later.
Supported file types—since the files are going to be burned to a CD, all file formats in OneTouch are
available. Note that text file formats are only available if an OCR module or application is installed.
Please refer to Text Formats on page 74 to see a list of text file formats that are available when OCR is
installed.
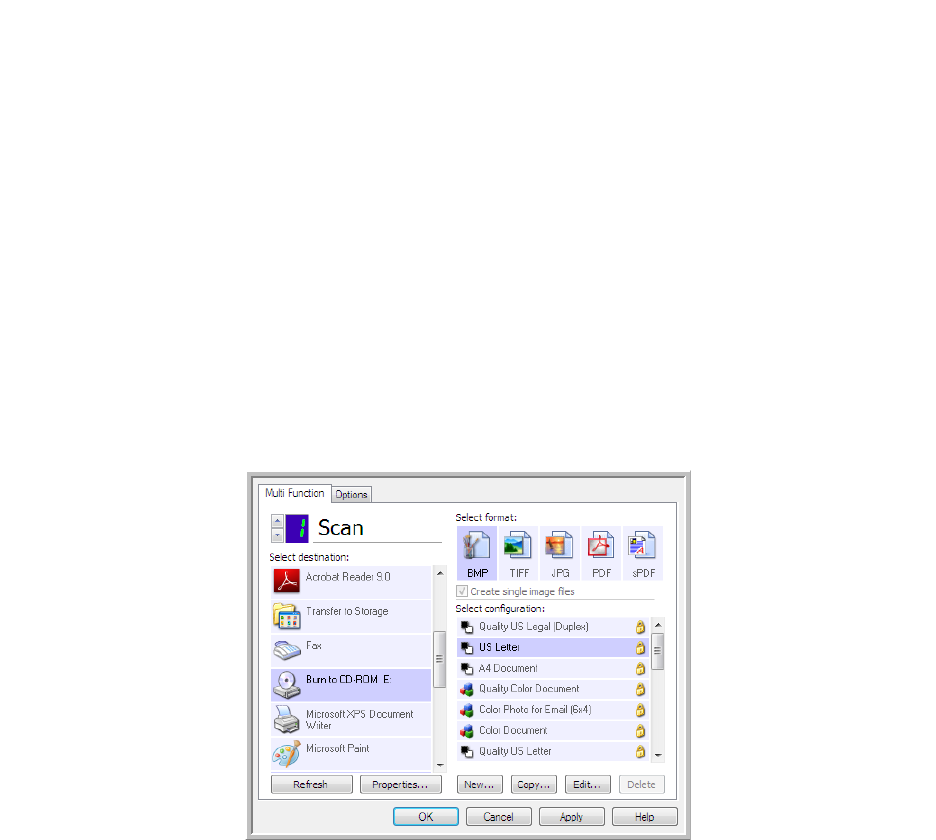
Destination type—the Burn to CD-ROM destination is classified as a “Storage Link”. To make it available
in the destination list, you must select Storage and CD-R/W on the Options tab in the OneTouch
Properties window.
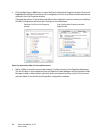
1. Open the OneTouch Properties window.
2. Select
Burn to CD as the Destination Application.
3. Choose a File Format and a Scan Configuration.
4. Click
OK.
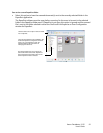
5. Now start scanning using the scanning button you set to scan and burn to a CD.
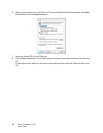
The scanner will start scanning. When finished the file will be saved to the Windows temporary
location for CD files. An information bubble will appear in the Windows notification area telling
you that there are files waiting to be burned to CD.


