


Wall Mounting the ISDN LAN Modem 31
Installing the Power
Cable
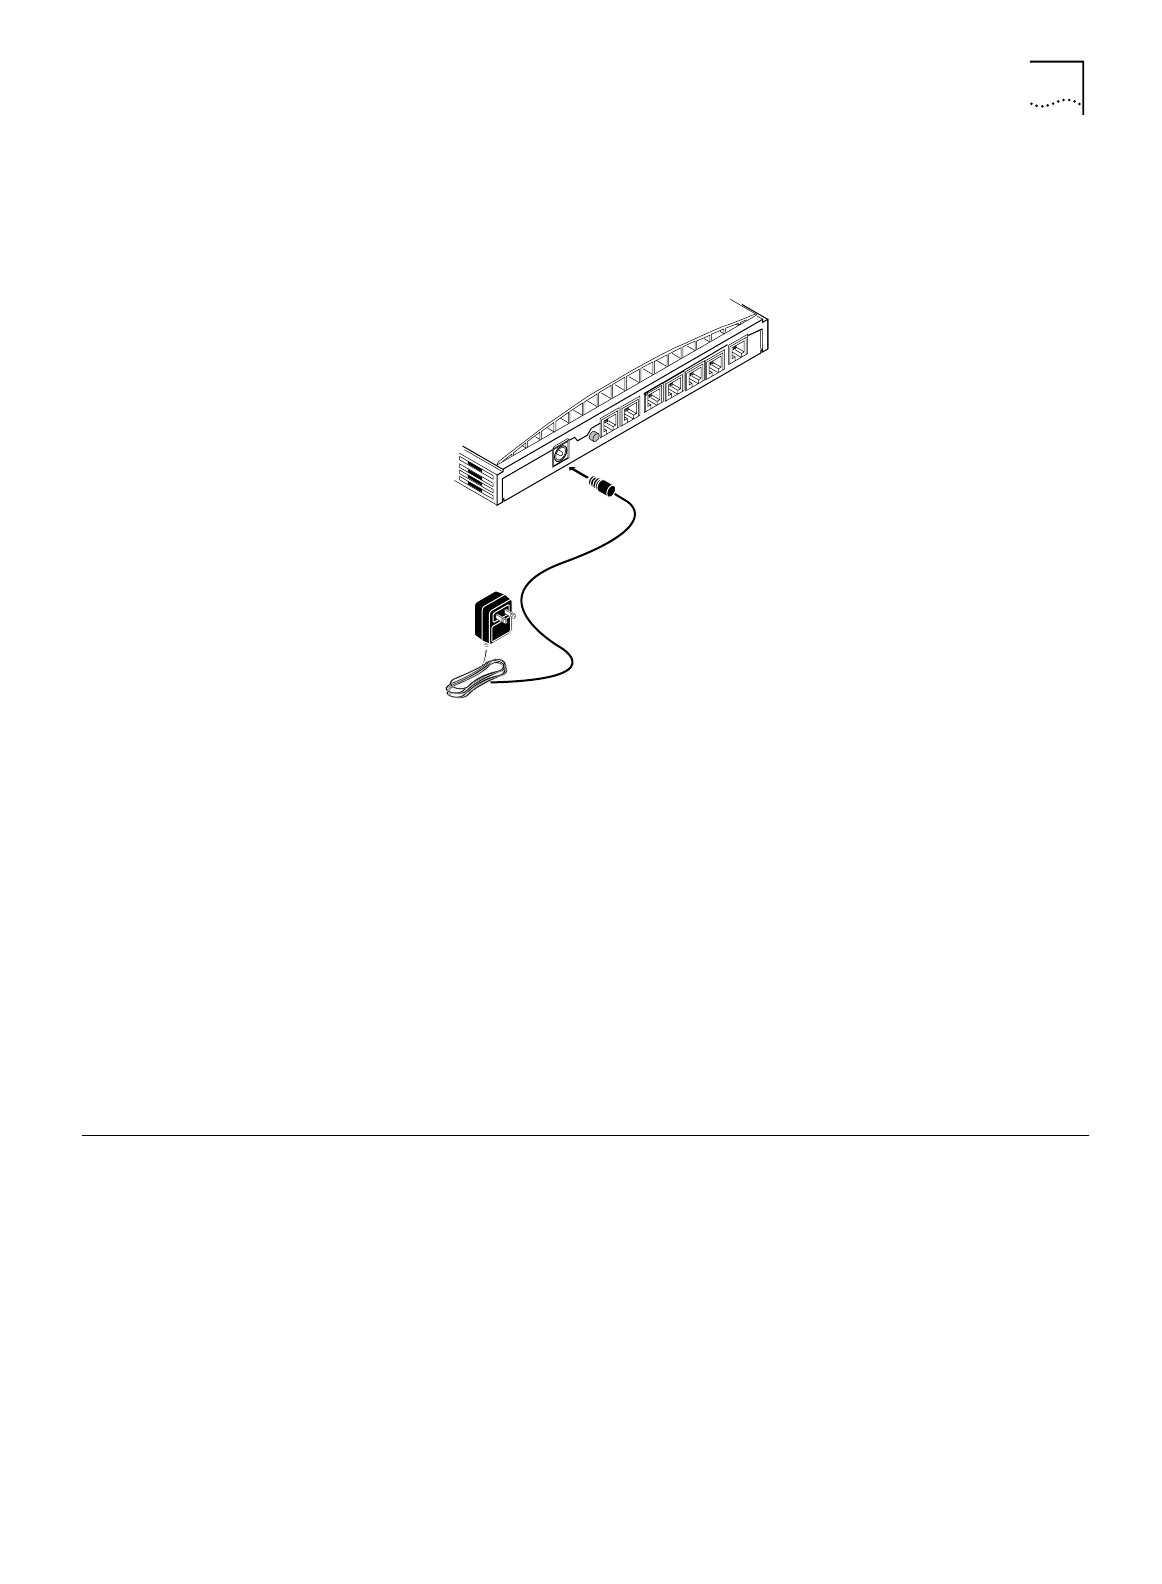
To install the power cable:
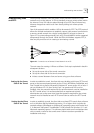
1
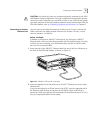
Connect the ISDN LAN Modem power module cable to the 10-18 VDC power
connector on the back panel of the ISDN LAN Modem, as shown in Figure 17.
Figure 17
Power Cable Connection
2
Plug the other end of the power module into a surge-protected standard 110 VAC
wall outlet.
The indicator LEDs on the front panel flash momentarily as the unit undergoes a
power-up self-test diagnostic. The Power LED remains lit.
This completes the ISDN LAN Modem installation. In addition to the Power LED,
the ISDN LED remains lit indicating the line is configured and ready for use. The
LAN port LEDs associated with workstations connected to those ports also remain
lit indicating the LAN Modem can communicate with the workstation(s).
If you do not have TCP/IP installed and set up on your computer, refer to
Chapter 4, “Setting Up TCP/IP for Windows and Macintosh.” If you already have
TCP/IP installed and set up on your computer, refer to Chapter 5, “Configuring the
ISDN LAN Modem.”
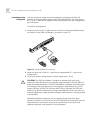
Wall Mounting the ISDN LAN Modem
There are two slots on the underside of the ISDN LAN Modem which are used for
wall mounting. You will need two suitable screws. Ensure that the wall you are
going to use is smooth, flat, dry and sturdy. Make two screw holes which are
5 7/8 in (150 mm) apart. Insert the screws into the wall, leaving their heads 1/8 in
(3 mm) clear of the wall surface.
Remove any connections to the ISDN LAN Modem and position the unit over the
screw heads. When the unit is in line, gently push it onto the wall and move it
downward to secure. When making connections, be careful not to push the ISDN
LAN Modem up and off the wall.
RESET
10-18 VDC
0.8 A MAX
ISDN
1 PHONE 2