Applications Overview
71
Label Tutorial
This section guides the reader through a examples designed to teach the reader
how to create basic labels. The tutorial starts with a simple label with a plain text
string. The tutorial builds on this example by introducing a single concept in each
subsequent example. By the end of the tutorial, the label will contain text, lines,
boxes, and a bar code. Each step also provides background on the PAL operators,
helping the reader understand the example code.
NOTE:
For the PAL code segments presented, it is assumed that the command lines will
be entered via some form of terminal emulation package or as a transmitted
string from the host. The lines are to be terminated by pressing the [ENTER] key
if using a terminal emulator or by sending a Carriage Return [CR] character. A
Line Feed [LF] following the carriage return is also acceptable. The sample code
will not explicitly show the end of line terminations. If the printer is in executive
mode, there will be a PAL> prompt issued at the completion of each command.
The PAL command interpreter is case sensitive!!! All commands must be
entered using the same case as in the examples and in the Programmer’s
Reference Manual.
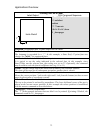
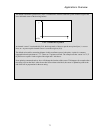
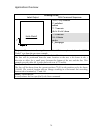
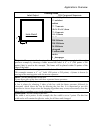
Each step of the tutorial is presented on a single page with a diagram of the label
output, the commands used to produce the label and descriptions of the PAL
commands. Shading is used to call attention to code that has been added to the
previous example to introduce a new concept. The detailed descriptions of the
commands only cover the commands in the shaded area since the rest of the
commands have already been covered in previous examples.


