VLANs
172 Avaya Integrated Management Release 4.0.1 Software Update Manager
Creating VLANs
To create a new VLAN:
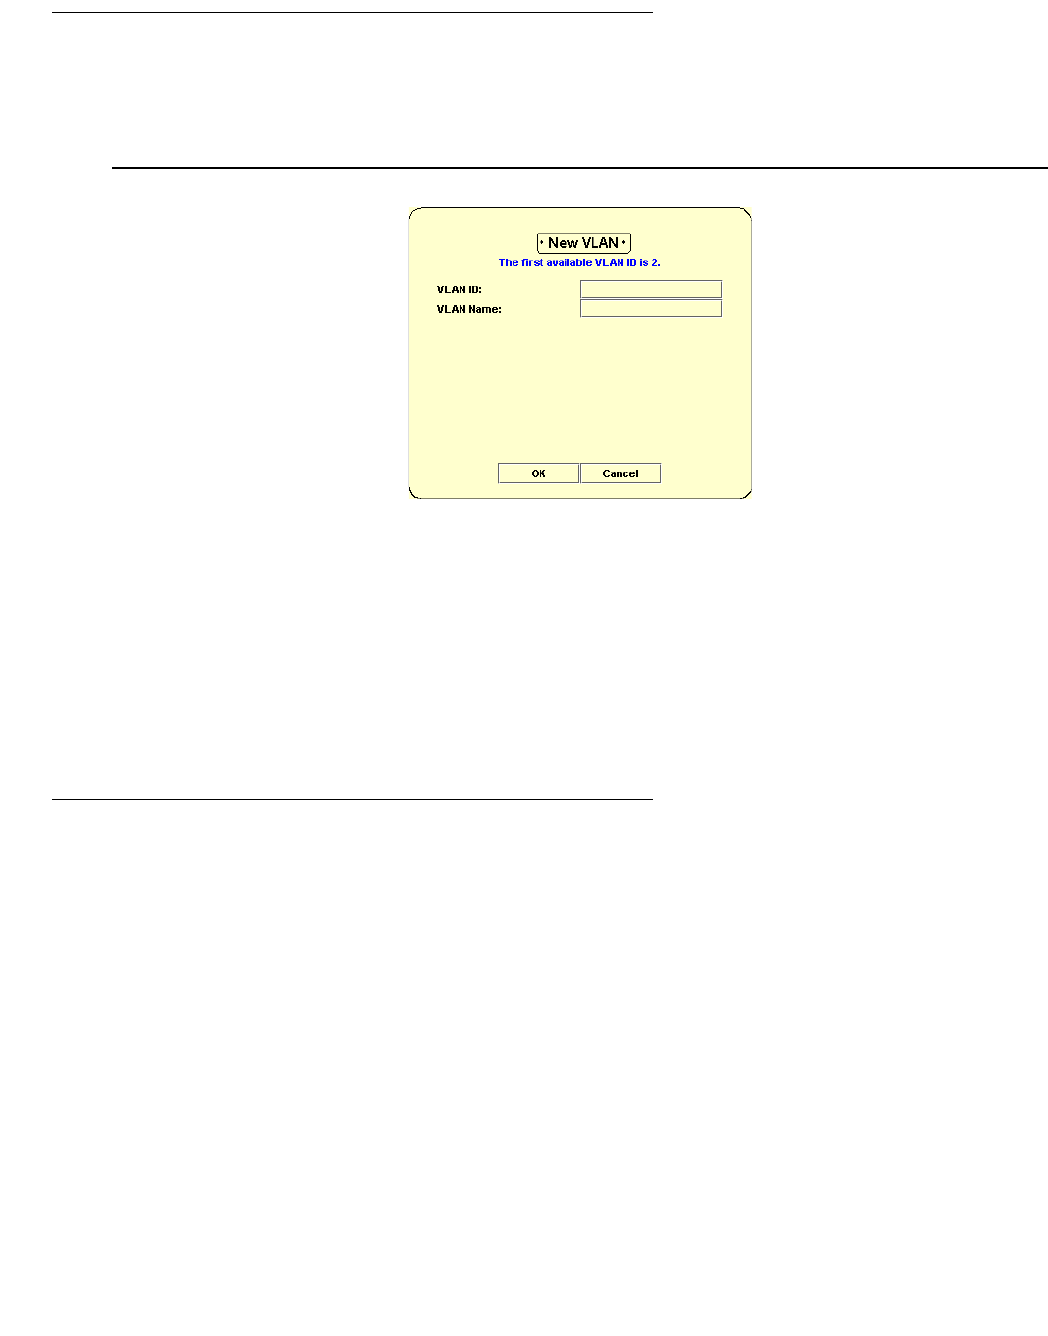
1. From the VLAN Configuration dialog box, click New. The Create VLAN dialog box opens.
Figure 75: Create VLAN Dialog Box
2. Enter a VLAN number in the VLAN ID field.
Note:
Note: The range of valid VLAN numbers is 1 - 3071 (up to 8 VLANs in total) for
Avaya G250/G350 Devices and 1 - 4090 (up to 64 VLANs in total) for
Avaya G450 Devices.
3. Enter a name for the VLAN in the VLAN Name field.
4. Click OK. The new VLAN is created.
Renaming VLANs
To rename a VLAN:
1. From the VLAN Configuration dialog box, select the VLAN whose name you want to edit.
2. Click Rename. The Rename VLAN dialog box opens.


