6. Advanced
6.9.4 Take screenshot
What can be done ?
A screenshot can be taken from an active projected image. This screenshot is then saved in a 4 MB RAM and can be used as
background.
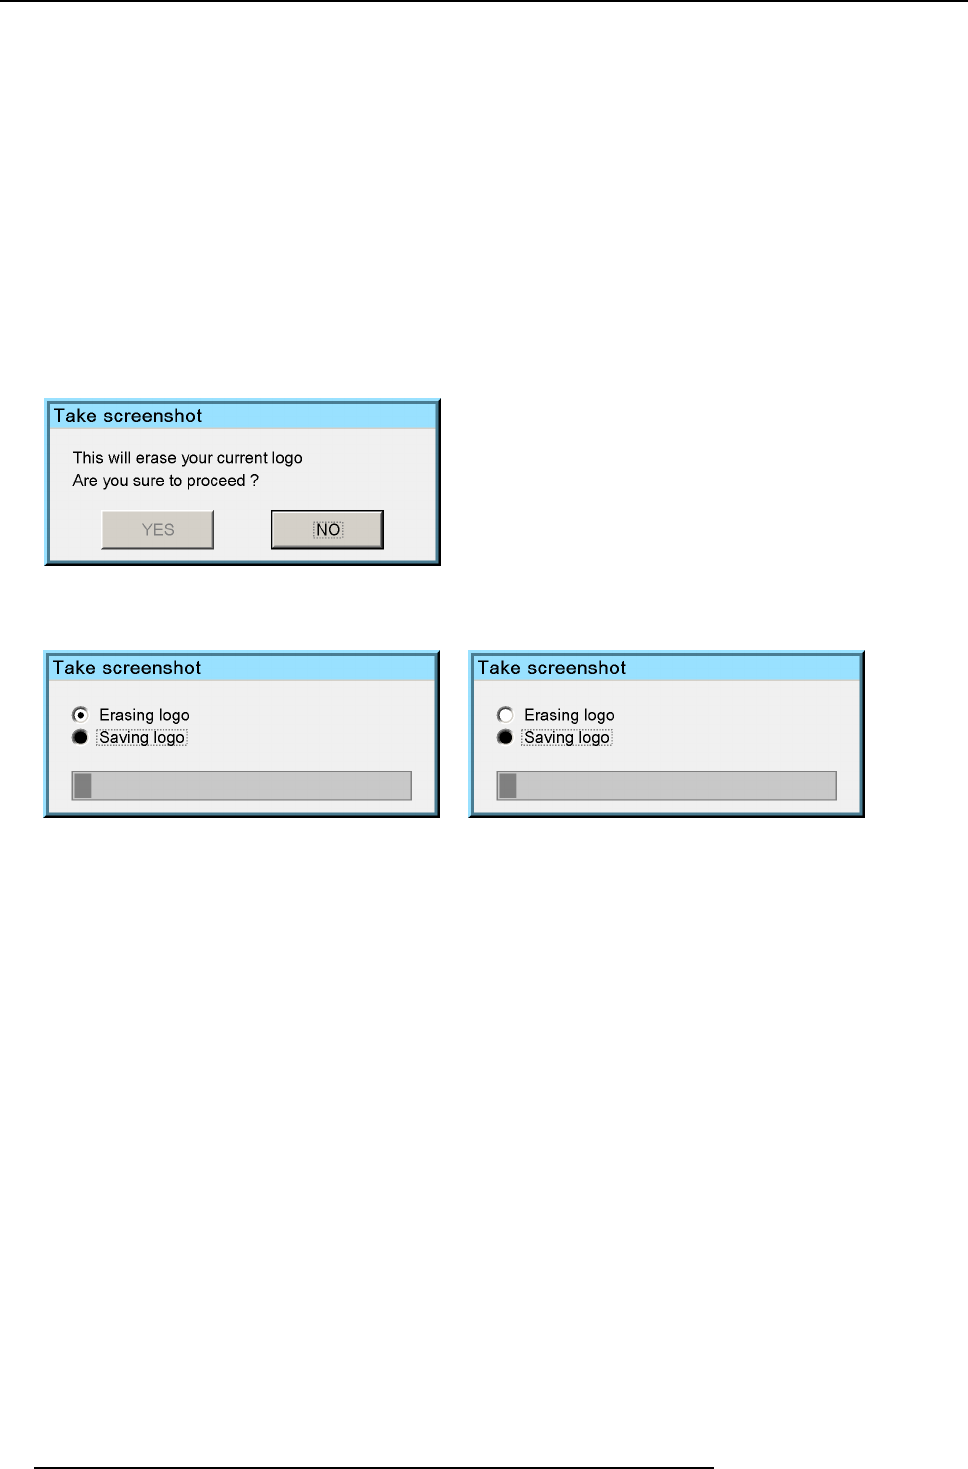
Each new screenshot erases the previous logo therefore a warning message is displayed asking the user to confirm.
How to take a screenshot ?
1. Press MENU to activate the Tool bar
2. Press → to select the Display s etup item
3. Press ↓ to Pull down the Display setup menu
4. Use ↑ or ↓ to select Take screenshot
5. Press ENTER
A dialog box is displayed. Press yes to confirm.
Image 6-107
A text box shows the evolution of the operation.
Image 6-108 Image 6-109
6.9.5 Menu bar position
What can be done ?
The menu toolbar can be centered vertically , the range being from top of the screen to the middle of the screen. This can be useful
in applications where the top image content is not displayed.
How to center the menu ?
1. Press MENU to activate the Toolbar
2. Press → to select the Display s etup item
3. Press ↓ to Pull down the Display setup menu
4. Use ↑ or ↓ to select Menu bar position menu
5. Press ENTER
6. Use ↑ or ↓ to position the menu toolbar
6.9.6 Status bar position
What can be done ?
The status bar (wizard menu) can be centered vertically , the range being from bottom of the screen to the middle of the screen.
This can be useful in applications where the bottom image content is not displayed.
How to center the menu ?
1. Press MENU to activate the Toolbar
98
R59770134 ID LR-6 27/05/2011
