Printing
Using the Scanner Cartridge
21
You can select a portion of the scanned image, name it, and save to a file.
Select the portion of the scanned image that you want to
save. If you want to save the entire image, you can skip
this step.
• Use the black handles on the corners and sides of the selection
box to resize the selection box.
Click the Save button.
• The Save As dialog box opens.
Enter a name for the file and click the Save button.
• The area you selected in Step 1 is saved to the file.
3.
2.
1.
To print the scanned image, you must remove the Scanner Cartridge and re-install the BJ Print
Head.
Open the front cover.
• The Scanner Cartridge moves to the centre automatically.
Remove the Scanner Cartridge and store it
in the storage container.
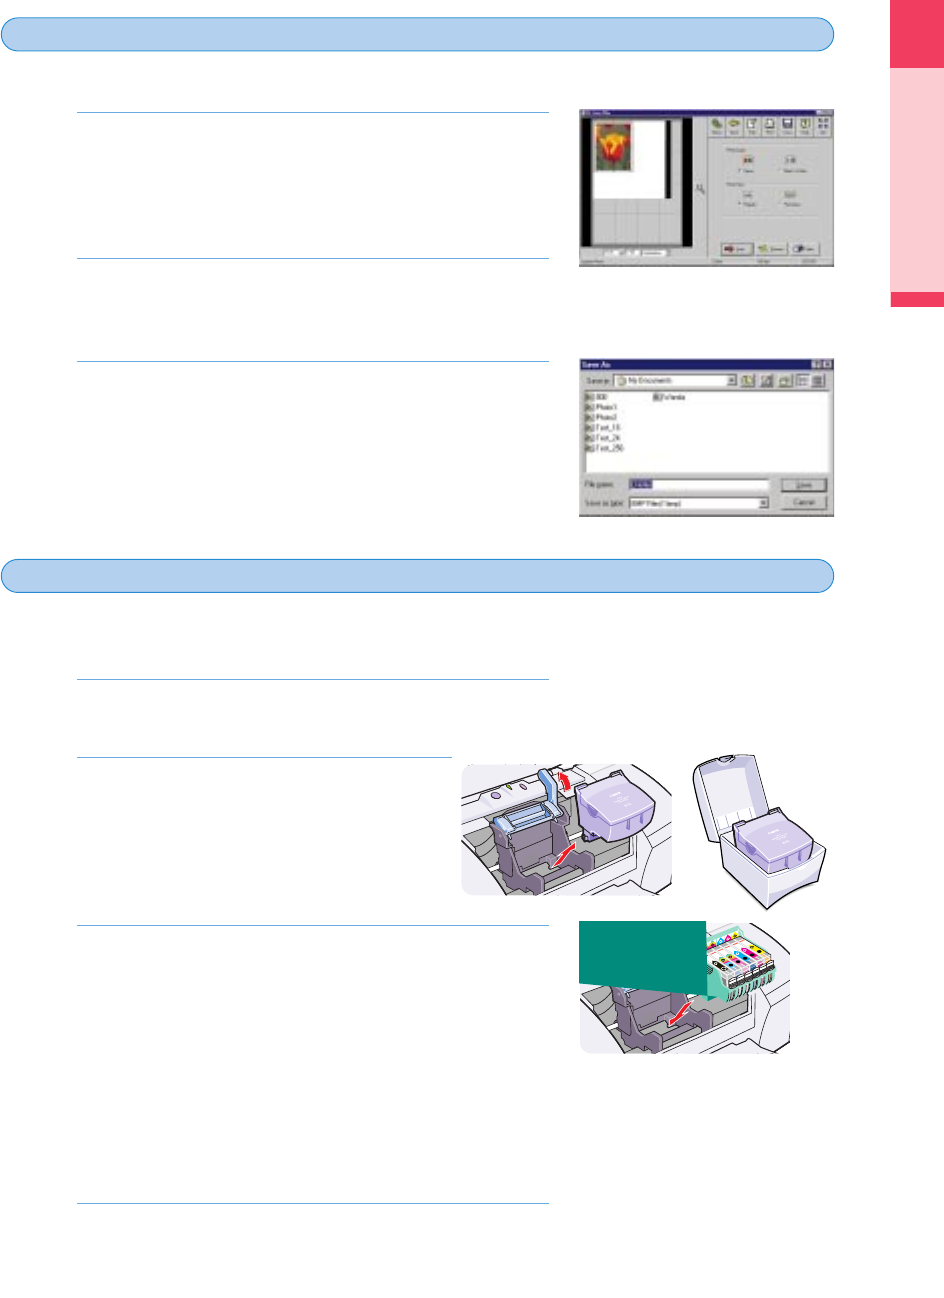
1 Raise the lock lever and remove the Scanner
Cartridge.
2 Place the Scanner Cartridge in the storage
container.
Install the BJ Print Head.
1 Install the BJ Print Head in the BJ Print Head holder where you
removed the Scanner Cartridge.
2 Lower the lock lever to lock the BJ Print Head in place.
Close the front cover.
4.
3.
2.
1.
Saving the scanned image
4
4
Install the BJ Print Head and print the image
5
5
