Implementing Routing Policy on Cisco IOS XR Software
How to Implement Routing Policy
RC-238
Cisco IOS XR Routing Configuration Guide
Attaching a Routing Policy to a BGP Neighbor
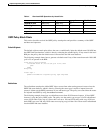
This task explains how to attach a routing policy to a BGP neighbor. The procedure to attach a routing
policy to an IS-IS or OSPF neighbor is the same as BGP, except that the commands and applicable
arguments vary.
Prerequisites
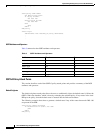
A routing policy must be preconfigured and well defined prior to it being applied at an attach point. If a
policy is not predefined, an error message is generated stating that the policy is not defined.
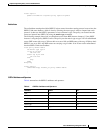
SUMMARY STEPS
1. configure
2. router bgp as-number
3. neighbor ip-address
4. address-family {ipv4 | ipv6} {multicast | unicast}
5. route-policy route-policy-name {in | out}
6. end
or
commit
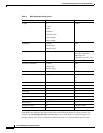
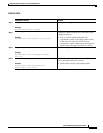
Step 3
end-policy
Example:
RP/0/RP0/CPU0:router(config-rpl)# end-policy
Ends the definition of a route policy and exits route-policy
configuration mode.
Step 4
end
or
commit
Example:
RP/0/RP0/CPU0:router(config)# end
or
RP/0/RP0/CPU0:router(config)# commit
Saves configuration changes.
• When you issue the end command, the system prompts
you to commit changes:
Uncommitted changes found, commit them before
exiting(yes/no/cancel)?
[cancel]:
–
Entering yes saves configuration changes to the
running configuration file, exits the configuration
session, and returns the router to EXEC mode.
–
Entering no exits the configuration session and
returns the router to EXEC mode without
committing the configuration changes.
–
Entering cancel leaves the router in the current
configuration session without exiting or
committing the configuration changes.
Use the commit command to save the configuration
changes to the running configuration file and remain within
the configuration session.
Command or Action Purpose


