


FlipTop Computer Center Crestron QM-FTCC
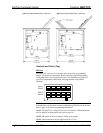
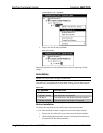
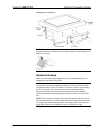
Network Device Tree – Sub-Menu
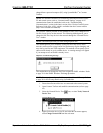
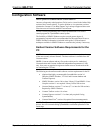
5. Enter a new Net ID and press Enter.
Enter New Net ID
Repeat this procedure for each additional network device requiring a Net ID
change.
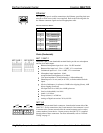
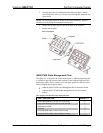
Installation
NOTE: This section does not apply to NB models.
The QM-FTCC is shipped with ten large blank buttons. You can order a variety
of button kits (sold separately) to add as many as 20 engraved or blank buttons.
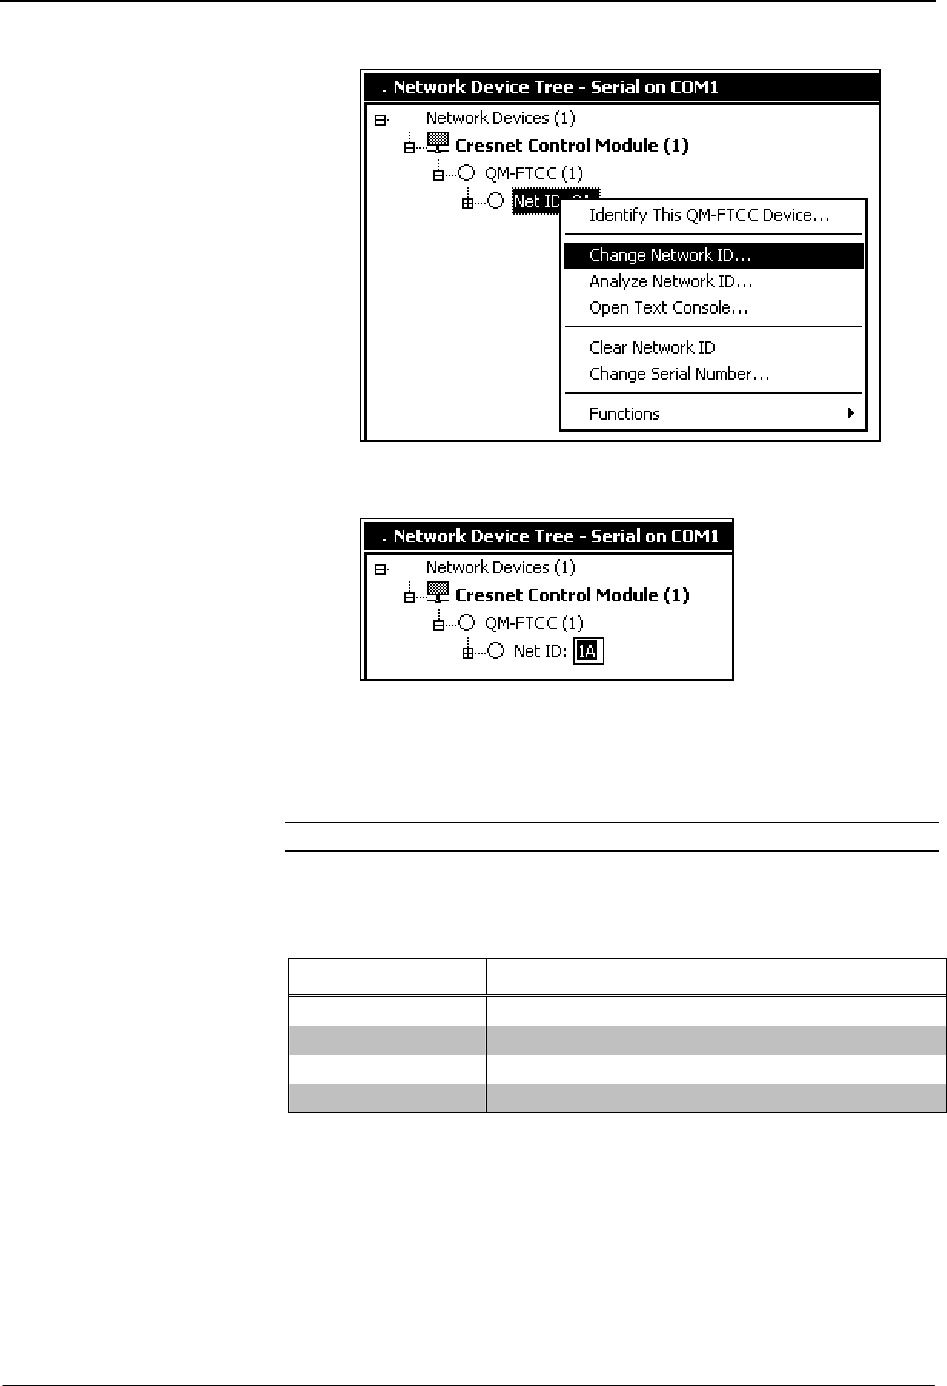
Button Kits
KIT NUMBER DESCRIPTION
FT-BTNB-L One large button engraved as desired
FT-BTNB-L-BLANK One large button not engraved
FT-BTNB-S Two small buttons with divider engraved as desired
FT-BTNB-S-BLANK Two small buttons with divider, not engraved
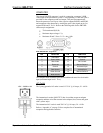
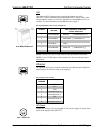
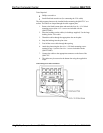
Button Installation
To replace the large buttons with small buttons, follow this procedure.
A 1/16" Allen (hexhead) wrench is required to remove the button faceplate.
1. Remove the four Allen (hex) screws that secure the button faceplate.
2. While holding adjacent buttons in place, carefully pull the button(s) to
be replaced from the rubber membrane.
16 • FlipTop Computer Center: QM-FTCC Operations & Installation Guide - DOC. 6313A