


4-6 Dell OptiPlex GX
pro
Systems Service Manual
F
ront-Panel Inserts
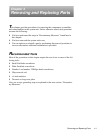
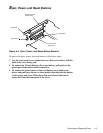
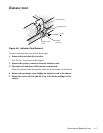
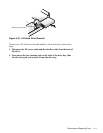
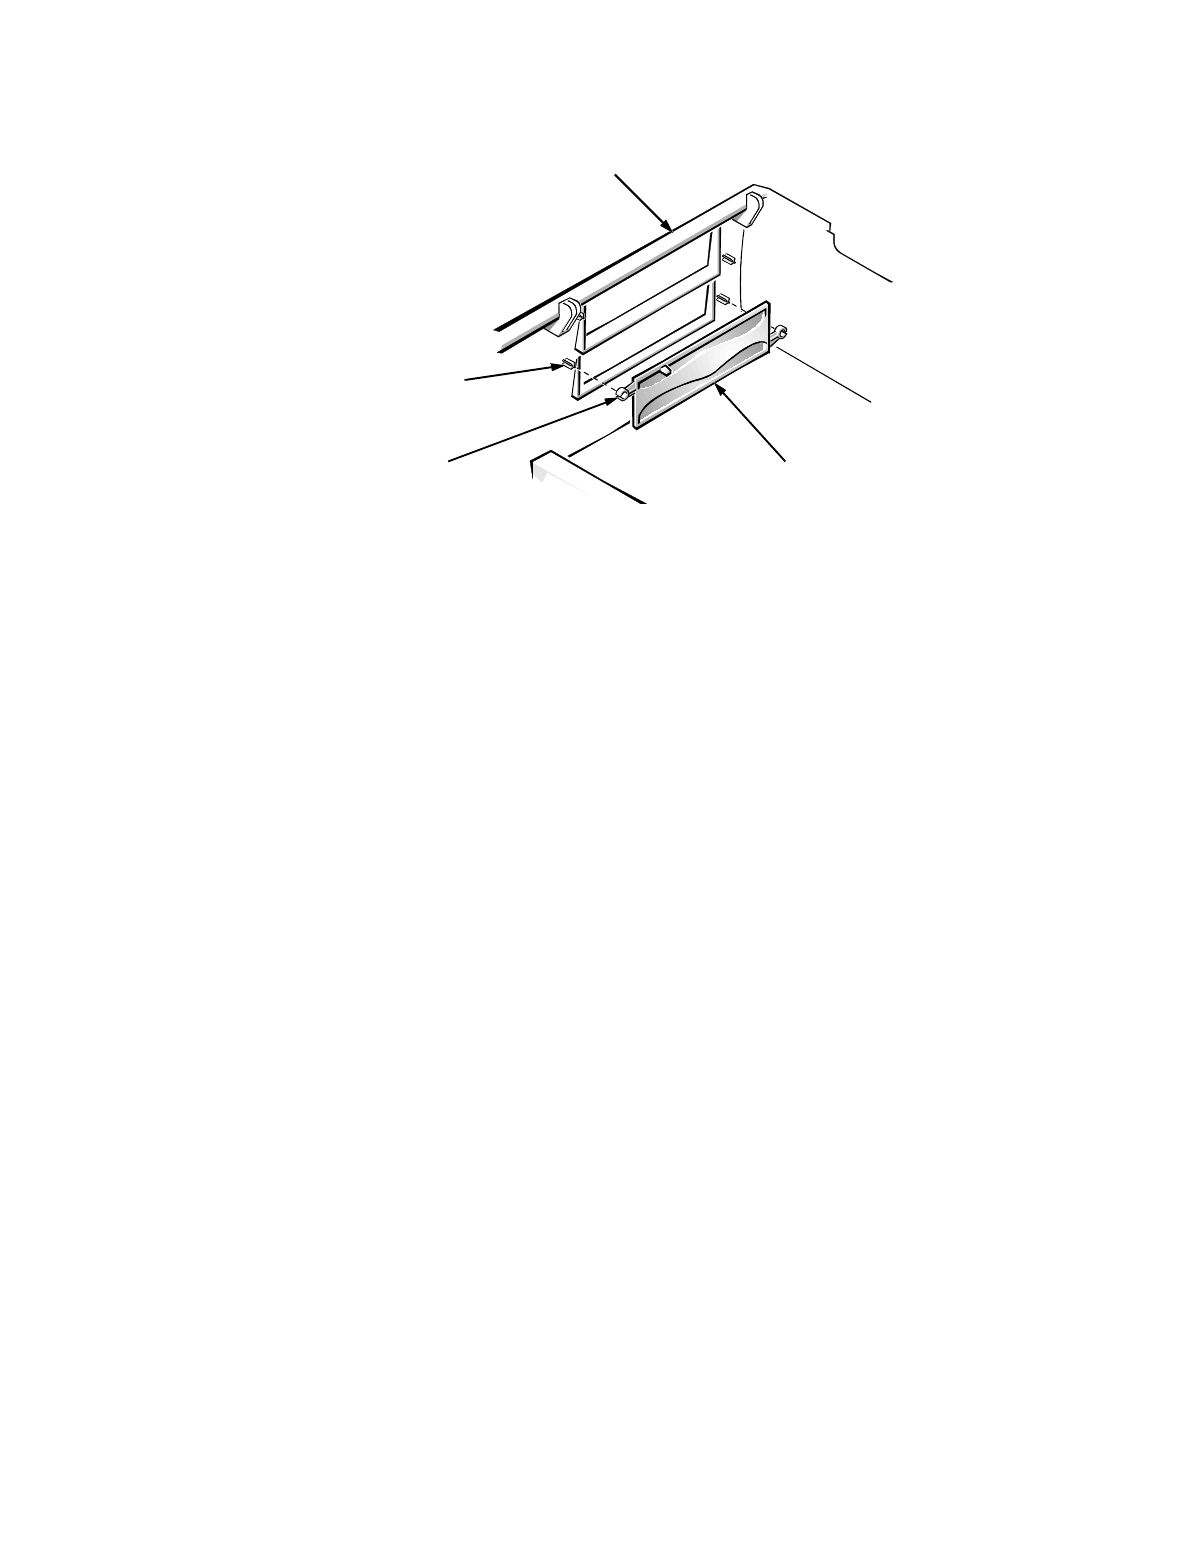
Figure 4-5. Front-Panel Insert Removal
To remove a front-panel insert, follow these steps:
1. Lay the system unit cover upside down on a flat work surface, with the
back of the cover facing you.
2. For a 5.25-inch bay, pull the insert from the two retaining posts until
the ring-tabs are released (see Figure 4-5
)
.
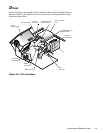
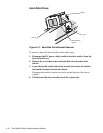
For the 3.5-inch bay, locate the spring-loaded back end of the eject
button mechanism. Press the mechanism toward the front panel to snap
the plastic insert out of its opening (see Figure 4-4
).
To replace a front-panel insert for a 5.25-inch bay, position the insert over the
drive bay opening. Place the panel over the retaining posts, and then press hard
to get the ring-tabs over the posts. If necessary, use a
1/4
-inch nutdriver to help
push the ring-tabs.
To replace the front-panel insert for the 3.5-inch bay, from outside the cover,
place the insert in position and press it into the opening.
ring-tab (2)
post (2)
system unit cover
(upside down)
5.25-inch front-
panel insert