


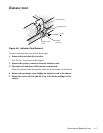
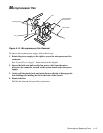
4-10 Dell OptiPlex GX
pro
Systems Service Manual
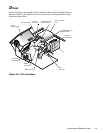
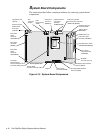
Drives in the Drive Cage
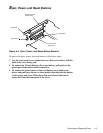
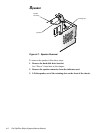
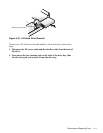
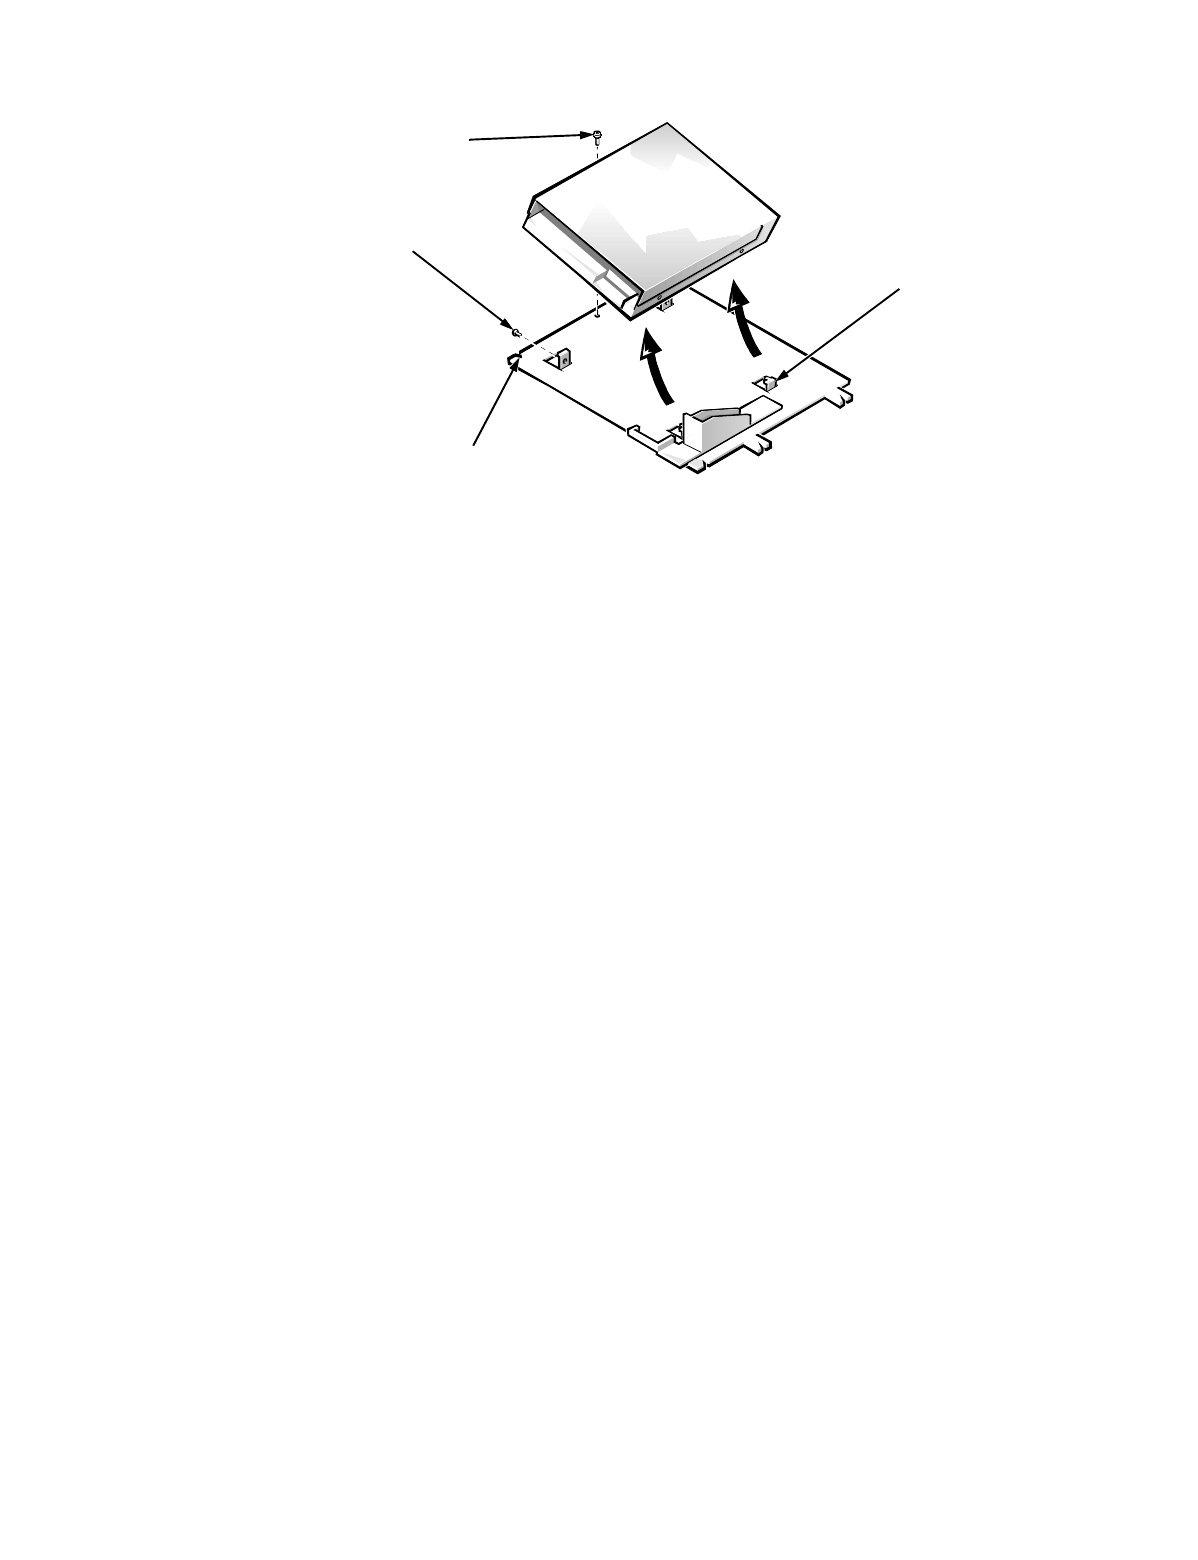
Figure 4-9. 3.5-Inch Diskette Drive Removal
To remove a drive from the 3.5-inch diskette drive bay, follow these steps:
1. Disconnect the DC power cable and the interface cable from the back of
the drive.
2. Remove the bracket retaining screw.
3. Release the bracket catch from the chassis.
Rotate the drive bracket to the right, and lift the bracket from the top of the
drive bay.
4. Remove the two mounting screws from each side of the drive and
remove the drive from the bracket.
To replace a 3.5-inch diskette drive, locate the two hooks on the right side of the
bracket that hold the drive in position. Engage those two hooks in the side of the
drive.
bracket catch
bracket mounting
screw (2)
retaining screw
hook (2)