


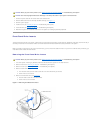
1. Turn off the system, including any attached peripherals, and disconnect the system from the electrical outlet.
2. Remove the cover (see "Removing the Cover" in "Troubleshooting Your System").
3. Lay the system on its right side.
See FigureA-3 to locate the system battery on the system board.
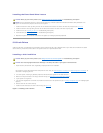
4. If necessary, remove the expansion cards to access the battery socket.
See "Removing an Expansion Card."
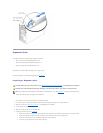
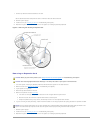
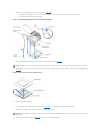
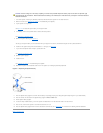
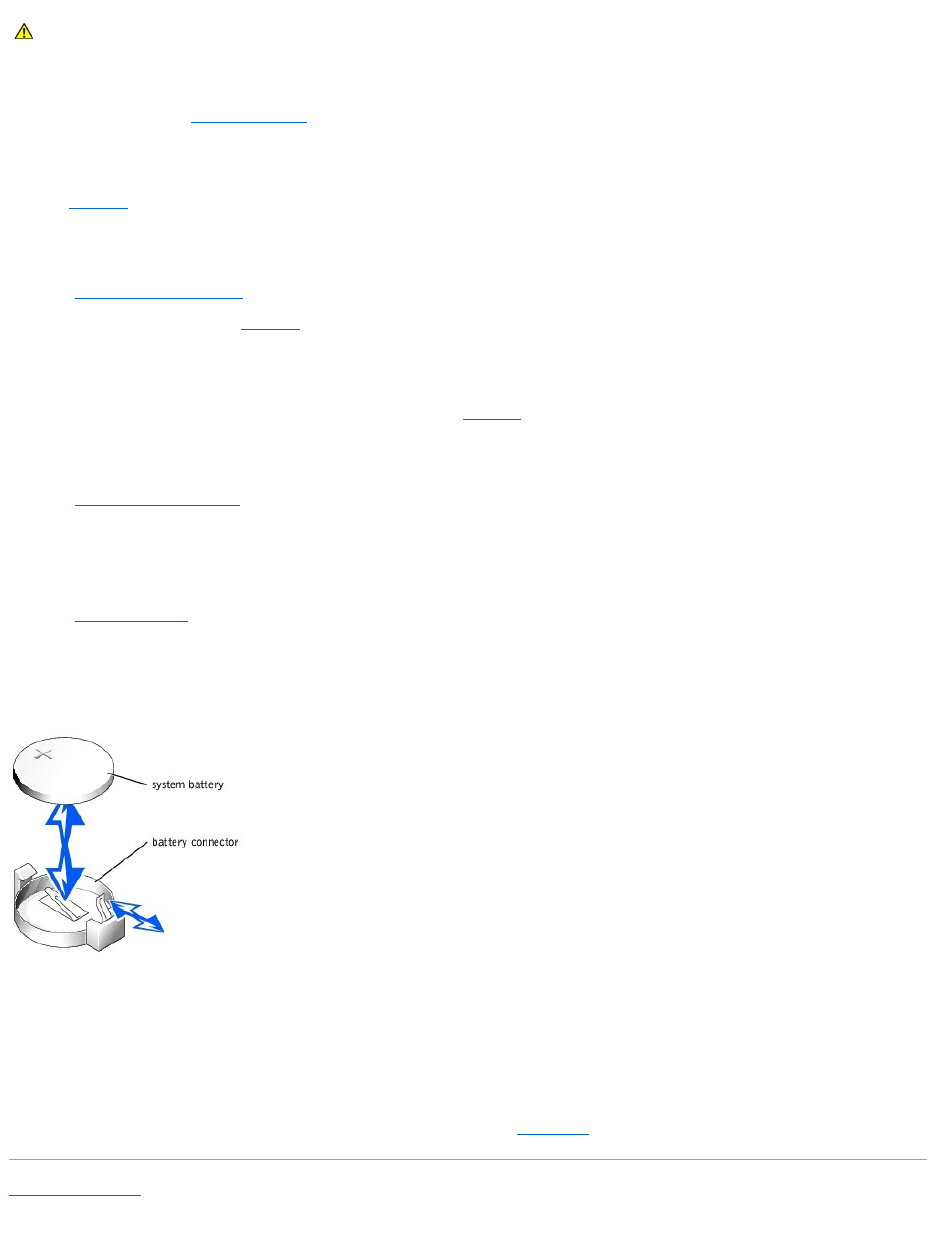
5. Remove the system battery (see Figure6-7).
You can pry the system battery out of its connector with your fingers or with a blunt, nonconductive object such as a plastic screwdriver.
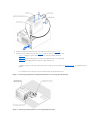
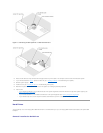
6. Install the new system battery with the side labeled "+" facing up (see Figure6-7).
7. If you removed expansion cards in step 4, replace them now.
See "Installing an Expansion Card."
8. Stand the system upright.
9. Install the cover.
See "Installing the Cover" in "Troubleshooting Your System."
10. Reconnect the system to its electrical outlet and turn the system on, including any attached peripherals.
Figure 6-7. Replacing the System Battery
11. Enter the System Setup program to confirm that the battery is operating properly (see "Using the System Setup Program" in your User's Guide).
12. Enter the correct time and date in the System Setup program's Time and Date fields.
13. Exit the System Setup program.
14. To test the newly installed battery, turn off the system and disconnect it from the electrical outlet for at least an hour.
15. After an hour, reconnect the system to its electrical outlet and turn it on.
16. Enter the System Setup program and if the time and date are still incorrect, see "Getting Help" for instructions on obtaining technical assistance.
Back to Contents Page
CAUTION: There is a danger of a new battery exploding if it is incorrectly installed. Replace the battery only with the same or equivalent type
recommended by the manufacturer. Discard used batteries according to the manufacturer's instructions. See your System Information Guide for
additional information.