


DES-3010F/DES-3010FL/DES-3010G/DES-3016/DES-3018/DES-3026 Fast Ethernet Switch Manual
159
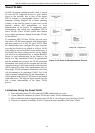
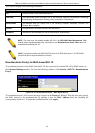
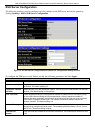
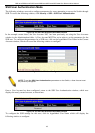
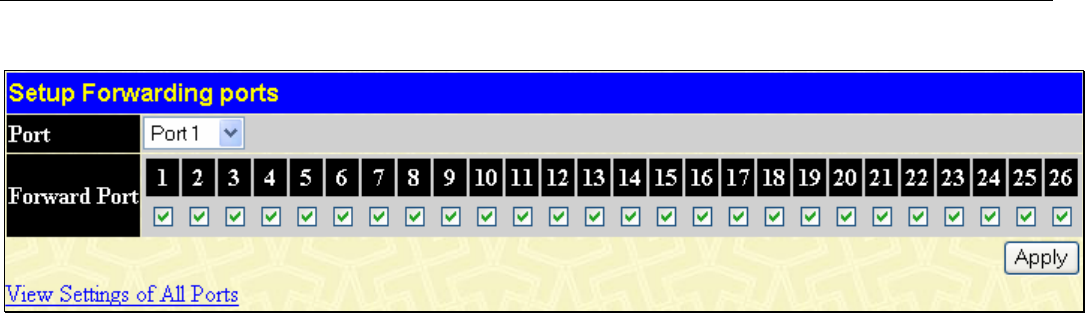
Click on the Setup button to open the Setup Forwarding ports page, as shown below.
Figure 10- 25. Setup Forwarding Ports window
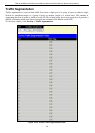
This page allows you to determine which port on a given switch in a switch stack will be allowed to forward
packets to other ports on that switch. Configuring traffic segmentation on the Switch is accomplished in two
parts. First, you specify a port from that switch, using the Port pull-down menu. Then specify the different
ports that you want to be able to receive packets from the port you specified in the first part.
Clicking the Apply button will enter the combination of transmitting port and allowed receiving ports into
the Switch’s Traffic Segmentation table.
The Port drop-down menu allows you to select a port from that switch. This is the port that will be
transmitting packets.
The Forward Port click boxes allow you to select which of the ports on the selected switch will be able to
forward packets. These ports will be allowed to receive packets from the port specified above.
Click Apply to enter the settings into the Switch’s Traffic Segmentation table.
Clicking the Apply button will enter the combination of transmitting port and allowed receiving ports into
the Switch's Traffic Segmentation Table.
Secure Shell (SSH)
SSH is an abbreviation of Secure Shell, which is a program allowing secure remote login and secure
network services over an insecure network. It allows a secure login to remote host computers, a safe method
of executing commands on a remote end node, and will provide secure encrypted and authenticated
communication between two non-trusted hosts. SSH, with its array of unmatched security features is an
essential tool in today’s networking environment. It is a powerful guardian against numerous existing
security hazards that now threaten network communications.
The steps required to use the SSH protocol for secure communication between a remote PC (the SSH client)
and the Switch (the SSH server) are as follows:
1. Create a user account with admin-level access using the User Accounts window in the Security
Management folder. This is identical to creating any other admin-level User Account on the Switch,
including specifying a password. This password is used to logon to the Switch, once a secure
communication path has been established using the SSH protocol.
2. Configure the User Account to use a specified authorization method to identify users that are allowed
to establish SSH connections with the Switch using the SSH User Authentication window. There
are three choices as to the method SSH will use to authorize the user, which are Host Based,
Password and Public Key.
3. Configure the encryption algorithm that SSH will use to encrypt and decrypt messages sent between
the SSH client and the SSH server, using the SSH Algorithm window.
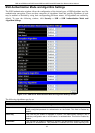
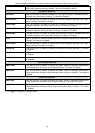
4. Finally, enable SSH on the Switch using the SSH Configuration window.
After completing the preceding steps, a SSH Client on a remote PC can be configured to manage the Switch
using a secure, in band connection.