


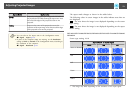

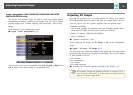

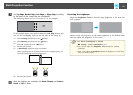
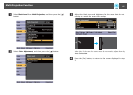

b
Adjust the position of the projected image in the following order
(starting from the adjustments that have larger corrections).
(1) Projector's position (angle)
s "Installation Settings" p.30
(2) Lens shift/Zoom
s "Adjusting the Position of the Projected Image (Lens shift)" p.35
s "Adjusting the Zoom" p.37
(3) Correct the four image corners
s "Quick Corner" p.62
(4) Correct the slight position misalignment that occurs when matching the
projected images.
s "Point Correction" p.65
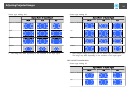
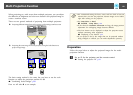
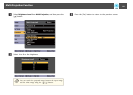
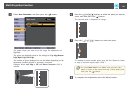
c
Set the Color Mode to Multi-Projection with the [Color Mode]
button.
a
• You can also set from Color Mode in Multi-Projection.
s Extended - Multi-Projection - Color Mode p.122
• When projecting 3D images, set it to 3D Multi-Projection.
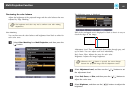
d
Adjusts the color tone for the whole screen as necessary.
s "Color Uniformity" p.183
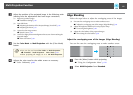
Edge Blending
Follow the steps below to adjust the overlapping areas of the images.
(1) Fine tune the overlapping areas to make seamless screen.
s "Adjust the overlapping area of the images (Edge Blending)" p.81
(2) Adjust the brightness difference for each projector lamp.
s "Correcting the brightness" p.83
(3) Adjust the color balance of the projected images.
s "Fine-tuning the color balance" p.85
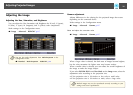
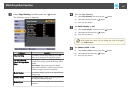
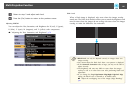
Adjust the overlapping area of the images (Edge Blending)
You can fine tune the overlapping areas to make seamless screen.
a
Press the [Menu] button while projecting.
s "Using the Configuration Menu" p.114
b
Select Multi-Projection from Extended.
Multi-Projection Function
81