8
Hardware Installation
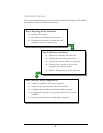
In this chapter, after preparing for the installation, the user is ready to begin the
install. This section will describe, in general terms, how to install the hardware. Here
are the following processes:
• Mount the enclosure (enclosure optional) and controller
• Install and connect the card readers
• Connect the electric strikes or mag locks
• Connect the controller to the system computer and system reader (system
reader optional)
• Mount a backup battery in the enclosure (optional)
Mounting the Enclosure and Controller
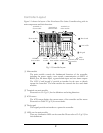
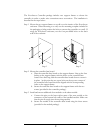
The controller is an essential part of the access control system. We recommend
mounting it in an EverAccess EPN-871-B metal enclosure (also sometimes referred
to as a panel or a can). The controller should be mounted in a location that is
convenient and easily accessible, but also secure. The controller acts as the brain of
the access control system and can be used to make changes to the database. When
choosing a location to mount the controller, choose a clean, dry location that will
allow the administrator easy access to make changes to the system, but that can be
secured from the general public. The enclosure must be mounted on a sturdy wall
using fasteners or anchors (to be provided by the installer). If you are using an
EverAccess EPN-871-B metal enclosure there must be an AC power outlet for the
enclosure in order to power the controller. (The EverAccess EPN-871-B metal
enclosure uses a 24 V AC power supply with a built in 12 V DC converter.) In
addition, the system computer should be near the controller, so that the controller
can be connected to the PC, allowing the administrator to utilize the Flex Series
software. If the system requires additional door or alarm modules, install them in the
controller before mounting the controller in the enclosure or on the wall.
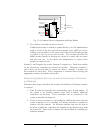
Please Note: If the controller screw holes due not line up properly with the
enclosure some filing may be needed for adjustment.
Chapte
r
2


