CHAPTER 2: System utilities
36
BIOS Setup Utility
The BIOS Setup Utility is a hardware configuration program built into the notebook’s
BIOS (Basic Input/Output System). The notebook was shipped already properly
configured and optimized. However, if the user encounters configuration problems, you
may need to run Setup.
To run the BIOS Setup Utility:
1 Turn on the notebook. You will see Press <F2> to enter Setup at the bottom of the
screen.
2 Press F2. The BIOS Setup Utility opens.
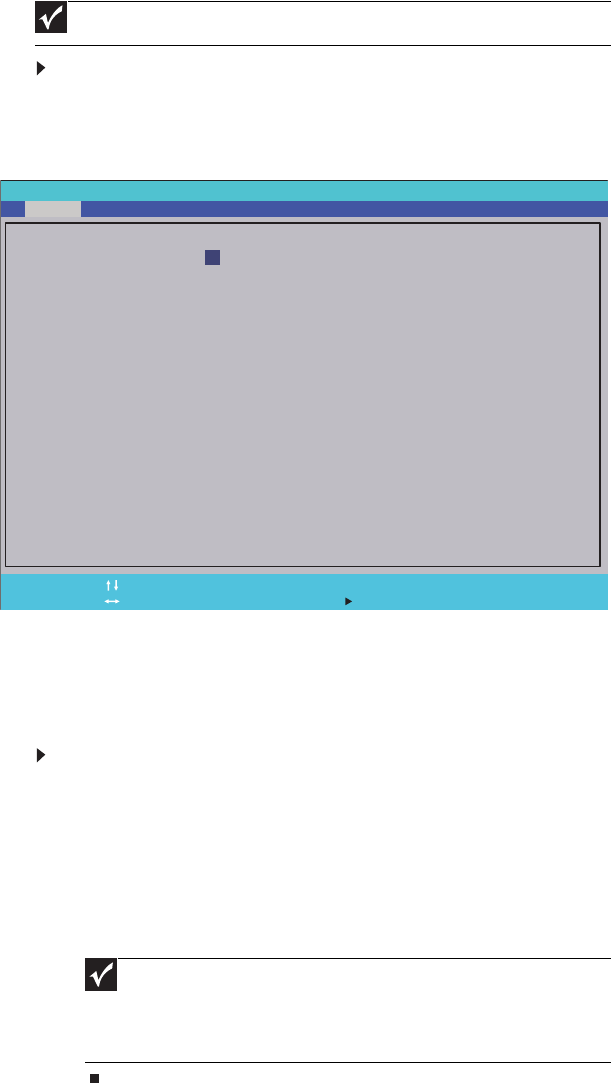
Navigating the BIOS Setup Utility
There are six menu options in the BIOS Setup Utility: Information, Main, Advanced, Intel,
Security, Boot, and Exit.
To use the BIOS Setup Utility:
• To choose a menu, use the left ← and right → arrow keys.
• To choose an item, use the up ↑ and down ↓ arrow keys.
• To change the value of a parameter, press F5 or F6.
• A plus sign (+) indicates the item has sub-items. Press ENTER to expand this item.
• Press ESC while you are in any of the menu options to go to the Exit menu.
• In any menu, you can load default settings by pressing F9. You can also press F10
to save any changes made and exit the BIOS Setup Utility.
Important
Also see Chapter 4 “Troubleshooting” on page 139.
Important
You can change the value of a parameter if it is enclosed in square brackets.
Navigation keys for a particular menu are shown on the bottom of the screen. Help
for parameters are found in the Item Specific Help part of the screen. Read this
information carefully when making changes to parameter values. System
information differs by model.
Phoenix SecureCore(tm) Setup Utility
Main
System Time:
System Date:
System BIOS Version:
CPU Type:
CPU Speed:
Cache Ram
Total Memory:
Slot 1 Memory
Slot 2 Memory
F1
Esc
Help
Exit
Select Item
Select Menu
Change Values
Select Sub-Menu
-/+
Enter
F9
F10
Setup Defaults
Save and Exit
[]
[]
:10:10
06/04/2009
Vx.xx
Intel ® Core(TM)2 Duo CPU P8700 @ 2.53GHz
2.53GHz
3072 KB
4096 MB
2048 MB
2048 MB
10
Security
Boot
Exit
Advanced
