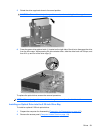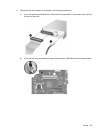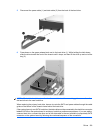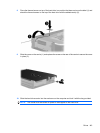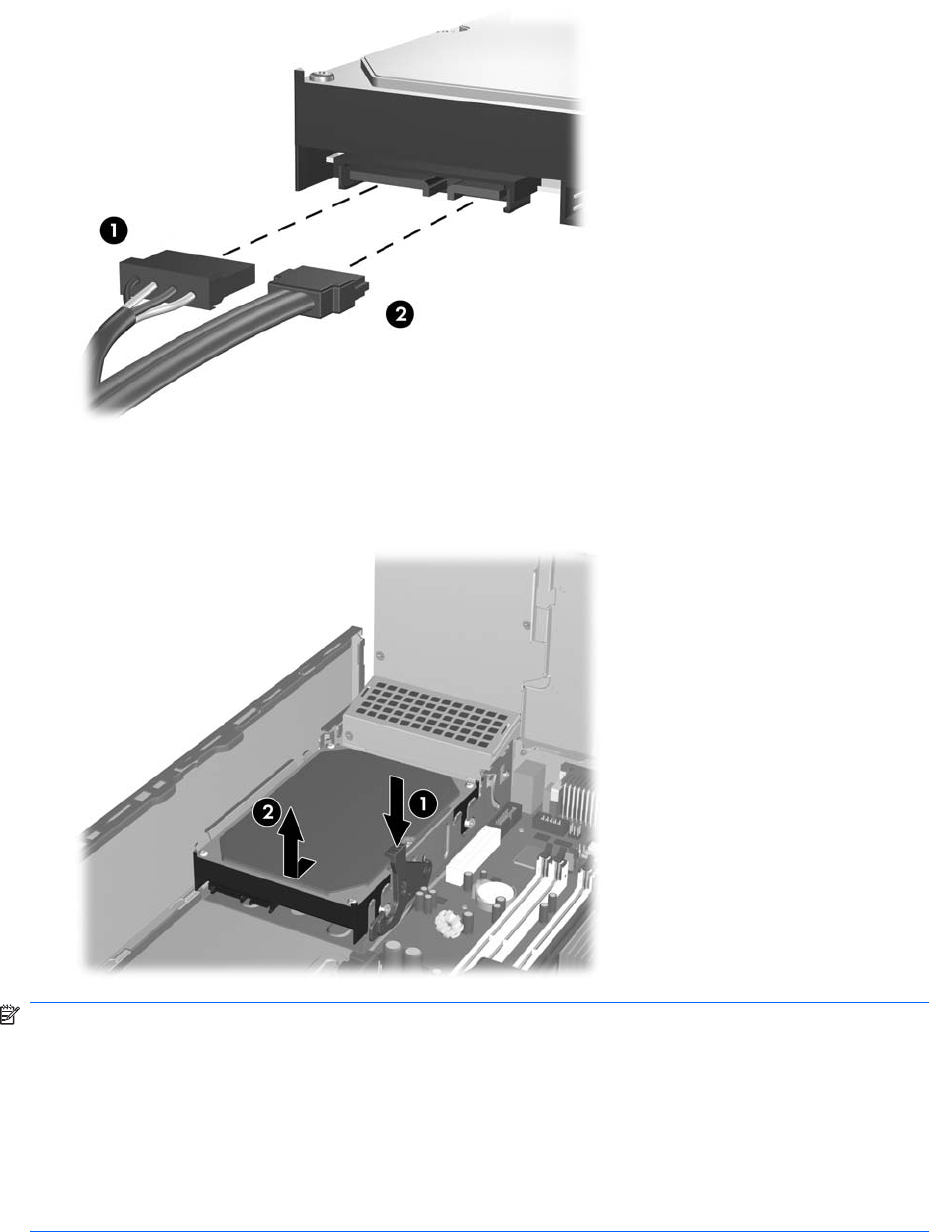
5. Disconnect the power cable (1) and data cable (2) from the back of the hard drive.
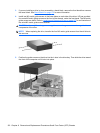
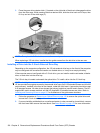
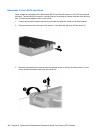
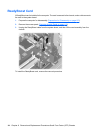
6. Press down on the green release latch next to the hard drive (1). While holding the latch down,
slide the drive toward the front of the chassis until it stops, and then lift the drive up and out of the
bay (2).
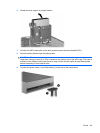
NOTE: To install a hard drive, transfer the silver and blue isolation mounting guide screws from the
old hard drive to the new hard drive.
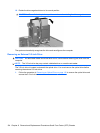
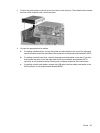
When replacing the primary hard drive, be sure to route the SATA and power cables through the cable
guide on the bottom of the chassis frame behind the hard drive.
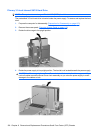
If the system has only one SATA hard drive, the data cable must be connected to the dark blue connector
labeled SATA0 on the system board to avoid any hard drive performance problems. If you are adding
a second hard drive, connect the other end of the data cable to the next available (unpopulated) SATA
connector on the system board by following the numbered sequence of the connectors.
Drives 139


