Removal and replacement procedures 57
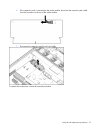
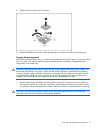
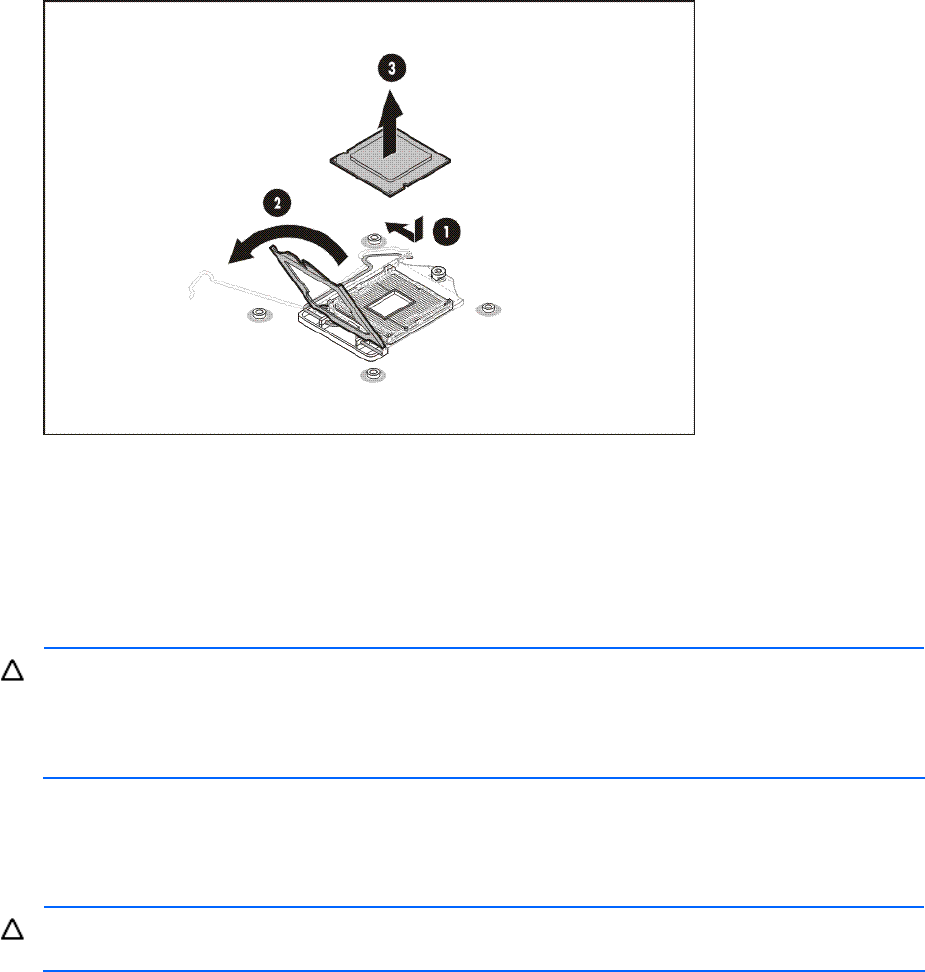
3. Gently lift the processor out of its socket.
4. Place the default processor on a static-dissipating work surface or inside an anti-static bag.
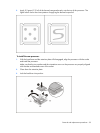
To apply thermal compound:
Perform the procedure below only if you will be using the same heat sink as before. If you are using a
new one, there is no need to apply thermal compound as there is already a preapplied thermal
compound in a new heat sink.
CAUTION: Applying too little thermal compound will cause a gap between the contact surfaces. This
means that the heat sink is not even in direct contact with the processor, and therefore its capacity
to draw out heat is greatly reduced. Furthermore, applying too much compound can make it squish
out from the sides and go all over the processor pins or to the system board when the heat sink is
installed. The compound may cause electrical shorts that can damage the system.
1. Use the alcohol pad (included in the new processor spare kit) to clean the contact surfaces on
the heat sink and the new processor. Wipe the contact surfaces several times to make sure that
no particles or dust contaminants are evident. Allow the alcohol to evaporate before continuing.
CAUTION: Do not touch the contact surfaces as this may leave dead skin cells or oils from your
finger that can result in poor thermal compound performance.


