


4 - 61
9. Remove the old battery and set it aside.
10. Inspect the battery well to verify the two foam pads are still in place.
11. Align the wiring connector on the new UPS battery with the connector on the Thor VM1. Gently press the connector
into place until the retaining tab snaps into place.
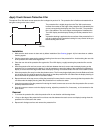
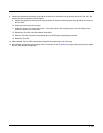
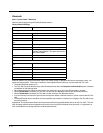
12. Place the UPS battery into the well. Note the orientation of the battery in the illustration below. The flat surface of the
battery points toward the bottom of the Thor VM1. Make sure all wires are inside the battery well so they are not
pinched when the front panel is reinstalled.
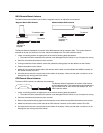
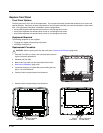
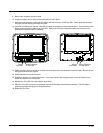
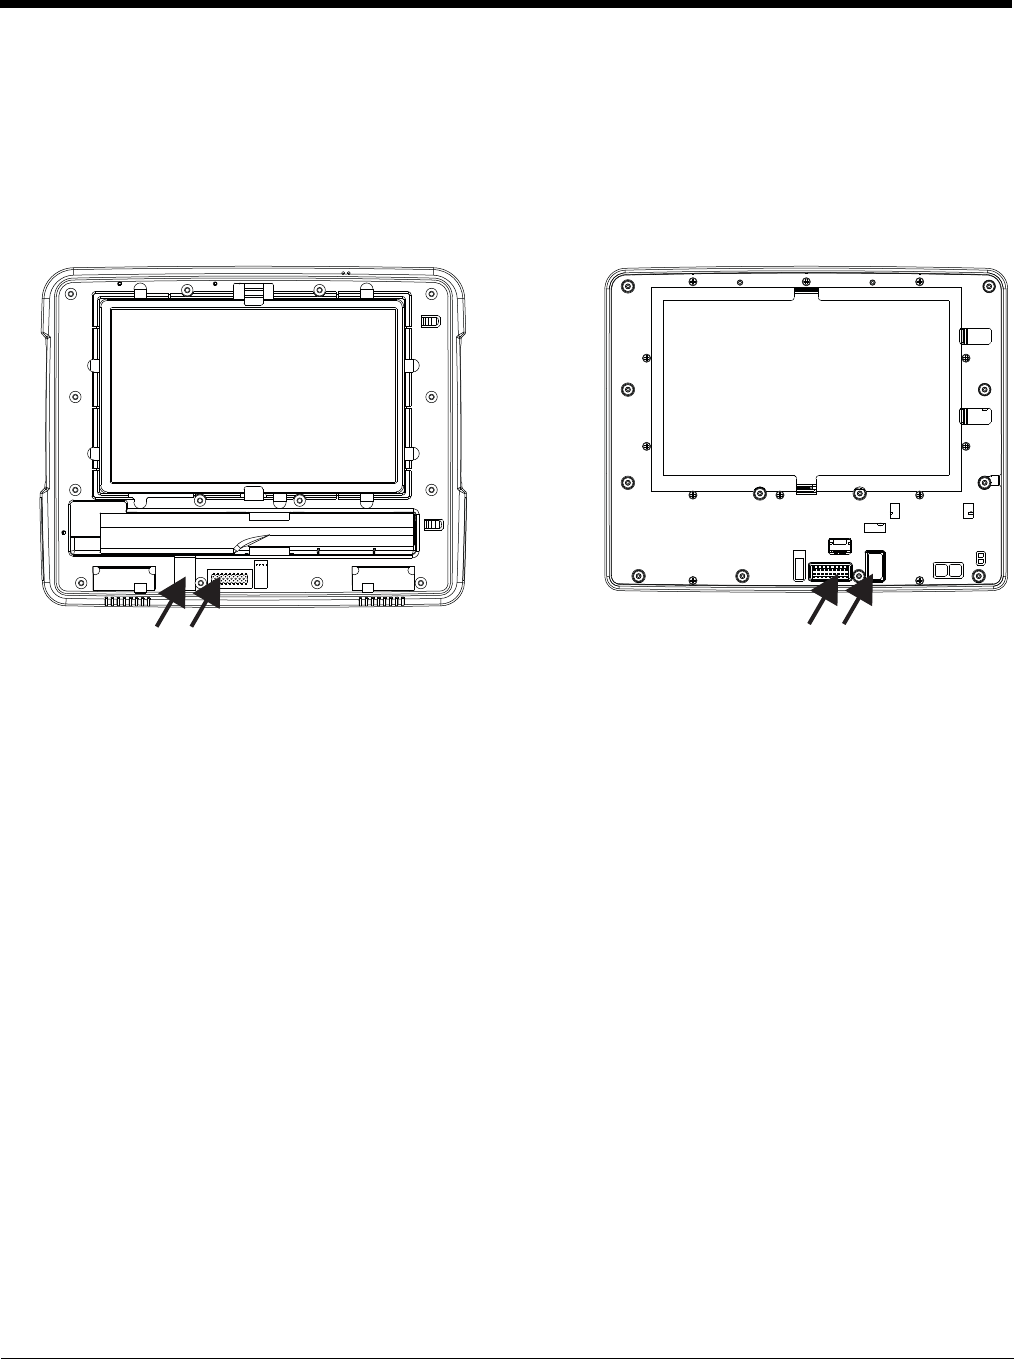
13. Position the front panel so the tab on the back of the front panel lines up with the slot on the Thor VM1. Be sure the two
wiring connectors are also aligned.
14. Gently press the front panel into place.
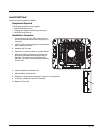
15. Tighten the fourteen (14) captive M3 screws. In the order shown in the top figure above, use a #2 Phillips bit and
torque the screws to 6-7 inch pounds.
16. Reinstall the Thor VM1 in the Quick Mount Smart Dock.
17. When the Thor VM1 is placed in the powered dock, the UPS battery automatically reconnects. The UPS battery
automatically begins charging from the powered dock.
18. Restart the Thor VM1.
Slot on
Thor VM1
Wiring Connector
on Thor VM1
Slot on
Front Panel
Wiring Connector
on Front Panel