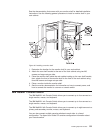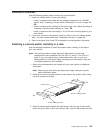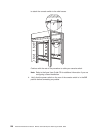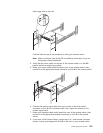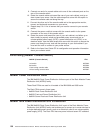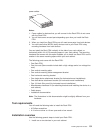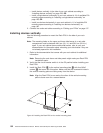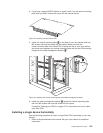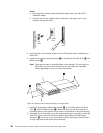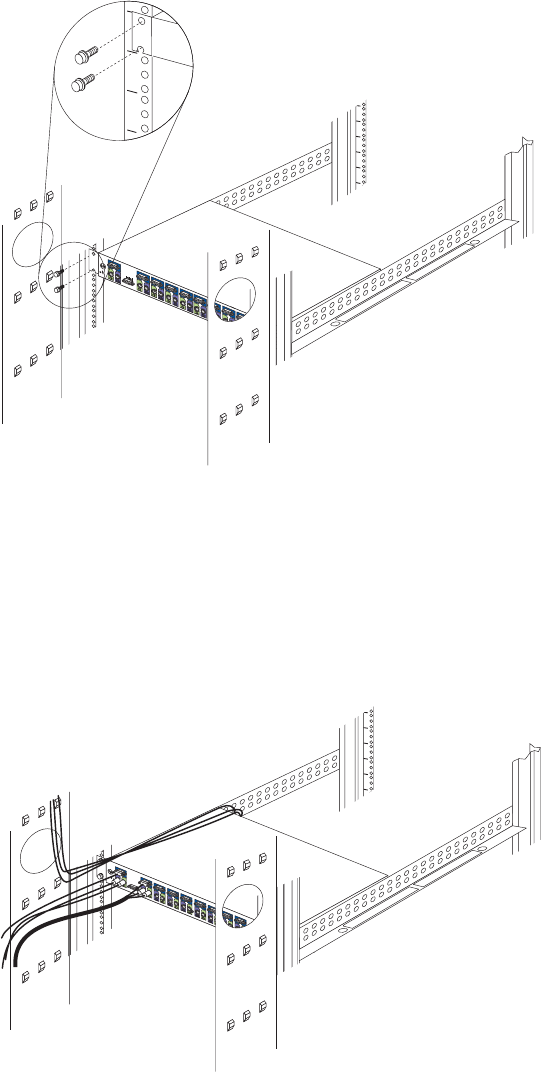
either cage nuts or clip nuts.
I
m
p
o
r
t
a
n
t
I
n
f
o
r
m
a
t
i
o
n
Important
Information
1
0
1
0
1
5
A
2
6
3
7
4
4
Continue with the rest of the procedure to cable your console switch.
Note: Refer to the Apex User Guide CD for additional information if you are
configuring a tiered installation.
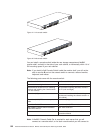
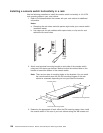
4. Verify that the power switch on the rear of the console switch is in the Off
position before connecting any cables.
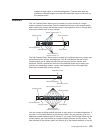
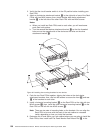
5. Route your mouse cable neatly toward the rear of the console switch; then,
connect it to the appropriate mouse connector on Port A of the console switch.
A
1
5
2
6
3
3
4
4
1
0
1
0
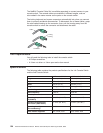
6. Connect the monitor signal cable from your monitor to the blue monitor
connector on Port A of the console switch; then, tighten the screws on the
monitor signal cable.
7. Route your keyboard cable neatly toward the rear of the console switch; then,
connect it to the appropriate keyboard connector on Port A of the console
switch.
8. If you have a 2x8 Console Switch, repeat step 5 to 7 and connect a second
monitor, mouse, and keyboard to Port B on the front of your console switch.
Installing Optional Devices 129


