power outlets.
Notes:
1. Power cables for devices that you will connect to the Rack PDU do not come
with the Rack PDU.
2. You will have some unused parts depending upon how you install the Rack
PDU.
3. When you install two Rack PDUs you will need some parts from both devices.
4. You can install other M/PDU family devices next to your Rack PDU using
mounting hardware from both devices.
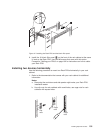
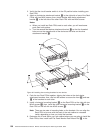
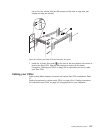
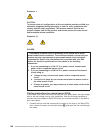
You can install the Rack PDU vertically in the side of your rack cabinet, or
horizontally within 1U of EIA mounting space in your rack cabinet. The mounting
hardware that comes with this option enables you to install one Rack PDU next to
another in the same mounting space within your rack cabinet.
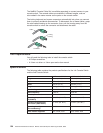
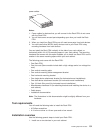
The following parts come with the Rack PDU:
v One Rack PDU
v One line cord (Some models include both a high voltage and a low voltage line
cord)
v One vertical mounting plate
v One vertical-mounting cable-management bracket
v One horizontal mounting bracket
v One single-device attachment bracket (for horizontal-mount installations)
v One dual-device attachment bracket (for horizontal-mount installations)
v One 1U blank filler panel (for horizontal-mount installations)
v Miscellaneous hardware kit (for attaching brackets and installing the device in a
rack cabinet)
v Cable straps
v Installation documentation
Note: The illustrations in this documentation might be slightly different from your
hardware.
Tool requirements
You will need the following tools to install the Rack PDU:
v A Phillips screwdriver
v A 10-mm nut driver or 10-mm open-end or box wrench
Installation overview
Use the following general steps to install your Rack PDU:
1. Install one or two devices in your rack cabinet
Installing Optional Devices 131


