


m
Windows Vista
v
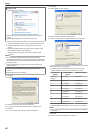
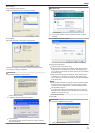
A [AutoPlay] screen appears.
.
v
Clicking [Run SETUP.exe] displays the [User Account Control]
screen.
v
Clicking [Allow] displays the card printer setup screen.
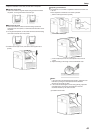
2
Select the [Printer Driver] checkbox on the card printer setup screen
A Select the language to use from the [Language] pull-down menu
v
Selecting [Japanese] switches the program to the Japanese
version.
v
Selecting [English] switches the program to the English version.
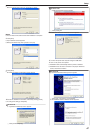
B Select [USB connection] from [Interface]
C Select [Install] under [Action], and select the [Printer Driver]
checkbox
Memo:
v
You can select the [Status Monitor] and [Electronic Manual]
checkboxes to install them simultaneously. Selecting all checkboxes
starts installation in the order of the Electronic Manual, printer driver,
and status monitor.
v
The same status monitor can be used for printers connected via
USB and Ethernet.
v
Clicking [Open the Electronic Manual] opens the Electronic
Manual.
v
Clicking [Exit] ends the installation.
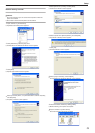
3
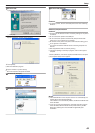
Click [Next]
v
A [Installation of CX-7000 USB printer] screen appears.
.
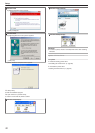
4
Read through the “Software License Agreement”
v
If you accept the terms and conditions, select [I agree] to start
installation.
v
If you do not agree, click [Cancel] to stop the installation.
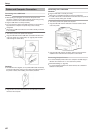
5
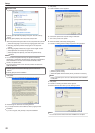
Click [Next]
v
A start installation screen appears.
.
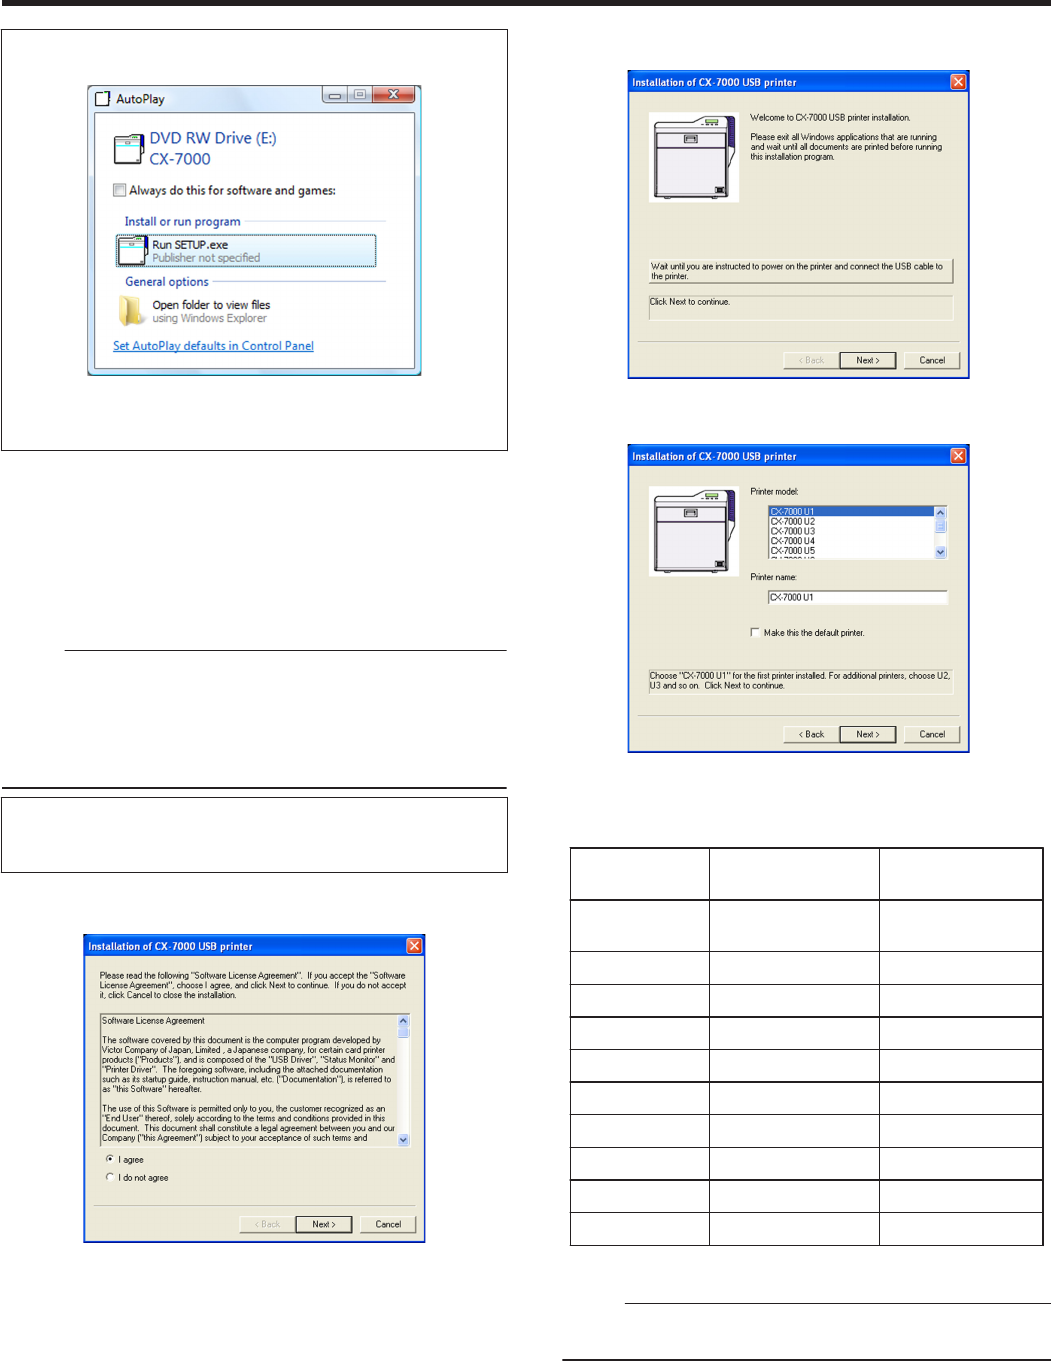
6
Check the details, followed by clicking [Next]
v
A screen for setting [Printer model] and [Printer name] appears.
.
A Select a [Printer model] according to the unit number of the printer
"Unit Number Setting" (A page 28)
v
Select a [Printer model] according to the unit number of the
printer. Installation may fail if the combination is incorrect.
Printer Unit
Number
Printer Model
Options
USB Device Name
1 (Factory
Setting)
CX-7000 U1 CX-7000 U1
2 CX-7000 U2 CX-7000 U2
3 CX-7000 U3 CX-7000 U3
4 CX-7000 U4 CX-7000 U4
5 CX-7000 U5 CX-7000 U5
6 CX-7000 U6 CX-7000 U6
7 CX-7000 U7 CX-7000 U7
8 CX-7000 U8 CX-7000 U8
9 CX-7000 U9 CX-7000 U9
10 CX-7000 U10 CX-7000 U10
B Enter the [Printer name]
C Select the [Make this the default printer.] checkbox if necessary
Memo:
v
Doing so enables you to set it as a default printer after installation
is complete.
7
Click [Next]
v
A screen for entering the shared name appears.
Setup
66