


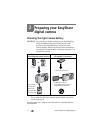
Preparing your EasyShare digital camera
12 www.kodak.com/go/support
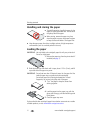
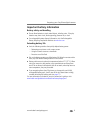
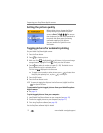
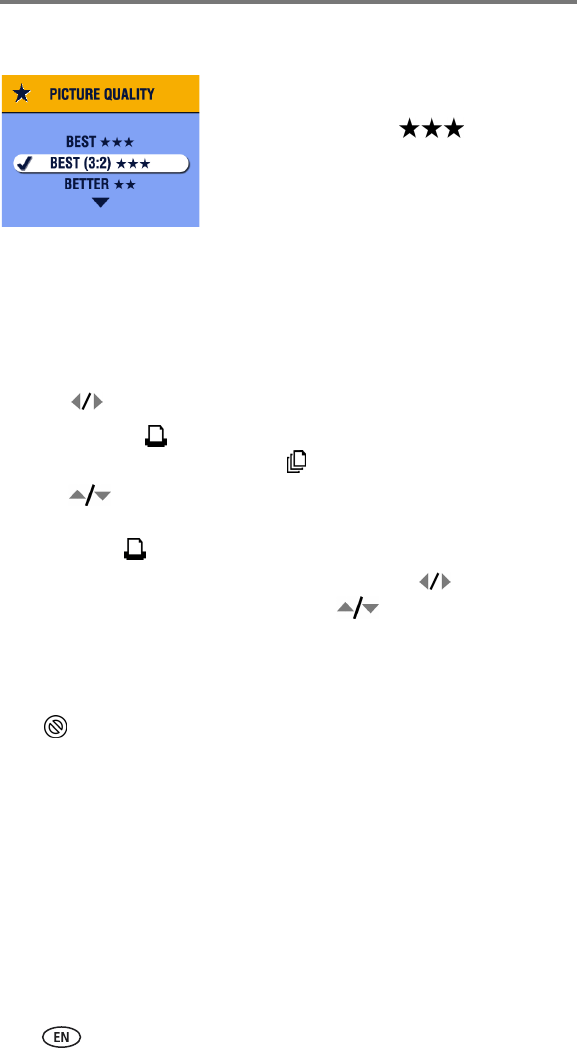
Setting the picture quality
Before taking pictures, change the Picture
Quality setting on your Kodak EasyShare
camera to Best (3:2) . This ensures
that the pictures you take are proportional to
the printer dock photo paper, preventing
unwanted cropping of your pictures.
See your camera user’s guide for more
information.
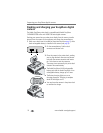
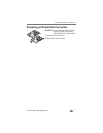
Tagging pictures for automatic printing
On your Kodak EasyShare digital camera:
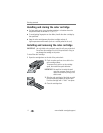
1 Press the Share button.
2 Press to locate a picture.
3 Make sure Print is highlighted (to tag all pictures in the current image
storage location, highlight Print All ), then press the OK button.
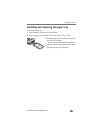
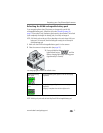
4 Press to select the number of copies (0 - 99). The default is one.
Zero removes the tag for a selected picture.
The Print icon is displayed in the status area.
■ To apply a print quantity to other pictures, press to locate them.
Keep the print quantity as is, or press to change it.
5 Press the OK button.
6 Press the Share button to exit.
NOTE: To remove print tagging from all pictures: from the Share menu, highlight Cancel Prints
, then press the OK button.
To automatically print tagged pictures from your Kodak Easyshare
digital camera:
■ See page 14.
To print tagged pictures from your computer:
1 Install Kodak EasyShare software on your computer (see page 18).
2 Transfer the tagged pictures to your computer (see page 22).
3 Print using EasyShare software (see page 24).
See the EasyShare software Help for details.