Job Accounting
4-8
4
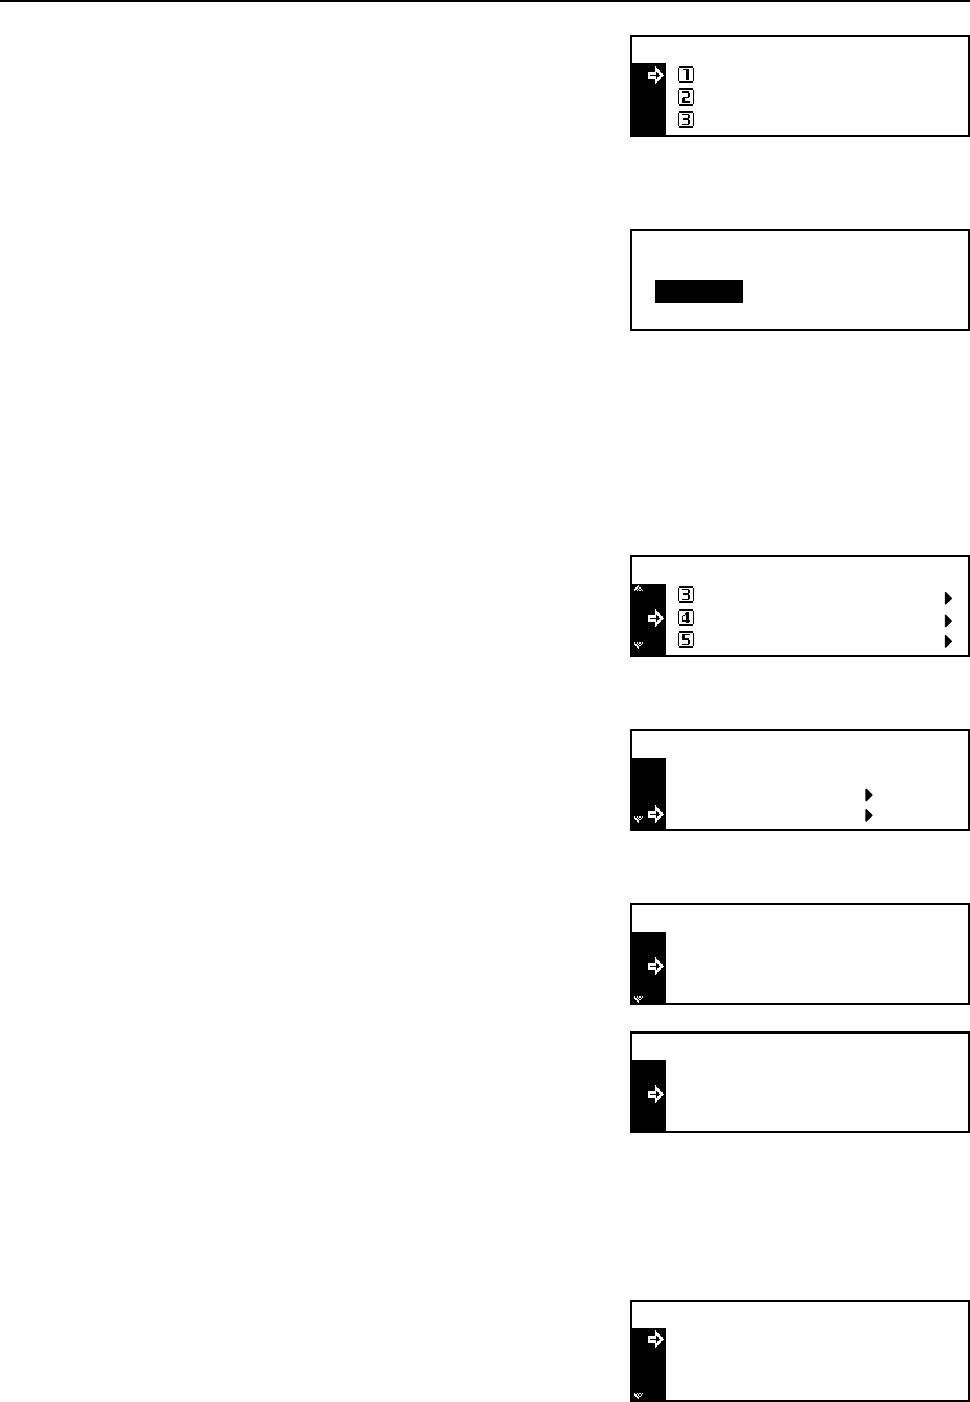
Press the S key or the T key to select No limit,
Counter limit or Is not permitted.
5
Press the Enter key. If you have selected Counter limit, the Counter limit Default
Value screen is displayed. Proceed to the next step.
6
Use the numeric keys to input the counter limit. You
can set the limit to 999,999 at the maximum in 1 sheet
increments.
7
Press the Enter key. The message display returns to the Limit in use screen.
Deleting an Account
Delete a registered account.
1
Display the Job Accounting screen. (See How to Display the Job Accounting Screen on
page 4-3.)
2
Press the S key or the T key to select Edit Job
Accounting.
3
Press the Enter key.
4
Press the S key or the T key to select Delete.
5
Press the Enter key.
6
Press the S key or the T key to select the ID-code to
delete.
7
Press the Enter key. The confirmation screen is
displayed.
8
Press the S key or the T key to select Yes.
9
Press the Enter key.
Note To delete another account, repeat steps 6 to 9.
10
Press the S key or the T key to select End.
Fax Transmitting:
No limit
Counter limit
*
Is not permitted
Counter limit Default Value:
Limitation
999.999
Job Accountg Def. Set.
Job Accounting:
Each Job Accounting TL
Edit Job Accounting
[]On
Delete
Edit Job Accounting:
End
New registration
22222222
Delete:
End
11111111
: 000.234
: 123.456
Delete?
Yes
No
33333333
Delete:
End
22222222
: 006.101
: 000.234


