


2-57 4059 Service Manual
4059-XXX
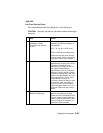
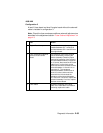
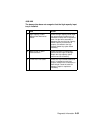
Input Sensor Service Check
Service Tip: Run the base sensor test. Check the input sensor for
proper operation. The display changes from open to closed as the
sensor flag is manually moved in and out of the sensor.
Service Tip: Run a Diagnostic Print Test in the continuous mode with
the controller board removed. A defective input sensor or circuit
causes the first copy to exit only partially through the fuser assembly.
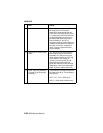
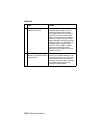
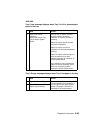
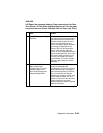
4 Engine Board Check the +42 V dc test point on the
engine board. Go to “Engine Board”
on page 5-4 in the locations section to
find the +42 V dc test point. Be careful
not to short between the test point and
any other pin. The voltage measures
approximately +42 V dc. If correct,
replace the engine board.
5 LVPS Interconnect Board Check the voltage at CN3-18 on the
LVPS. It measures approximately
+42 V dc. If incorrect, replace the
LVPS.Ifcorrect,replacethe
interconnect board.
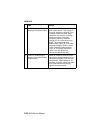
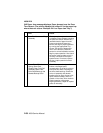
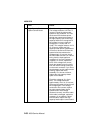
FRU Action
1 Input Sensor Flag Check the input sensor flag for
damage and proper operation. If a
problem is found, repair as
necessary.
2 Engine Board Check for approximately +5 V dc at
J10-10 on the engine board. If
incorrect, replace the engine board.
3 Input Sensor Cable Check the continuity of the input
sensor cable. Ifincorrect, replace the
cable. If correct, replace the input
sensor assembly.
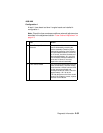
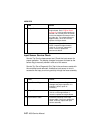
FRU Action