1.7
Getting started
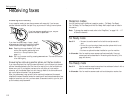
TTI select
When you send a fax message, your TTI is automatically printed at the top of docu-
ments you send. You can select one of three TTI you’ve stored in your machine.
Note: See “EasyStart” on the General reference, to refer the storing the TTI.
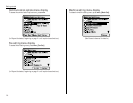
To select the TTI:
1
Place the document and select resolution and contrast you require.
2
Press
NEXT
until [TTI] is appeared on the
LCD
.
3
Press [TTI].
4
Using a cursor key to select TTI you want to
send.
5
Press [Enter].
6
Dial a fax number.
7
Press
START
.
Note: After transmission if you did not select TTI before sending a document, the
stored TTI you’ve selected in EasyStart will be printed at the top of docu-
ment you send.
Select scanning size to be sent
When you send or store your document, usually the machine automatically detects
the size of your document when it is placed on the ADF or FBS glass. However, if
you wish to override this and select scanning size manually, proceed to the following
steps.
Note: You can select one of the following standard paper sizes.
•A3
•B4
•A4
•B5
•A5
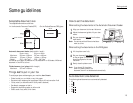
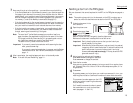
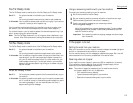
The scanning area is referred to left rear of the ADF or FBS glass.
Note: When using a FBS glass, you can specify a different scan size for each page,
but when using a ADF, only one size is allowed.
Note: To override auto document size detection, you have to set the scanning size
at each page scanning.
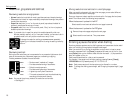
To select the scanning size manually:
1
Place the document and select resolution and contrast you require.
2
Enter
NEXT
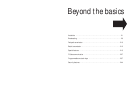
, [ScanSize].
3
Select desired size by using a cursor key.
4
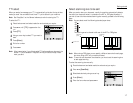
Press [Enter].
5
Enter the fax number and press
START
.
Reference
point
Reference
point
FBS glassADF
Feed direction
Maximum scanning area


