9-32
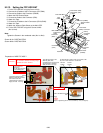
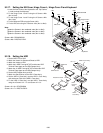
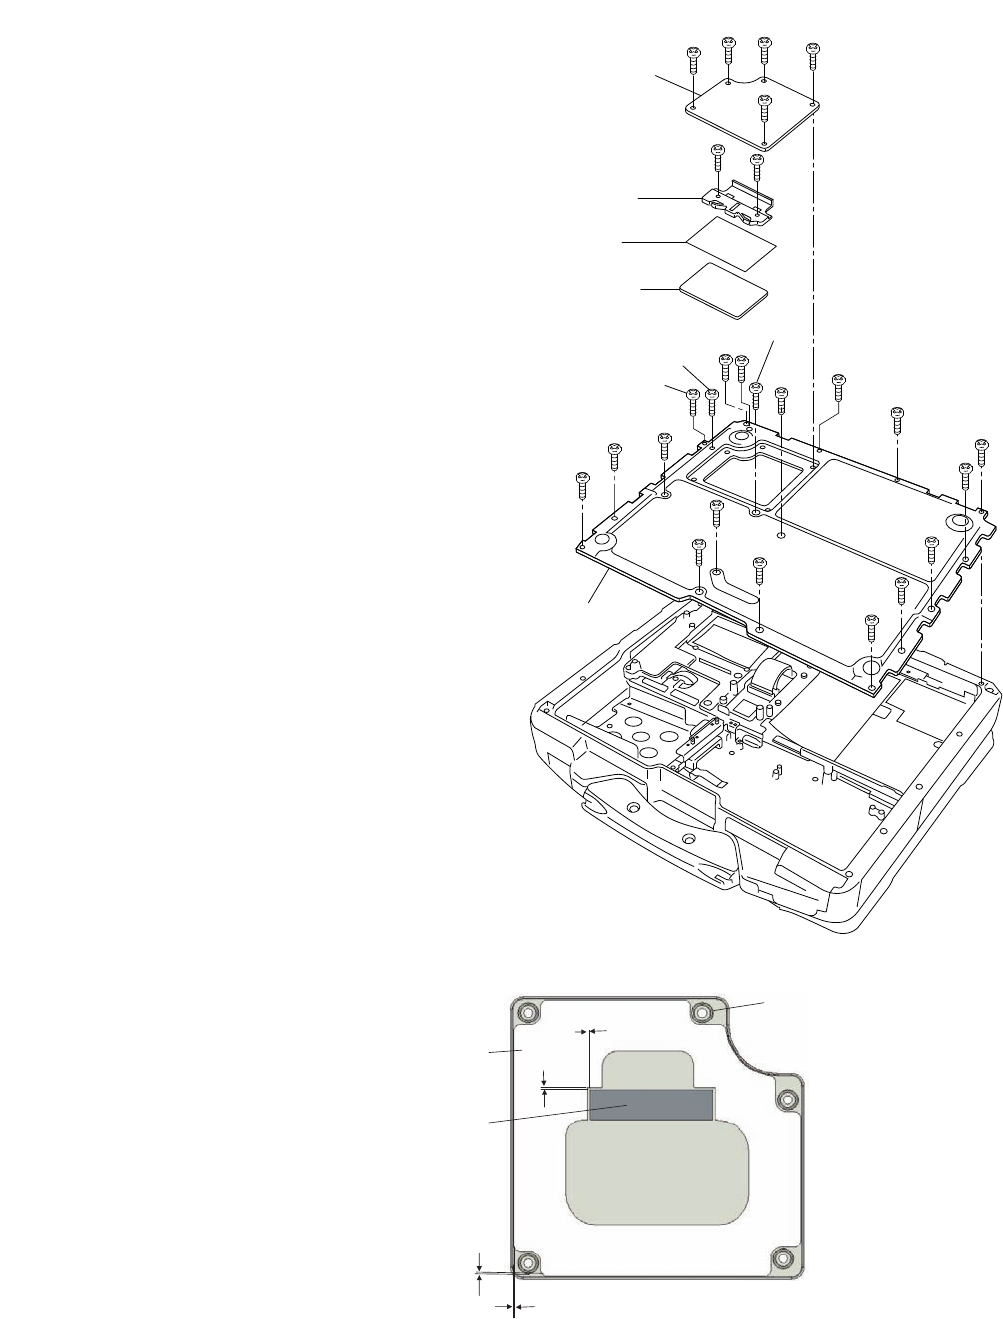
9.2.14. Setting the DIMM Cover and Bot-
tom Cover
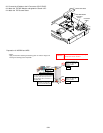
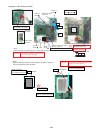
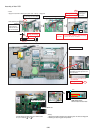
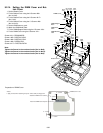
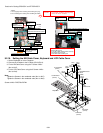
1. Set the Bottom Cover.
2. Fix the Bottom Cover using the 6 Screws <N8>
(No1 to No6).
3. Fix the Bottom Cover using the 2 Screws <N17>
(No1, No2).
4. Fix the Bottom Cover using the 13 Screws <N6>
(No1 to No13).
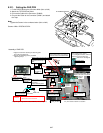
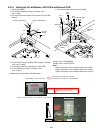
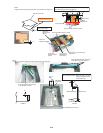
5. Set the DIMM memory card.
6. Attach the DIMM Heat Plate.
7. Fix the DIMM Stopper Base using the 2 Screws <N6>.
8. Fix the DIMM Cover using the 5 Screws <N1>.
Screws <N1>: DRHM0002ZA
Screws <N5>: DRQT26+D4FKL
Screws <N6>: DRQT26+E4FKL
Screws <N8>: DRSB3+8FKL
Screws <N17>: DRQT26+E6FKL
Note:
Tighten the Screws in the numbered order (No1 to No6).
Tighten the Screws in the numbered order (No1 to No13).
Tighten the Screws in the numbered order (No1 to No5).
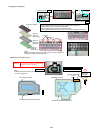
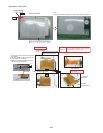
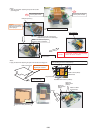
Preparation of DIMM Cover
<N6>
<N6>
<N6>
<N6>
<N6>
<N6>
<N6>
<N6>
<N6>
Bottom Cover
DIMM Memory
Card
DIMM Stopper
Base
DIMM Heat
Plate
DIMM Cover
<N1>
<N1>
<N1>
<N1>
<N1>
<N6>
<N6>
<N6>
<N6>
No.4
No.5
No.2
No.3
No.1
No.3
No.4
No.5
No.6
No.7
No.1
No.8
<N6>
No.2
No.9
<N6>
No.10
No.11
No.12
No.13
<N8>
<N8>
<N8>
<N8>
<N8>
No.1
No.2
No.3
No.4
No.5
<N8>
No.6
0 ~ 0.5mm
0 ~ 0.5mm
0 ~ 0.5mm
0 ~ 0.5mm
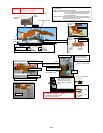
DIMM Cover is set
Attach the DIMM Cover Cushion
Attach the DIMM Cover Spacer
* Notes:
1. Apply the load when attaching the parts. 20N to 30N (2 to 3Kgf)/cm2


