[PICTURE] menu
ENGLISH
- 49
Settings
■
[MPEG NR]
You can eliminate the noise that occurs upon projection for
videos that use MPEG compression.
Weaken Strengthen
Setting range: 0 to +3
z
Attention
Use a strong setting when projecting an MPEG video.
z
COMPUTER (RGB) signal is not supported.
z
■
[FRAME CREATION]
You can activate the rendering system for fast motion
frames with fewer afterimage.
Switch settings Switch settings
[OFF] [MODE1]
[MODE3] [MODE2]
[OFF] Deactivate
[MODE1] Setting for a standard image
[MODE2] Setting for a theater image
[MODE3] Setting for a fast moving image
Note
With some of the images, it might be difcult to see a
z
difference in result.
If [FRAME CREATION] is set to active, video may be
z
delayed in some cases. In this case, select [OFF].
This cannot be set to active when [2D TO 3D]
z
(
page 66) is enabled.
■
[COLOR MANAGEMENT]
For the selected [PICTURE MODE], you can adjust a
selected color individually with [CURSOR] mode or adjust
the six color components (Red, Green, Blue, Cyan,
Magenta, Yellow) with [RGBCMY] mode.
Adjustment results can be saved as a prole and called
later.
●
Create a new prole
Note
[COLOR MANAGEMENT] will be unable to adjust with
z
the setting of [REC709] in [PICTURE MODE], when
HDMI signal is selected.
When the input signal is switched while adjusting,
z
adjustment details are not saved.
If there is another area, which has the exact same or
z
similar color as the target on the same screen, these
colors will be adjusted as well.
You can adjust all colors except white, gray and black.
z
If you edit a single color to be individual different colors,
z
the desired color may not be achieved.
When a 3D signal is being input (including converting 2D
z
to 3D), [COLOR MANAGEMENT] cannot be executed.
Adjusting the selected color (when
z
[CURSOR] is selected for [ADJUSTMENT
MODE])
Select the desired color with a cursor and adjust.
Press the ◄► buttons to select [CURSOR] 1)
in [ADJUSTMENT MODE].
COLOR MANAGEMENT
PROFILE
ADJUSTMENT MODE
START ADJUSTMENT
LOG
NORMAL
CURSOR
Press the ▲▼ buttons to select [START 2)
ADJUSTMENT] and press the <ENTER>
button.
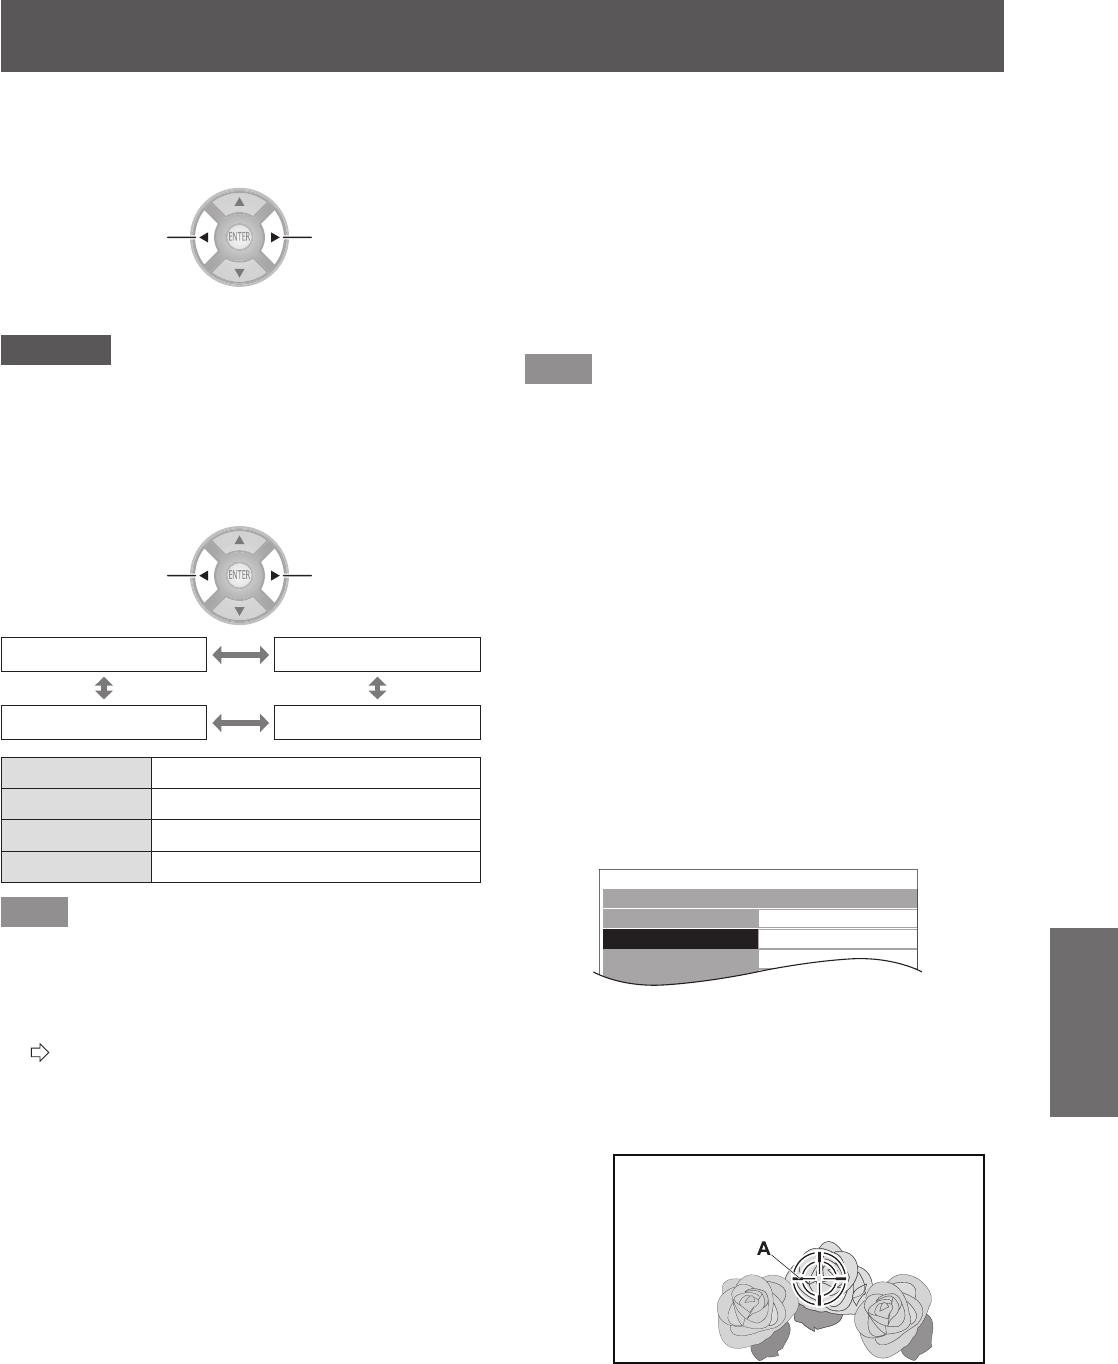
The cross cursor
z
(A) is displayed, and the
projected image is captured.
Screen
Move the cursor with the ▲▼◄► buttons 3)
to the required place to select a color.
Align the center of the cross cursor on the point
z
in the projected image to be adjusted.


