[3D SETTINGS] menu
ENGLISH
- 61
Settings
[3D SETTINGS] menu
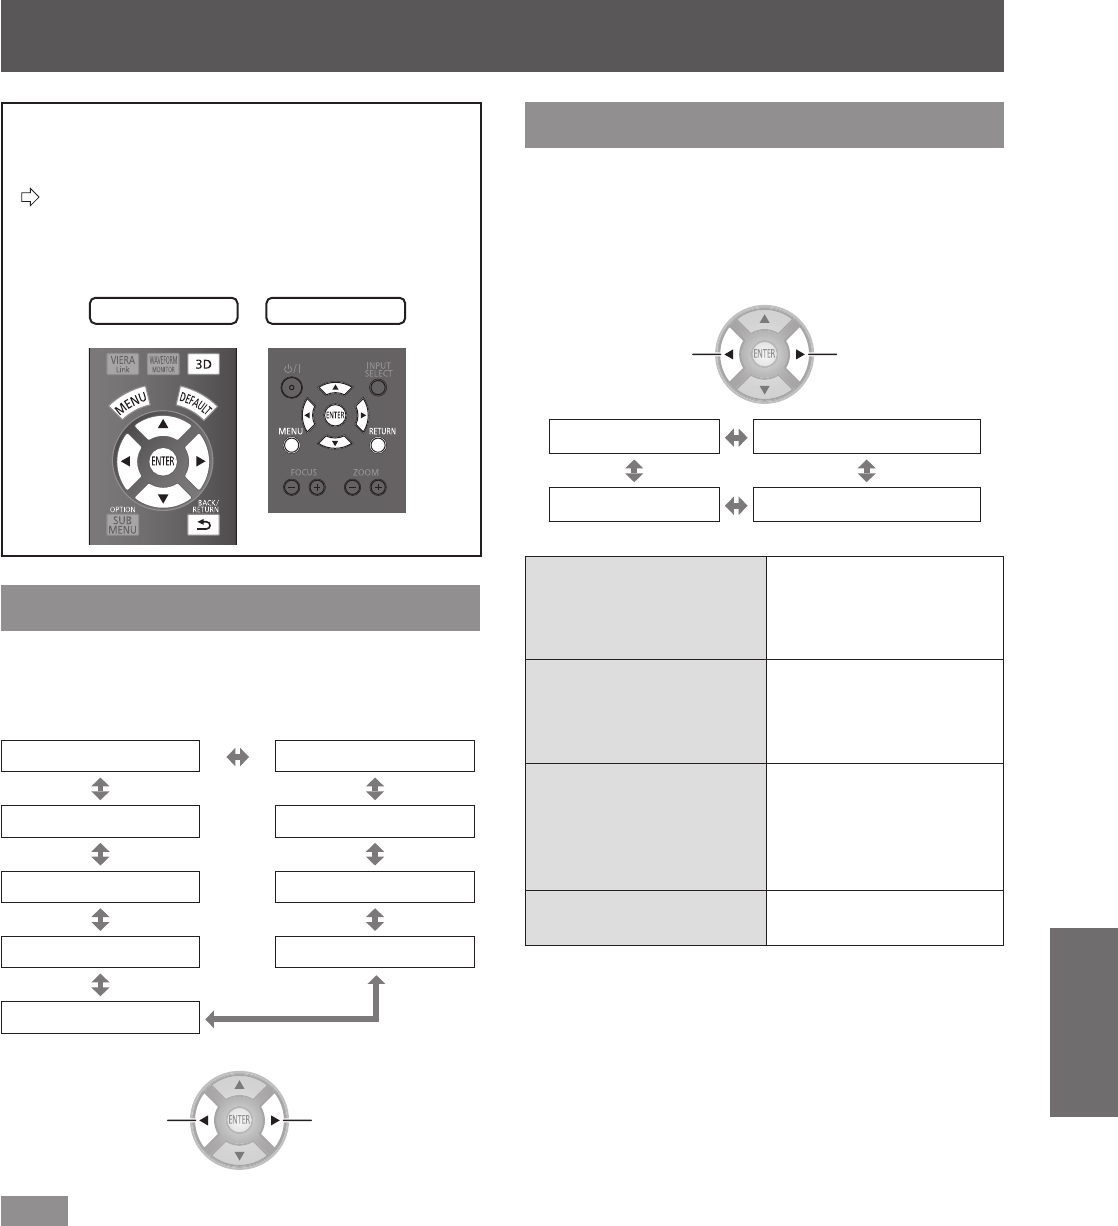
Either press the <3D> button on the remote
control or select [3D SETTINGS] from the
main menu in “Navigating through the menu”
(
page
37) and select the item from a
submenu.
After selecting an item, adjust the screen position
z
using the ▲▼◄ ► buttons.
Remote control
Projector controls
[SCREEN SIZE]
When viewing 3D video, set the screen size for
projection.
[102 cm (40 inches)] [152 cm (60 inches)]
[508 cm (200 inches)] [203 cm (80 inches)]
[457 cm (180 inches)] [254 cm (100 inches)]
[406 cm (160 inches)] [305 cm (120 inches)]
[356 cm (140 inches)]
Switch settings Switch settings
Note
In the case that the actual projection screen size and
z
the menu size do not match, select a screen size that is
slightly larger than the actual screen size.
If [AUTO SWITCHING] in the [LENS CONTROL] menu is
z
set to [2.35:1 IMAGE DETECTION], set the size to 1.02
m (40") larger than the actual screen used for projection.
[3D INPUT FORMAT]
In the case that 3D video is not displayed in 3D
correctly, set the 3D format of the projector to the
same one as the connected player. When 3D video is
not displayed correctly using [AUTO], set to [SIDE BY
SIDE] or [TOP AND BOTTOM] in accordance with the
3D video format.
Switch settings Switch settings
[AUTO] [SIDE BY SIDE]
[NATIVE] [TOP AND BOTTOM]
[AUTO]
When a 3D video
signal is received, it
automatically changes to
display of 3D video.
[SIDE BY SIDE]
Uses [SIDE BY SIDE]
(two screen conguration
on each side) format for
3D video display.
[TOP AND BOTTOM]
Uses [TOP AND
BOTTOM] (two screen
conguration on top and
bottom) format for 3D
video display.
[NATIVE]
Displays 3D video as 2D
video.


